


Rev. I
Maintenance and Adjustment
7-7
MR Series Technical Reference Manual
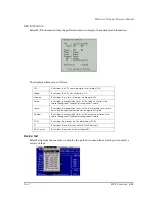
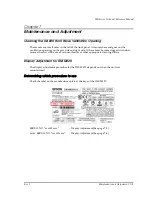
Touch Panel Calibration
Touch panel calibration adjusts settings to make the position the operator touches on the touch
panel match the computer-recognized software position.
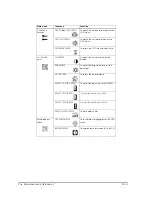
Calibrate the touch panel in the following situations.
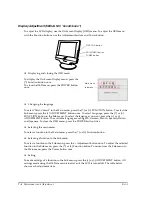
The procedure for calibrating the touch panel differs according to the Operating System you are
using. Follow the appropriate procedure for your system below.
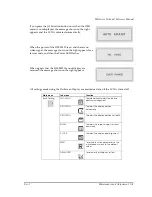
Windows
1. Start Windows.
2. Select in order:
Start - Programs - Touch - Touchscreen Control
. The touch
screen control window is displayed.
3. Touch the
Calibrate
button to display the calibration screen.
4. Follow the messages on the screen, which will instruct you to touch points on the
x
character.
5. After the test finishes, a dialog box appears. Touch the
OK
button. The touch screen control
window reappears.
6. Touch the
Exit
button. Calibration is complete.
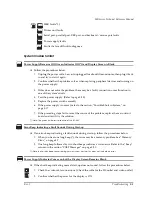
MS-DOS
Make sure the touch panel driver is installed. The touch panel driver is on the Driver CD-ROM
included with the DM-M820.
1. Type
TBCAL
and press
Enter
on the keyboard. The calibration utility starts, and the main
menu is displayed.
2. On the main menu screen, type
H
on the keyboard. The calibration screen appears. The letter
L
is displayed from the bottom left to the upper right of the screen. Touch points on the two
edges of the letter
L
.
3. When the test is finished, a message is displayed. Press the option key on the keyboard.
You return to the main menu of the calibration screen. Type the letter
x
on the keyboard to exit
the calibration utility. Calibration is complete.
❏
When the LCD unit is replaced.
❏
When you want to fine-tune the touch points on the touch panel.
❏
When the touch point positions on the touch panel are not accurate.
Содержание DM-M820
Страница 1: ...Technical Reference Manual MR Series English 403308709 Rev I EPSON ...
Страница 2: ......
Страница 20: ...xviii Rev I ...
Страница 42: ...2 8 Setup for the IM 800 and the DM M820 Rev I ...
Страница 50: ...3 8 Hardware Specifications Rev I ...
Страница 178: ...5 38 BIOS Functions Rev I ...
Страница 216: ...8 26 Troubleshooting Rev I ...
Страница 270: ...9 54 Disassembly and Assembly Rev I 6 Remove the HDD cable 216 from the Main circuit board HDD cable ...
Страница 323: ......
Страница 324: ...SEIKO EPSON CORPORATION EPSON ...