Rev. I
OS and Drivers
4-7
MR Series Technical Reference Manual
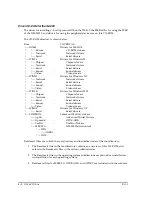
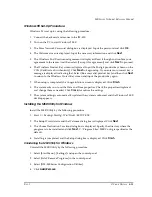
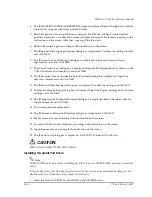
3. The Regional Settings screen is displayed. Make sure the system locale, user locales and
keyboard layout are set to United States, then click
Next
.
4. The Personalize Your Software screen is displayed. Input the Name and Organization, then
click
Next
.
5. The Your Product Key screen is displayed. Input the product key entered on the cover of the
First Step Guide in the COA (Certificate of Authenticity) package included with this
product; then click
Next
.
6. The Computer Name and Administrator Password screen is displayed. Input the Computer
Name and Administrator Password, then click
Next
.
7. The Date and Time Settings screen is displayed. Set the date and time, then click
Next
.
8. The Networking Settings screen is displayed. Select either Typical Settings or Custom
Settings according to the environment, then click
Next
. The Networking Components screen
is displayed if Custom Settings is selected. Set the settings in accordance with the
environment, then click
Next
.
9. The Workgroup or Computer Domain screen is displayed. Set the settings in accordance
with the environment, then click
Next
.
The Performing Final Tasks screen is displayed, and setup starts.
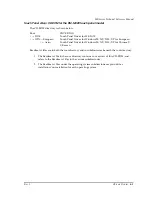
10. The Completing the Windows 2000 Setup Wizard screen is displayed. The system will start
automatically when
Finish
is clicked.
11. The Network Identification Wizard starts. Click
Next
.
12. The Users of this Computer screen is displayed. Set the settings in accordance with the
environment, then click
Next
.
13. The Completing the Network Identification Wizard screen is displayed. Click
Finish
.
14. Windows 2000 starts and the setup is completed.
CAUTION:
The setup is executed with the VGA display.
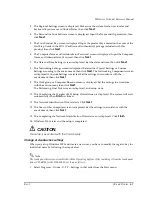
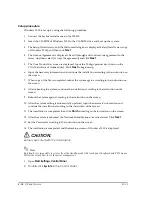
Change of double click settings
When you set up Windows 2000 and create a new user, you have to modify the registry key for
individual users by following the steps below.
Note
The touch panel driver is not installed with the Operating System. After installing it from the touch panel
driver CD-ROM for the DM-M820, set it up as follows.
1. Select Programs - Gunze - U-TP - Settings in that order from the Start menu.
Содержание DM-M820
Страница 1: ...Technical Reference Manual MR Series English 403308709 Rev I EPSON ...
Страница 2: ......
Страница 20: ...xviii Rev I ...
Страница 42: ...2 8 Setup for the IM 800 and the DM M820 Rev I ...
Страница 50: ...3 8 Hardware Specifications Rev I ...
Страница 178: ...5 38 BIOS Functions Rev I ...
Страница 216: ...8 26 Troubleshooting Rev I ...
Страница 270: ...9 54 Disassembly and Assembly Rev I 6 Remove the HDD cable 216 from the Main circuit board HDD cable ...
Страница 323: ......
Страница 324: ...SEIKO EPSON CORPORATION EPSON ...

