131
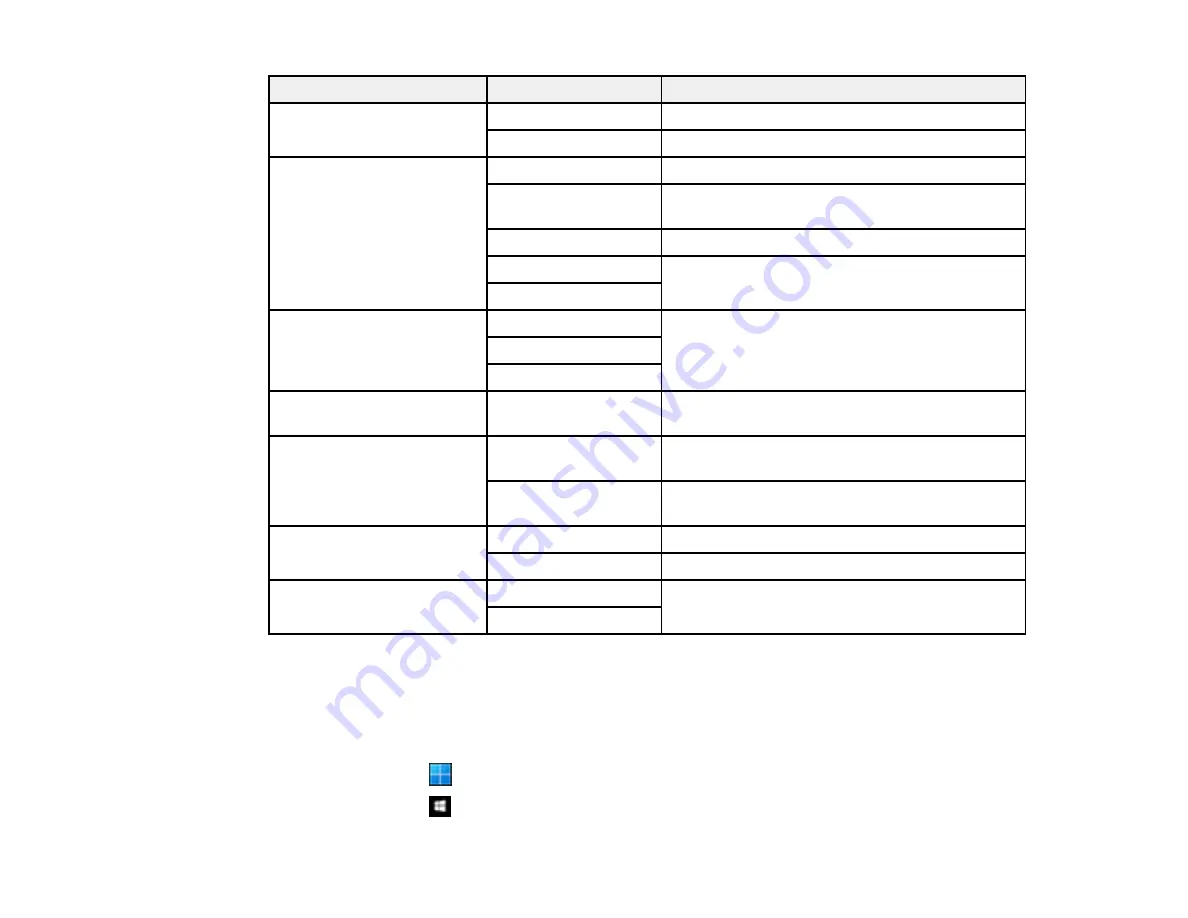
Scan to setting
Available options
Description
File format
JPEG
Select for photos
Select for documents
Scan Area
Various sizes
Select the page size for your original
Auto Cropping
Crops the white margin around your scanned
original
Max Area
Scan at the maximum area of the scanner glass
Portrait
Select the orientation of your original
Landscape
Original Type
Text
Specifies the type of original you are scanning
Text & Image
Photo
Density
Varying levels
Adjusts the lightness or darkness of scanned
images
Remove Shadow
Surround
Erases the shadows that appear around the
edges of a document
Center
Erases the shadows that appear in the center of
a document when copying a book
Remove Punch Holes
Erasing Position
Erases the binding holes on a document
Original Orientation
Select the orientation of your original
Clear All Settings
Yes
Select
Yes
to restore all scan settings to their
defaults
No
Parent topic:
Starting a Scan Using the Product Control Panel
Starting a Scan Using Epson ScanSmart
You can start the Epson ScanSmart program to scan originals and easily review and edit scanned
images. After that, you can save, print, or share them.
•
Windows 11:
Click
, then search for
Epson ScanSmart
and select it.
•
Windows 10:
Click
>
Epson Software
>
Epson ScanSmart
.
Содержание C11CK60201
Страница 1: ...WF 2960 User s Guide ...
Страница 2: ......
Страница 13: ...13 WF 2960 User s Guide Welcome to the WF 2960 User s Guide For a printable PDF copy of this guide click here ...
Страница 17: ...17 Product Parts Inside 1 Document cover 2 Scanner glass 3 Control panel 4 Front cover ...
Страница 52: ...52 Parent topic Changing or Updating Network Connections Related references Status Icon Information ...
Страница 109: ...109 10 Select the Layout tab 11 Select the orientation of your document as the Orientation setting ...
Страница 134: ...134 You see an Epson Scan 2 window like this ...
Страница 136: ...136 You see an Epson Scan 2 window like this ...
Страница 150: ...150 You see a screen like this 2 Click the Save Settings tab ...
Страница 155: ...155 You see this window ...
Страница 267: ...267 2 Squeeze the tabs and remove the rear cover 3 Carefully remove any jammed paper from inside the product ...
Страница 269: ...269 3 Open the ADF cover 4 Carefully remove any jammed pages from beneath the ADF ...


