


311
Edit
Picture
Data
Display/Edit/Management
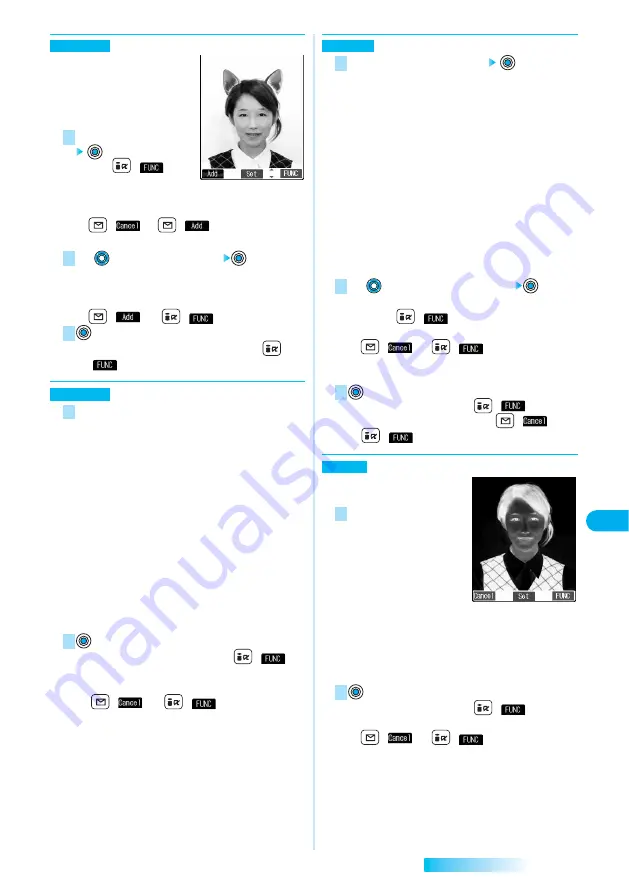
You can add a cushy mark in the
“Stamp” folder. The person’s facial
region is automatically recognized
and the cushy mark is pasted to an
appropriate position.
Select a cushy mark
●
Press (
)
and
select “Scale up/Scale down”
to enlarge or reduce the cushy mark.
●
To re-select another cushy mark:
(
)
→
(
)
●
The pre-installed cushy marks
⇒
See page 436
Use
to position the cushy mark
●
The cushy mark that comes out of the still image is cut
off.
●
To add a cushy mark:
(
) (or (
)
→
“Add”)
●
You can set the cushy mark also by pressing
(
)
→
“Set”.
You can change to the following sizes.
・
VGA (640 x 480)
・
CIF (352 x 288)
・
QVGA (320 x 240)
・
QCIF (176 x 144)
・
Sub-QCIF (128 x 96)
・
Screen (240 x 320)
・
VGA Vert. (480 x 640)
・
CIF Vert. (288 x 352)
・
QCIF Vert. (144 x 176)
・
Sub-QCIF Vert. (96 x 128)
●
If you select the size different in proportional ratio from
the original still image, the original still image is enlarged
or reduced to the maximum so that it does not exceed
the selected size with its proportional ratio retained.
●
You can set the size also by pressing
(
)
→
“Set”.
●
To re-select a size:
(
) (or
(
)
→
“Cancel”)
2
1
Change size
3
2
1
Cushy mark
You can cut to the following sizes
・
CIF (352 x 288)
・
QVGA (320 x 240)
・
QCIF (176 x 144)
・
Sub-QCIF (128 x 96)
・
Screen (240 x 320)
・
CIF Vert. (288 x 352)
・
QCIF Vert. (144 x 176)
・
Sub-QCIF Vert. (96 x 128)
・
Chat picture (80 x 80)
●
You cannot select a trimming frame larger than the still
image you are editing.
※
The still image you are editing and the trimming frame
are halved at both lengthwise and sidewise to be
displayed.
Use
to select the part to be trimmed
●
You can set the position of trimming frame also by
pressing (
)
→
“Set”.
●
To re-select a size to trim:
(
) (or
(
)
→
“Cancel”)
If you have moved the trimming frame, it returns to the
center.
●
You can set also by pressing
(
)
→
“Set”.
●
To re-select the part to be trimmed:
(
) (or
(
)
→
“Cancel”.)
You can set texture and color tone
of the still image.
Select from the followings.
・
・
Sharp ······Stresses the
outline.
・
・
Blur ·········Softens the
outline.
・
・
Sepia·······Makes the color
tone sepia.
・
・
Emboss························Makes the still image rugged.
・
・
Negative·······················Reverses the color tone.
・
・
Horizontal flip··············Flips the image horizontally.
・
・
Super clear shadow····Makes the dark still image clear.
・
・
Memory color ··············Corrects colors and contrast.
●
You can set also by pressing
(
)
→
“Set”.
●
To re-select an effect:
(
) (or
(
)
→
“Cancel”)
2
1
Retouch
3
2
1
Trim away
Next Page
Содержание prosolid II foma P851i
Страница 156: ...154...
Страница 296: ...294...
Страница 297: ...i channel What is i channel 296 Using i channel 298 Using Detailed Functions 298 295...
Страница 430: ...428...
Страница 475: ...473 Index Quick Manual Index 474 How To Use Quick Manual 480 Quick Manual The end of this volume...


