4.2.2 Displaying Menu Values
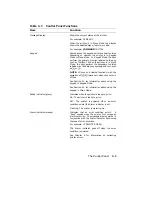
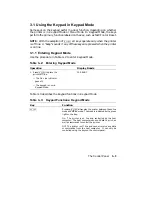
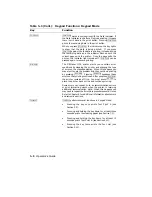
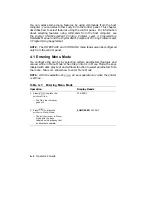
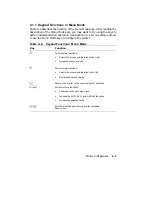
Menu values are scrolled to the right and left using
.
and
/
and are
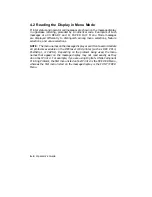
shown on the display with the associated feature, for example:
i/f
RS232C
When you scroll through the values, the currently selected value is always
displayed first and is denoted by an equal sign (=) between the feature and
value, for example:
i/f
=RS232C
4.3 Printer Configuration Memory
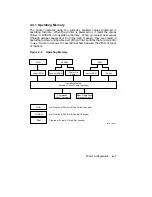
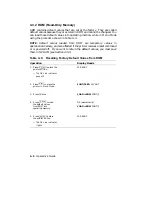
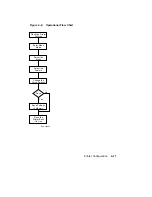
Printer configuration uses four types of memory: an operating memory that
contains the currently selected values, and three storage memories in which
values are stored or saved. These memories are known as ROM (read-
only memory), RAM (random-access memory), and NVRAM (nonvolatile
random-access memory).
NOTE:
All four types of printer configuration memory are separate and
distinct from the Free RAM listed on Test Print A. Configuration memory
can be accessed only from the menus to set up the operational parameters of
the printer.
You can save new values temporarily in RAM, but they are cleared when
the printer is powered off. You can also save new values in NVRAM so that
they are not cleared if the printer is reset or powered off. ROM contains
the factory default values that can be recalled into the operating memory.
Some values can be saved only in RAM or only in NVRAM, while other
values can be saved in either type of memory. Test Print A shows the type
of memory each menu can use (see Section 2.9).
4–6
Operator’s Guide
Содержание DEClaser 1100 Series
Страница 18: ...Figure 1 1 Components Front Right Side View MLO 005960 1 2 Operator s Guide ...
Страница 21: ...Figure 1 2 Components Rear Left Side View MLO 005961 Printer Components 1 5 ...
Страница 23: ...Figure 1 3 Components Inside the Printer MLO 005962 Printer Components 1 7 ...
Страница 31: ...2 Pull the extension tray straight out MLO 005815 Operating Information 2 5 ...
Страница 34: ...3 Tap the stack of paper on a flat surface to align the edges MLO 005967 2 8 Operator s Guide ...
Страница 40: ...2 Align the stack of envelopes by tapping them on a flat surface MLO 005970 2 14 Operator s Guide ...
Страница 65: ...Figure 3 1 Control Panel MLO 005830 3 2 Operator s Guide ...
Страница 123: ...2 Remove any paper remaining in the paper tray and close the extension tray MLO 005981 Troubleshooting 6 15 ...
Страница 141: ...4 Insert the printed cleaning paper into the paper tray with the printed side facing up MLO 005988 Maintenance 7 11 ...
Страница 177: ...Figure C 2 Serial Connections to Modem MLO 004885 Specifications C 5 ...
Страница 180: ...Figure C 4 Parallel Pin Assignment MLO 004886 Figure C 5 Parallel Connections MLO 005828 C 8 Operator s Guide ...


