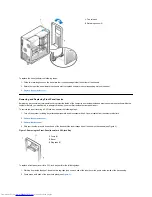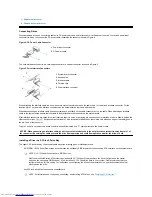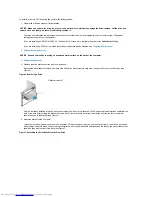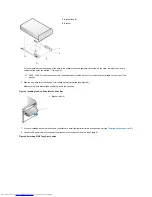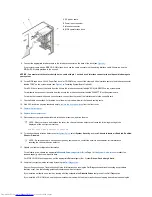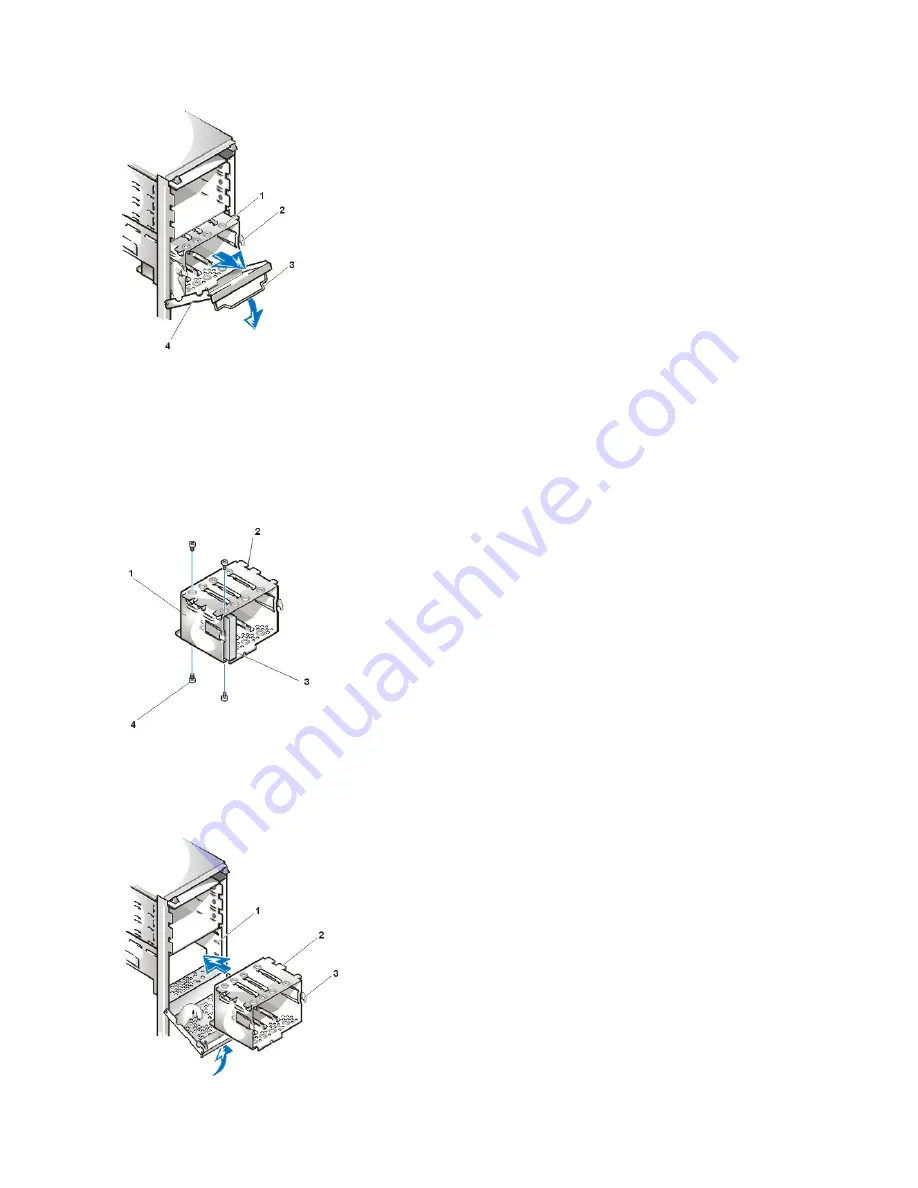
6. Remove the bracket from the drive cage.
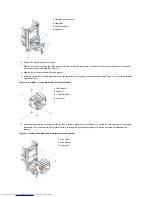
7. Slide the drive into the chosen bay of the bracket, orienting it so that the connectors on the back of the drive face the inside of the chassis
when the bracket is reinstalled (see Figure 11).
8. Align the four screw holes of the drive and bracket.
9. Insert and tighten the four screws that came with your upgrade kit in the top and bottom of the bracket (see Figure 11) to secure the installed
hard-disk drive(s).
Figure 11. Inserting a 1-Inch Hard-Disk Drive Into the Bracket
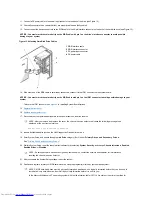
10. Insert the bracket into the drive cage by sliding it in until the tabs snap into place (see Figure 12). Rotate the drive cage door up and toward
the chassis until it snaps securely into place. Be sure to fold down the drive-cage door handle so that the bezel can be replaced on the
chassis.
Figure 12. Inserting the Hard-Disk Drive Bracket Into the Chassis
1
Hard-disk drive bracket
2
Hinge tabs
3
Drive door handle
4
Drive door
1
Drive bracket
2
Hooks (3)
3
1-inch drive (back)
4
Screws (4)
1
Drive cage
2
Drive bracket
3
Hinge tabs
Содержание Inspiron 620
Страница 85: ......

