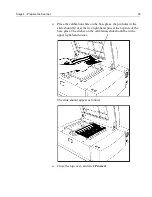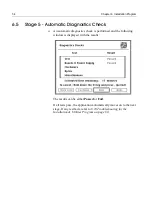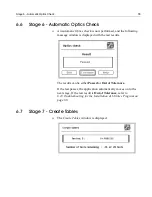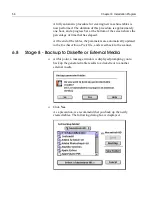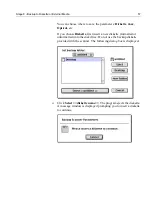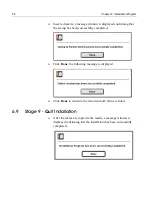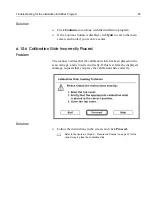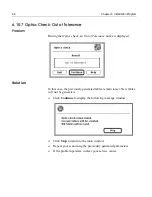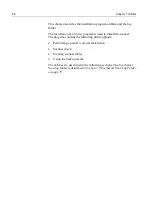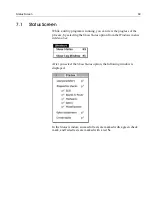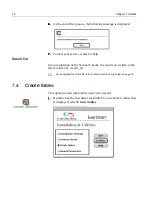
Stage 9 - Quit Installation
59
Click
Done
to return to the main menu.
You may now remove the calibration slide.
Installation Results
Results of the installation procedure are written to the file
Install&Util_results_file
in the log folder
.
General Tips
To make the most of your
EverSmart
and its capabilities, we suggest
the following:
•
Practice performing your own scans, using your own originals,
to get the feel of the scanner operation and workflow. Use the
training kit to help you get acquainted with
EverSmart
operation.
•
For further experimentation, use the sets of originals, such as
Kodak
Color Reproduction Guides, Q-60 Fuji Scanner Film Kit,
or
GA303E
•
For comprehensive control of your color tables, we recommend
that you purchase the
CreoScitex CREATE LUT-PS
kit (
Catalog
No. 510R440077
).
Important
: After you finish the installation procedure, keep the calibration
slide in a dark, cool, and safe location. You may need to use it occasionally.
Refer to
EverSmart Scan Log Folder on page 79
for more details.
Содержание EverSmart
Страница 1: ...EverSmart Scanners www creo com scanners 399Z50703F Installation Maintenance English...
Страница 2: ......
Страница 8: ......
Страница 12: ......
Страница 13: ...1 Chapter 1 Site Preparation General Requirements 2 Safety Instructions 6...
Страница 19: ...7 Chapter 2 Unpacking Unpacking Procedure 8 Unlocking Screws Removing Packing 13...
Страница 29: ...Powering on the Scanner 17 2 2 2 2 Make sure that the scanner is switched OFF...
Страница 33: ...21 Chapter 4 Software Installation Installation Procedure 22 EverSmart Application Folder Contents 26...
Страница 40: ......
Страница 41: ...29 Chapter 5 SCSI Configuration Configuration Options 30 Setting the SCSI ID 43...
Страница 92: ......
Страница 103: ...Lamp Replacement 91 6 6 6 6 Pull out the glass plate 7 7 7 7 Place the glass plate on a soft surface...
Страница 109: ...Lamp Replacement 97 4 4 4 4 Pull out the left side of the panel...
Страница 110: ...98 Chapter 8 Maintenance 5 5 5 5 Slide out the right side of the panel...
Страница 118: ...106 Chapter 8 Maintenance 2 2 2 2 Lift the two handles of the glass plate 3 3 3 3 Pull out the glass plate...
Страница 120: ......
Страница 128: ......
Страница 129: ...117 Appendix A Packing the Scanner Locking the Scanner 118 Packing the Scanner 121...
Страница 133: ...Packing the Scanner 121 A 2 Packing the Scanner 1 1 1 1 Place the accessory packages on the wooden palette...
Страница 137: ...125 Appendix B Technical Specifications...
Страница 140: ......
Страница 145: ...133 Appendix D Application Log Files...
Страница 147: ...135 Appendix E Catalog Numbers...
Страница 150: ......

