Using the scanner, how do I
…
Scan to File?
6-7
6.2.4 Set the Scan-to-File Resolution
This is where you determine image quality. Note that high resolutions create large files. 300 dpi or more is
adequate for printing. Certain maps and CAD drawings with high levels of detail require high resolutions.
CAD processing of the image may also require that you select a high resolution. The Dpi (dot per inch)
range selectable is from 50 to 9600. Dpi value settings below or equal to the scanners optical dpi will give
pure optical resolutions
without interpolation.
Interpolation
involves resampling through adding pixels between original pixels to increase resolution
beyond the actual number of CCD cells (optical resolution). The new pixel
’
s colors and intensities are
calculated on the basis of their surrounding pixels. See your scanner model specifications to view the
scanner
’
s optical resolution.
To set the Scan-to-File
Resolution
:
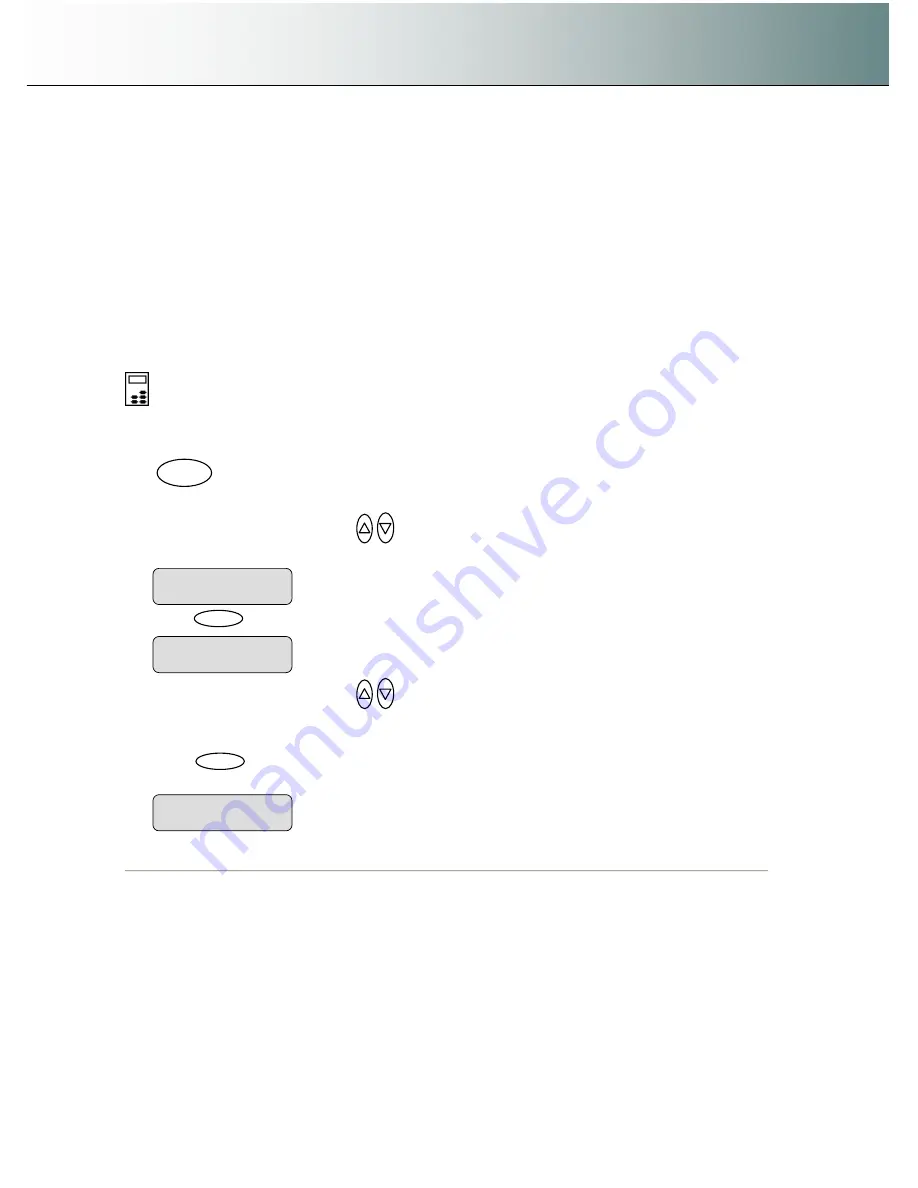
On the iJET Panel
–
1. If you are not already in the Scan-to-File menu, start/enter the menu with the Scan to button as
described in the beginning of this section.
.
2. Press the arrow up/down buttons
to move through the Scan-to-File Menu options until the
display shows
Resolution.
3. Press
Enter
to move the
“
>
”
marker down to indicate you want to change the resolution value.
4. Press the arrow up/down buttons
to change the Resolution value. You can select from a list of
pre-defined resolution (dpi) values (
50, 100, 200, 300
…
9600
). Resolution values above the
scanner
’
s optical resolution will use interpolation.
5. Press
Enter
to accept the selected value and move the
“
>
”
marker back up to the Scan-to-File
Menu level so you are ready to move on to the next Scan-to-File setting.
The
“
>
”
marker is back up to the Scan-to-File Menu
level.
>
Resolution
353
The
“
>
”
marker is down to the value level so you can
change the value.
Resolution
>
200
>
Resolution
200
Scan to


