Configuration and Setup
3-10
your scanner model.
2
Install WIDEsystem Software
Click on the option
Install WIDEsystem Software
from CD main menu or run the setup.exe
program directly from the WIDEsystem (ws) folder on the CD-ROM. Follow the installation
instructions that appear on your screen.
3
Install Scanner Maintenance Software
Click on the option
Install Scanner Maintenance Software
from CD
’
s menu. Follow the
instructions that appear on your screen.
4
Shut down (power off) the PC
Your PC is now prepared and must be powered off before connection with the scanner.
5
Quick clean for dust
Clean your scanner
’
s surface so dirt and dust are not dragged into the scan area with the
original. Wipe the glass with a dry cloth to remove any dust in the scan area.
6
Set up your scan station
Your wide format copy scanner should be placed either on the specially designed stand-
alone floor stand or on a sturdy table. For sheet feed models, make sure there is enough
space behind the scanner to allow the media to run out.
and
“
Maintenance-Locate the Smart Card
”
for instructions for your specific scanner
model.
See the sections
“
Physical Placement of the Scan Station
”
.
7
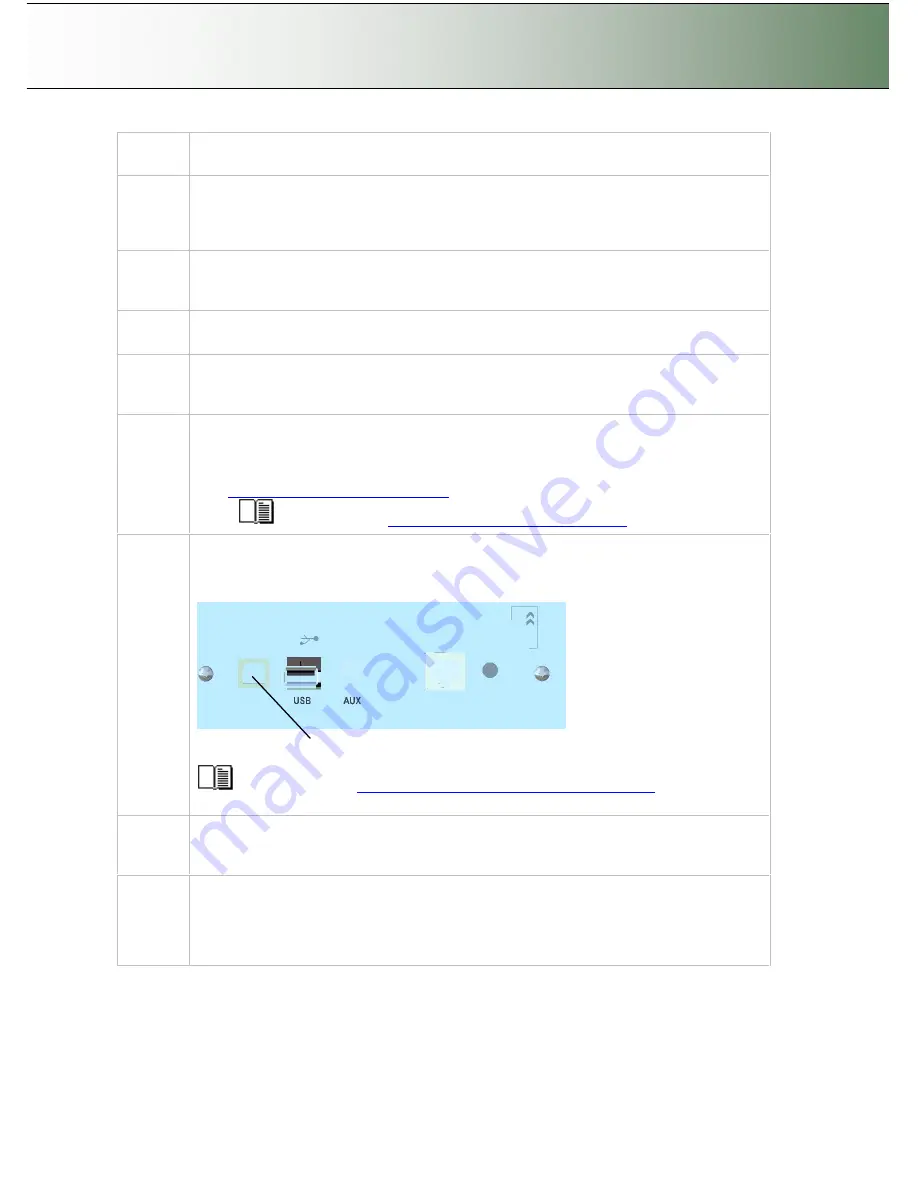
Connect the interface cable
–
scanner end
Connect the USB interface cable to the scanner
’
s USB device (input) port (squared formed
socket). See the document:
“
NOTE ON INTERFACE CABLES
”
for instructions on the
specific interface cable type to use with this configuration.
USB device (input) port
See the section
“
Locating the Interface Cable Connector Panel
”
for instructions
relating to your specific scanner model.
Connect the interface cable
–
PC end
Connect the other end of the USB cable to the PC
’
s USB connection port (flat rectangle
socket).
8
Connect scanner power cable
At back of the scanner, you will find the scanner-end power cable socket, just below the Main
Poer Switch. Connect the cable to the scanner plug socket and then the other end to your
grounded power source. Do not yet turn on the Outlet switch on the scanner.


