4
Using the scanner, how do I
…
Load?
4-4
3. Press and hold the
Paper Forward
key (arrow up) key to raise the pressure-platen until there is room
to insert the thick original.
4. Insert the thick original evenly for a straight scan path.
5. Press and hold the
Paper Reverse
(arrow down) key to lower the pressure-platen until the pressure-
platen stops on its own.
6. The
Paper Ready
indicator will turn yellow (stop blinking) when the pressure-platen is positioned
correctly and is ready for thick media scanning.
7. Once the thick original is loaded, the scanner will automatically leave the ATAC mode, which means
that the
Paper Forward
and
Paper
Reverse
keys will return to their normal functionality for moving the
original forwards and backwards.
8. It is important to help support the thick original during scanning - both at the entrance side and the
exit side of the scanner.
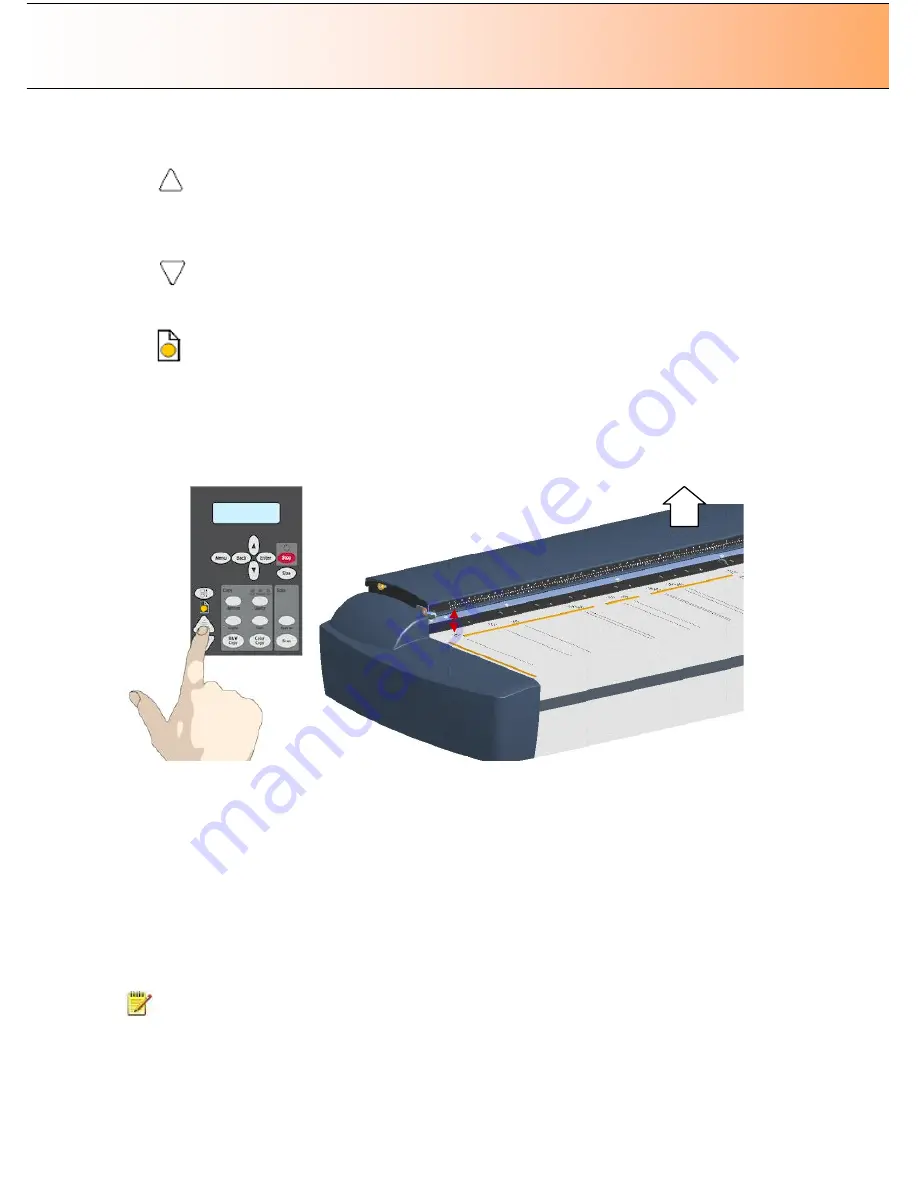
Raise the Pressure Platen
- Press and hold
the
Paper Forward
key (arrow up) key to raise
the pressure-platen and create a larger
insertion space..
About Thick Media Settings and Auto Adjustment
On scanners:
HD4230i
(not relevant on flatbed models)
Scanner
’
s Auto-adjustment
–
only in the
Normal
position.
The scanner employs an automatic self-adjustment procedure (light profile, stitching etc.) that can only
auto-activate when the scanner is in the
Normal
position. With prolonged scanning in extended thickness
settings, you should from time to time return the scanner to its
Normal
position to allow it to self-adjust.
This will ensure refreshed self-adjustment and optimal performance of your scanner. Make a habit of
always setting the scanner in the
Normal
position when shutting down, so it can auto-adjust the next time
you turn it ON.
NOTE:
The scanner runs at its optimal speed in the
Normal
position. To allow stable drive handling,
scanning speed is automatically reduced when the scanner is in the extended thickness positions.
Stitching Offsets
–
stitching correction when scanning thick media:


