The iJET Panel
2-6
2.6 How do I Navigate the iJET Panel Menus?
This section explains how you find and set the many options behind the
Menu
button and the
Scan to
button. You will learn here how menu options and values are shown in the display window and how you
use the control buttons
Back
,
Enter
and arrows up/down to reach them for setting and changing their
values.
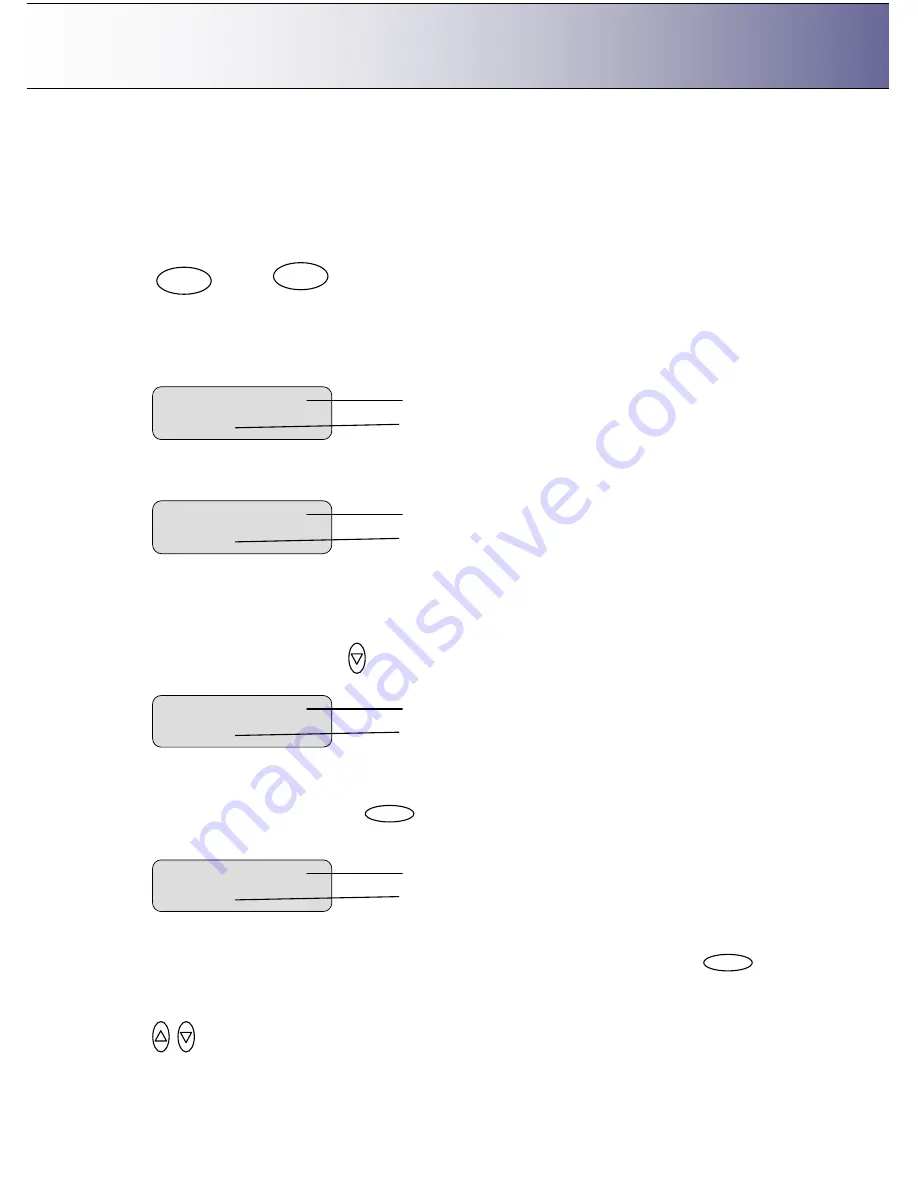
1. When you press the one of these buttons you start its underlying menu.
or
…
2. A menu contains an ordered list of menu option items and each of these menu option items can be
set to different values. Only one menu option item can be shown at a time in the display window.
When you start a menu, its first menu option item and its current value is shown in the display window
as shown below for the
Menu
button.
3. A menu option that is followed by three dots (
…
) means that there is a sub menu that follows when
you press
Enter
.
4. The first line in the display is the menu option item and the second line is its current value. In the
example above, the current menu option item is
“
Org. Type Color
”
and its value is
“
Photo
”
. The
“
>
”
marks which one of the two lines is currently active for changing with the arrow up/down buttons. In
the example above, the first line, i.e the menu option item line is active.
Pressing the down arrow button
in this case will move the menu forward to the next menu option
item and that option
’
s own current setting as shown below:
5. The
“
>
”
marker in the example above shows that the menu option item
“
Org, Type B&W
”
is now
active and
“
Sepia
”
is its current setting. To enter the menu option in order to make changes to its
setting, you press the
Enter
button.
In the display panel the
“
>
”
mark will move down to the next line as shown below.
6. The
“
>
”
marker now indicates that the setting for
“
Org. Type B&W
”
option can be changed. Pressing
the up/down arrow buttons will move through the available settings. Press the
Enter
button
when the right setting is displayed to the right of the
“
>
”
marker. The selected setting will then become
the option
’
s active setting and the
“
>
”
marker will hop back to the menu level (top line) so you can
resume leafing through the menu option items with the arrow up/down buttons.
>Printer Setup
…
Menu option item
Three dots (
…
) indicate there is a submenu
Org. Type B&W
>
Sepia
Menu option item
Current setting for the option item
> Org. Type B&W
Sepia
Menu option item
Current setting for the option item
Menu
Scan to
Enter
Enter
> Org. Type Color
Photo
Menu option item
Current setting for the option item


