Configuration and Setup
3-25
15. Feed the sheet into the scanner
16. The display will now show
“
Scan Sheet
”
. Select
to start. The system will scan the color patch
sheet and calculate color matching values for future jobs with the current media type.
17.
When you use the system for copying, you will select the option for the
Media Profile
that matches
the media loaded on your printer. This is done through the
Menu
button
–
>
Media Profile
. The system
will then load the corresponding
Media Profile
and use it to create optimal color output for the job.
Read more on
Media Profile
selection under the section
How do I make a Copy
–
Other Copy
Options - How do I Set the Media Type (media Profile).
3.10 Scanner on Network Setup
In order to be recognized on the network, your copy scanner needs to identify itself. Some networks
support DHCP which will enable the scanner to extract its network setup information automatically from
the network. On other networks, you will have to enter the network ID information manually.
On scanners:
FLEX50i, HD4230i
To apply the scanners network setup settings:
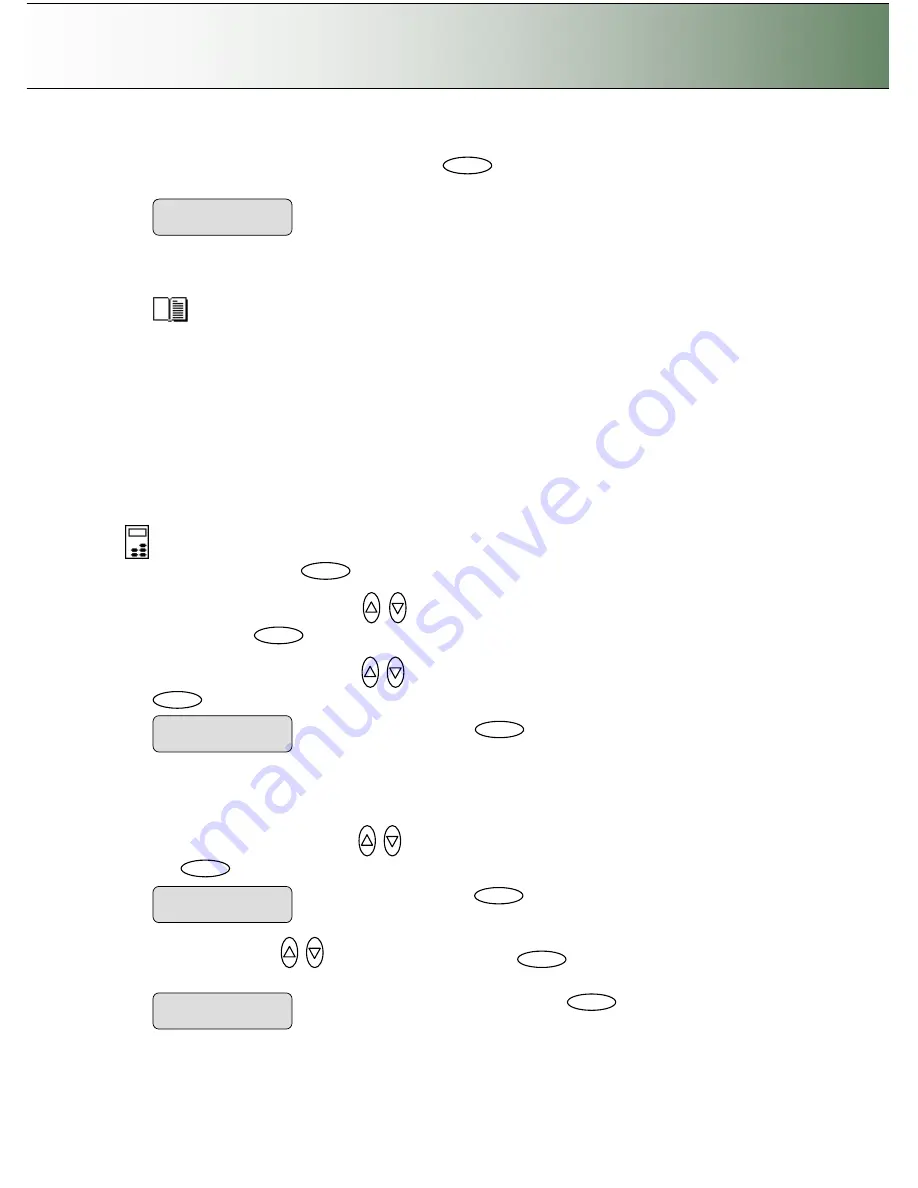
On the iJET Panel
1. Select the
Menu
button.
2.
Use the arrow button up or down
until the display window shows
Advanced
and confirm with
the
Enter
button
.
3.
Use the arrow buttons up or down
until the display shows
Network Setup
and confirm with
.
4. The rest depends on if your network supports DHCP or not. Follow one of the scenarios below:
If your network supports DHCP:
1. Use the arrow button up or down
until the display window shows
DHCP Setup
and confirm
with
to move the
“
>
”
marker down change the setting.
2. Use arrows down/up
to select
YES and c
onfirm with
Enter
.
The scanner will then get its
network setup information directly from the networks DHCP server.
>
Scan Sheet
‘
Enter
’
to go
…
Enter
Change value to
“
YES
”
and confirm with
Enter
DHCP Setup
> YES
Press
Enter
to confirm DHCP
setup
>
DHCP Setup
NO
Enter
Press
Enter
to confirm
Network setup
> Network Setup
…
Enter
Menu
Enter


