Configuration and Setup
3-5
3.2 Connect the Scanner to LAN
–
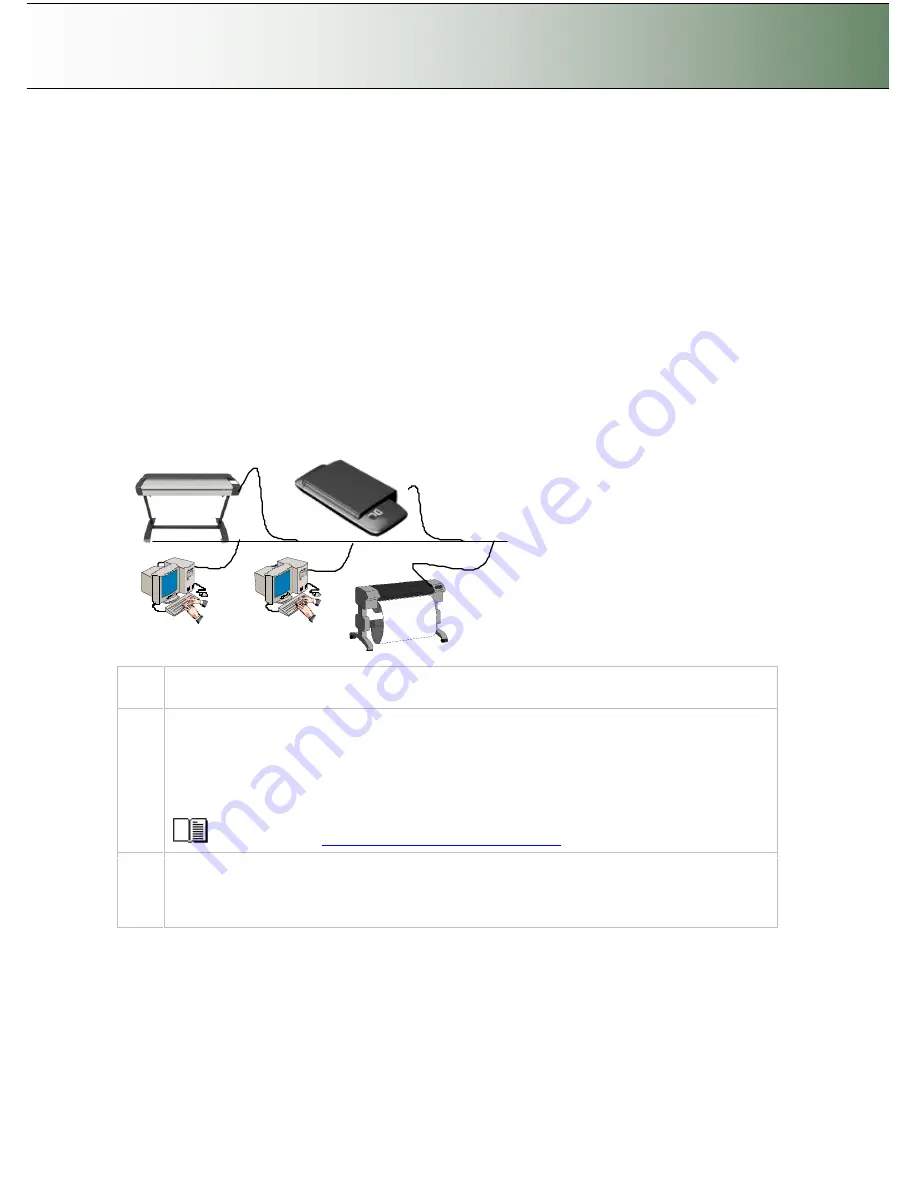
Network Scan/Copy Device
Components
: Wide format copy scanner and Local network. Peripheral devices such as PCs and printers
are setup and active on the network. The scanner will be setup to recognize PCs on the network as scan-
to-file targets. The scanner will also be setup to be recognized and accessed by PCs on the network
(sharing). The scanner will be setup to recognize and use network printers.
Usage
: For copying and digitizing large format documents. For creating both printed and file (digitized)
output. Operation is from the iJET Panel (scanner) or from network PCs. Users operating from the panel
can copy to printers on the network and scan-to-file to PCs on the network. Network PCs with compatible
scan or copy software installed can
“
share
”
the scanner and use it with network printers or for scan-to-file
tasks.
System Requirements:
Wide Format Copy scanner
Compatible large format printer on the network (for copy functionality).
LAN cable connecting the scanner to the network.
One or more PCs on the network (for scan to file and shared scanner functionality).
The PCs need: compatible operating system (see ws/readme.htm on WIDEsystem TOOLS CD).
Scanner
’
s LAN interface
Step Description
1
Set up your scan station
Your wide format copy scanner should be placed either on the specially designed stand-alone
floor stand or on a sturdy table. For sheet feed models, make sure there is enough space behind
the scanner to allow the media to run out.
HD4230i
: If you own a smart card, make sure that the smart card is in place. See the
instructions that came with the smart card.
See the sections
“
Physical Placement of the Scan Station
”
2
Connection
–
scanner end
Connect the LAN cable to the scanner
’
s LAN port. See the document:
“
NOTE ON INTERFACE
CABLES
”
for instructions on the specific interface cable type to use with this configuration.


