


5
1
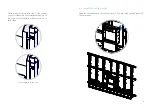
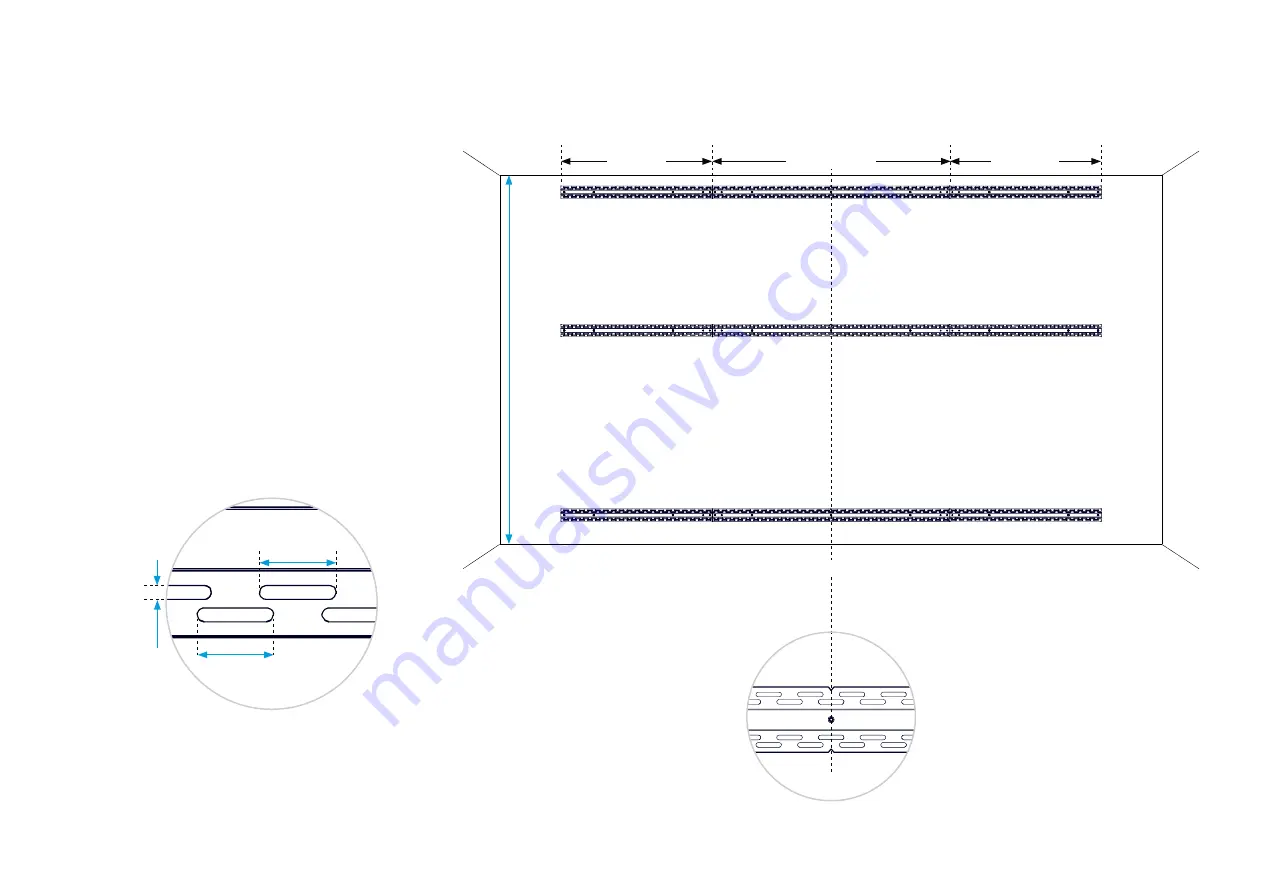
Fasten the horizontal rails
Top rail
Middle rail
Bottom rail
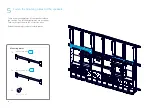
center part
left part
right part
M
in
im
um c
ei
lin
g h
ei
gh
t: 2
.7
0
m (
10
6.
3
in
.)
The Room Panorama system is mounted on three
rails - top, middle, and bottom. The rails are
fastened to the wall.
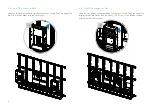
The rails must be level, and accurately centered
about the system’s vertical center line.
If the wall
is not perfectly flat, horizontally and vertically, this
must be compensated for before you mount the
rails.
Use a laser level to make sure the horizontal rails
are placed perfectly. This is important for the rest
of the installation process to go smooth.
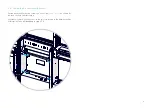
Fasten the rails with the number and type of
screws that are required for a safe mounting
of the system on your type of wall.
Any of the
horizontal slots in the rails can be used.
6.75 mm
(0.27 in.)
37 mm
(1.46 in.)
37 mm
(1.46 in.)
See the mounting details and exact rail positions
on the following pages.
Panorama system vertical center line
Содержание Webex Room Panorama
Страница 1: ...Cisco Webex Room Panorama Installation guide ...
Страница 2: ......
Страница 24: ...22 7 2 Mount the amplifier Slide the amplifier into its slot Fasten it with four screws M5x10 Torx 25 2 ...
Страница 83: ...81 ...
Страница 87: ......


