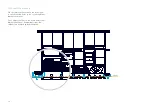


42
19
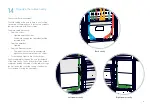
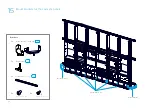
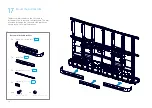
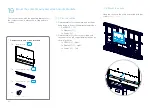
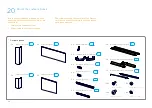
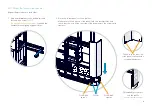
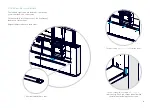
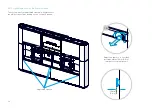
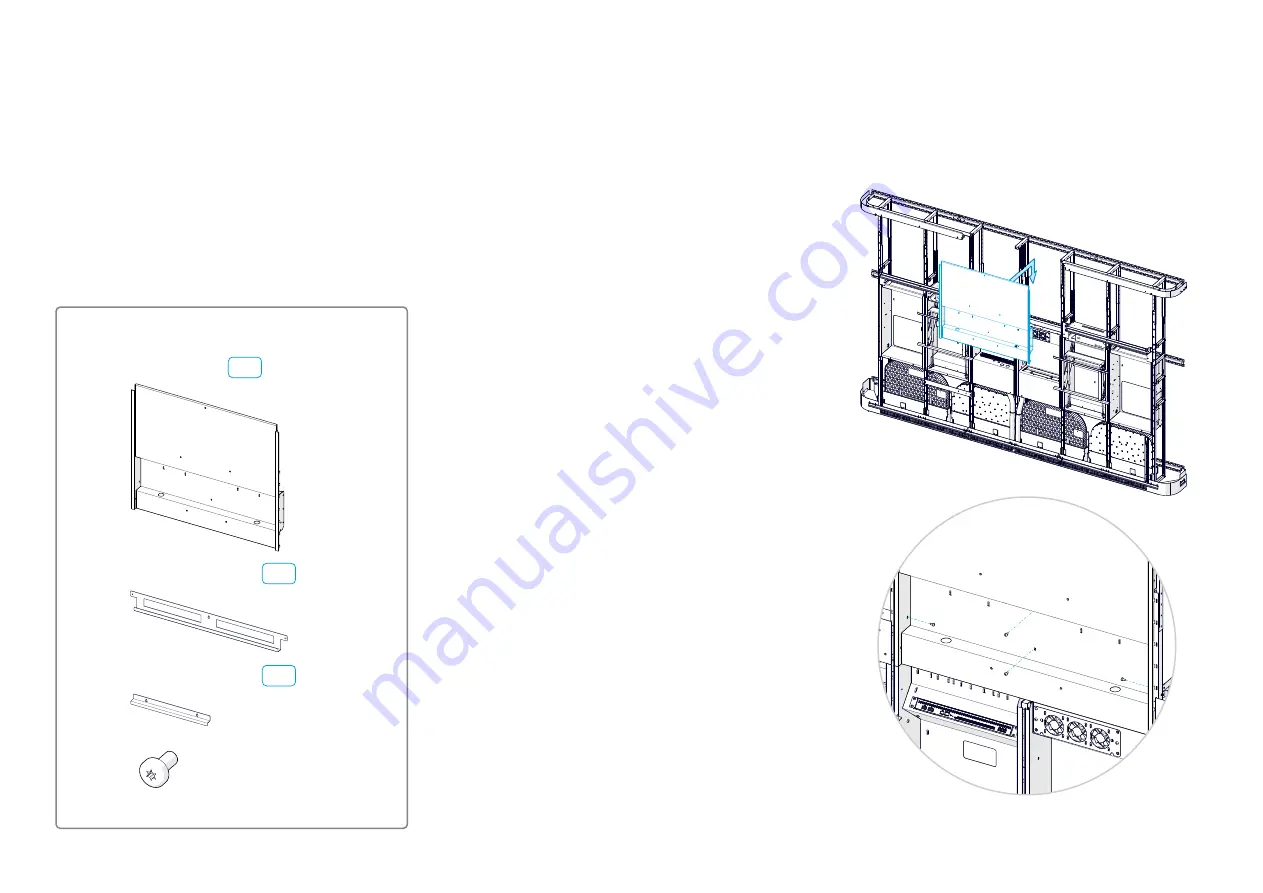
Mount the content cavity and screen mount brackets
Content cavity and screen brackets
1x
Content cavity
1x
Screen bracket, upper
1x
Screen bracket, lower
9x
(M6x12, Torx 30)
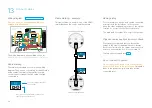
The content cavity, with the mounting brackets for
the content screen, is above the cooling and rack
cavities.
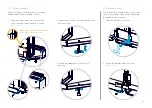
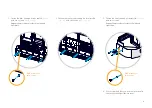
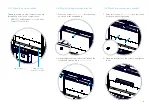
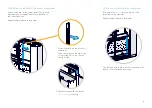
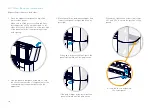
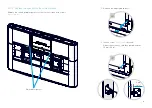
19.1 Find the cables
1. Find the cables for the camera, and let them
hang down in front of the amplifier and codec:
• 2x HDMI (
C1
,
C2
)
• 1x Ethernet (
C3
)
• 1x Power (
C4
)
2. Find the cables for the content screen, and
lay them on the left or right display cavities as
shown in the list:
• 1x HDMI (
S3
) - right
• 1x Ethernet (
S6
) - right
• 1x Power (
S9
) - left
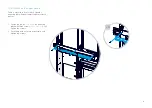
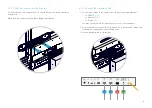
B8
B9
B9
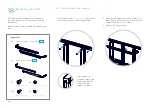
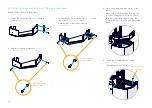
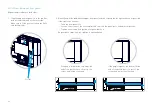
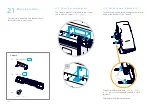
19.2 Mount the cavity
Hang the cavity on the risers and fasten with four
screws
(M6x12, Torx 30)
.
Содержание Webex Room Panorama
Страница 1: ...Cisco Webex Room Panorama Installation guide ...
Страница 2: ......
Страница 24: ...22 7 2 Mount the amplifier Slide the amplifier into its slot Fasten it with four screws M5x10 Torx 25 2 ...
Страница 83: ...81 ...
Страница 87: ......


