


56
21
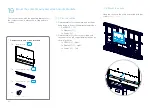
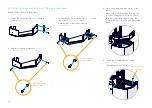
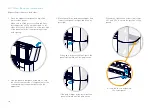
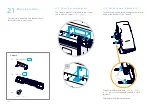
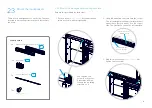
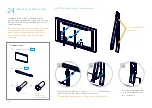
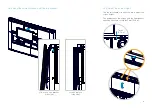
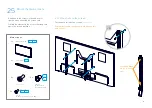
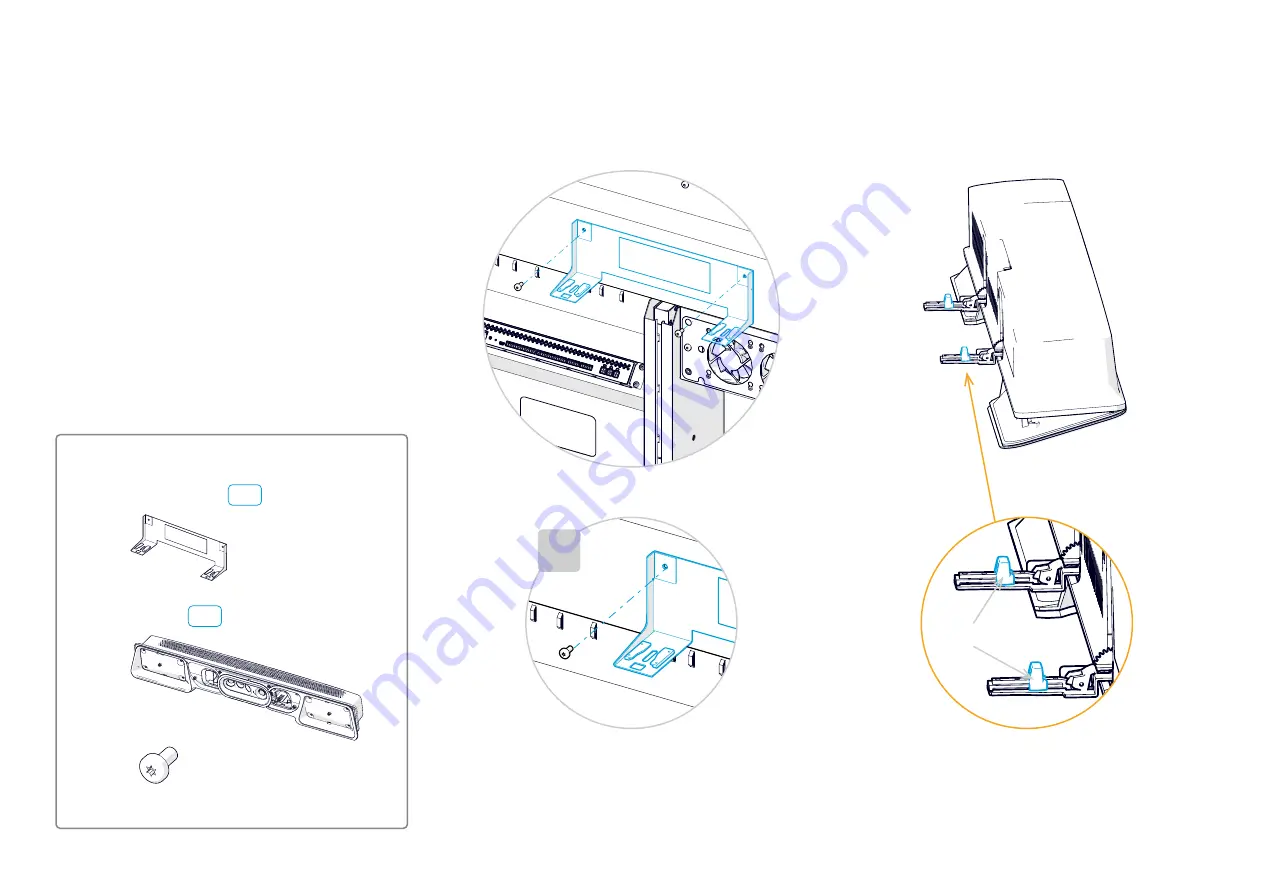
Mount the camera
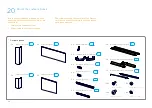
Camera
1x
Camera bracket
1x
Camera
2x
(M6x12, Torx 30)
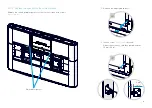
The camera is mounted on a bracket that is
fastened to the content cavity.
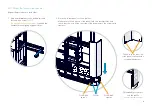
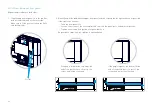
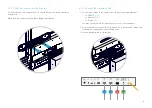
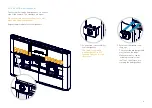
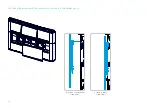
21.1 Mount the camera bracket
The camera bracket is fastened to the content
cavity with two screws
(M6x12, Torx 30)
.
×2
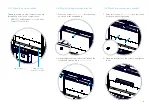
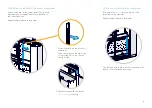
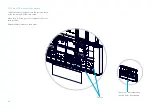
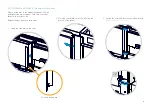
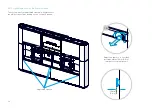
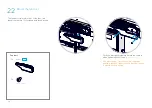
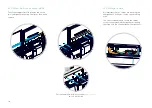
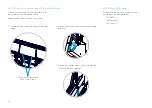
21.2 Set the camera tilt angle to 10°
There are two sliders for adjusting the camera tilt
angle at the bottom of the camera.
Flip down the brackets and
move the sliders
to 10°
, which is the required tilt angle for this
product.
Flip the brackets back when done.
10°
A8
C9
Содержание Webex Room Panorama
Страница 1: ...Cisco Webex Room Panorama Installation guide ...
Страница 2: ......
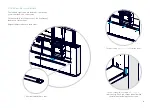
Страница 24: ...22 7 2 Mount the amplifier Slide the amplifier into its slot Fasten it with four screws M5x10 Torx 25 2 ...
Страница 83: ...81 ...
Страница 87: ......


