

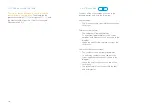


30
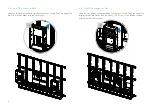
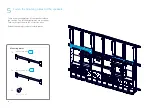
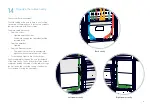
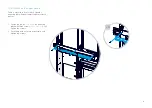
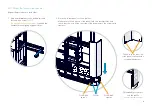
13.6 Other cables
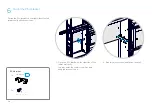
C6
C7
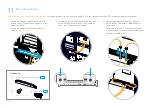
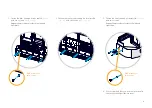
Connect all the other cables as shown in the
wiring diagram, and note the following.
Power cables:
• Don't connect any power cable to the socket
outlets yet.
Cables for the camera:
• The camera will be installed later.
• Connect the camera cables to the codec,
amplifier, and Ethernet switch as shown in the
diagram.
• Leave the ends for the camera on top of the
rack cavity.
Cables for the content screen:
• The content screen will be installed later.
• Connect the content screen cables to the
codec and Ethernet switch as shown in the
diagram.
• Leave the end for the screen on top of the
rack cavity.
• The power cable is not connected in either
end at this point.
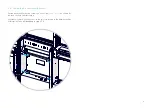
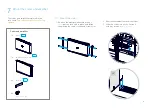
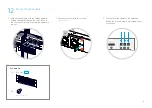
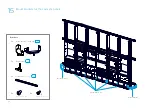
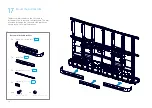
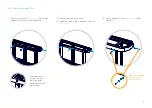
13.5 Cables toward the table
The cables that go between the system and the
table will be connected later.
This would be the
presentation cables (
T1..3
), microphones (
M1..8
), and
the Ethernet cable from the codec to the second
Ethernet switch (
X1
).
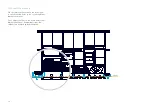
Содержание Webex Room Panorama
Страница 1: ...Cisco Webex Room Panorama Installation guide ...
Страница 2: ......
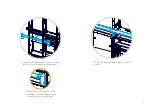
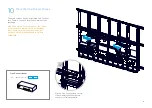
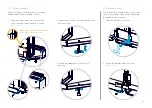
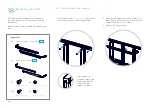
Страница 24: ...22 7 2 Mount the amplifier Slide the amplifier into its slot Fasten it with four screws M5x10 Torx 25 2 ...
Страница 83: ...81 ...
Страница 87: ......


