


64
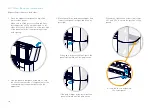
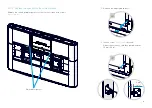
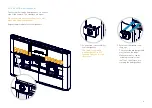
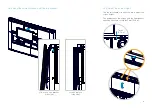
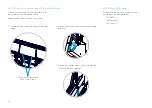
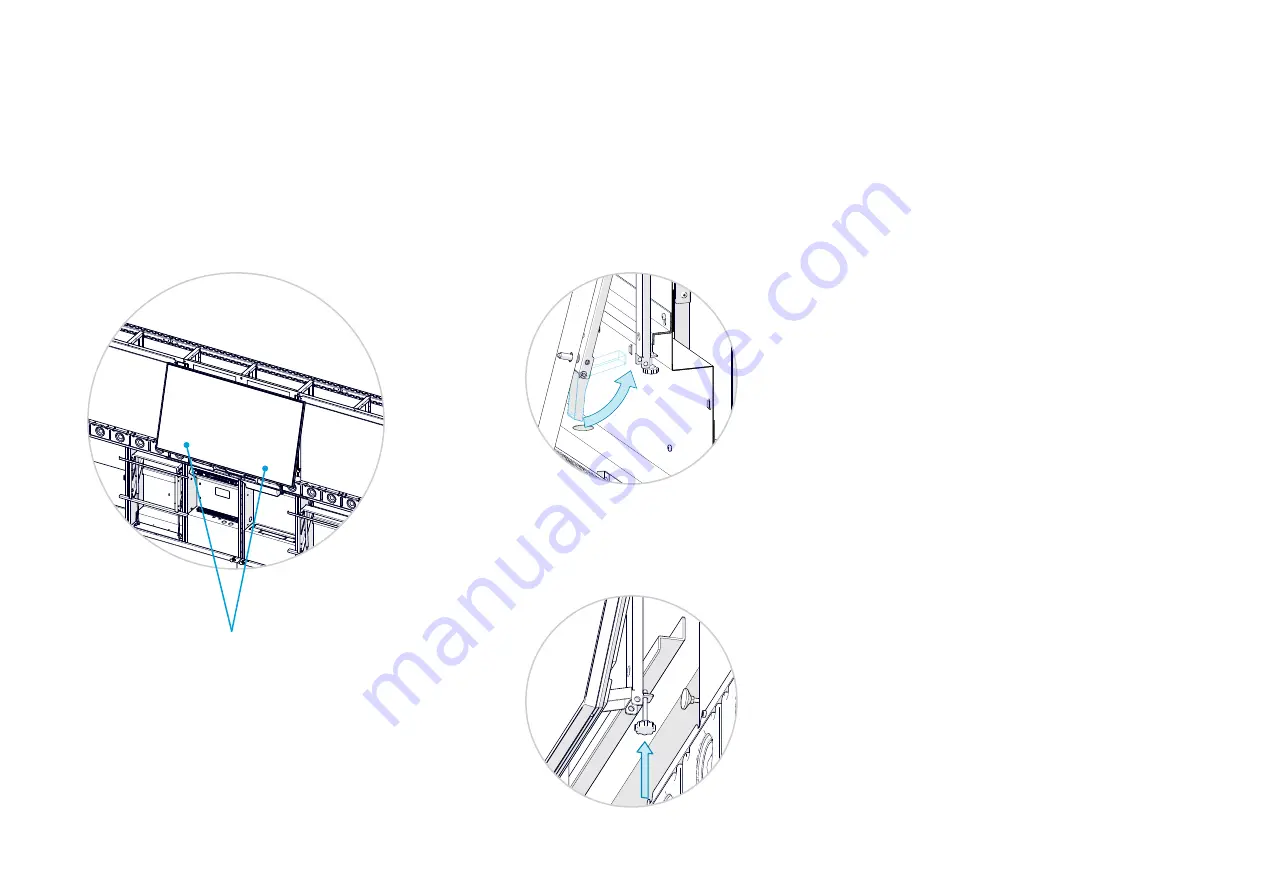
24.4 Tilt the screen and secure it to the lower bracket
You can use the levers on the screen rails to fix
the content screen in a tilted position.
Repeat the procedure for both screen rails.
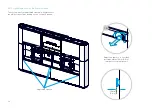
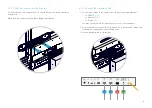
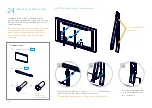
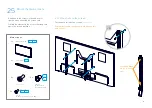
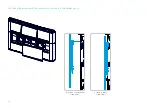
24.5 Connect the cables
Connect the cables to the content screen
according to the wiring diagram:
• 1x HDMI (
S3
)
• 1x Ethernet (
S6
)
• 1x Power (
S9
)
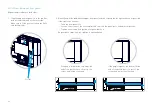
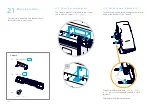
1. Carefully tilt the screen by lifting out the lower
edge.
2. Lift the lever so that the screen stays in a tilted
position.
3. Tighten the thumb screw so that it secures the
screen to the lower bracket.
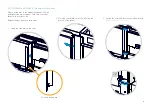
Levers on the rails at the
back of the screen
Содержание Webex Room Panorama
Страница 1: ...Cisco Webex Room Panorama Installation guide ...
Страница 2: ......
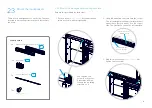
Страница 24: ...22 7 2 Mount the amplifier Slide the amplifier into its slot Fasten it with four screws M5x10 Torx 25 2 ...
Страница 83: ...81 ...
Страница 87: ......


