Chapter 11
11-33
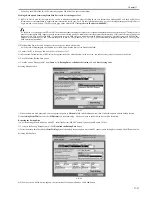
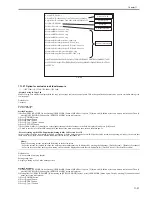
F-11-59
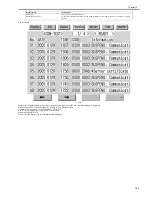
7) Press the 1 key on the control panel keypad to change the setting to '1'; then, click
OK
button.
F-11-60
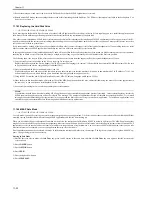
8) Check that the notation 'MPSF' has appeared in the lower right corner of the screen; then, turn off and then on the main power.
F-11-61
If you want to end safe mode, repeat the steps but change '1' to '0' in step -7 and turn off and then on the main power.
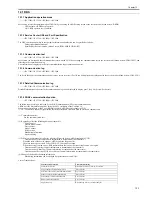
11.1.25 Setting HTTP port for MEAP application (level 2)
0014-8091
/ / / / iR C3380i / iR C3380 / iR C2880i / iR C2880
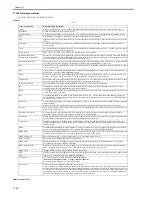
For the ports in which the MEAP application uses, the default is 8000 for the port on HTTP server, and 8443 for the port on HTTPS server. In the case that these
ports have already used by the customer who is to introduce this application, the MEAP application cannot use the HTTP (or HTTPS) server(s).
By changing the following ports to use, however, the MEAP application can be used as well as the existing system.
HTTP server
Setting value is 0 through 65535 [the value at factory shipment/after clearing RAM: 8000]
HTTPS server
Setting value is 0 through 65535 [the value at factory shipment/after clearing RAM: 8443]
Memo:
-As for port on HTTPS server, it only applies to the device that supports SSL function.
-Make sure not to use 1 through 1023 other than 80 (HTTP) as a port for MEAP. Because the ports in this range are used by general servers, there is a possibility
that the ports in this range will be duplicated in the future.
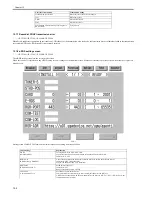
<Setting Procedure of Port on HTTP server>
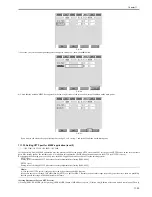
1) Startup [SERVICE MODE] (After pressing [USER MODE] button of MEAP device, press [2] button and [8] button at the same time on control panel. Then by
Содержание iR C3380 series
Страница 1: ...Aug 29 2006 Service Manual iR C3380 2880 Series...
Страница 2: ......
Страница 6: ......
Страница 23: ...Chapter 1 Introduction...
Страница 24: ......
Страница 26: ......
Страница 52: ......
Страница 53: ...Chapter 2 Installation...
Страница 54: ......
Страница 127: ...Chapter 3 Basic Operation...
Страница 128: ......
Страница 130: ......
Страница 136: ......
Страница 137: ...Chapter 4 Main Controller...
Страница 138: ......
Страница 160: ......
Страница 161: ...Chapter 5 Original Exposure System...
Страница 162: ......
Страница 188: ...Chapter 5 5 24 F 5 68 4 Remove the original sensor 2 hook 1 F 5 69...
Страница 189: ...Chapter 6 Laser Exposure...
Страница 190: ......
Страница 192: ......
Страница 206: ......
Страница 207: ...Chapter 7 Image Formation...
Страница 208: ......
Страница 256: ......
Страница 257: ...Chapter 8 Pickup Feeding System...
Страница 258: ......
Страница 262: ......
Страница 303: ...Chapter 9 Fixing System...
Страница 304: ......
Страница 306: ......
Страница 321: ...Chapter 10 Externals and Controls...
Страница 322: ......
Страница 326: ......
Страница 336: ...Chapter 10 10 10 F 10 10 2 Remove the check mark from SNMP Status Enabled...
Страница 337: ...Chapter 10 10 11 F 10 11...
Страница 359: ...Chapter 11 MEAP...
Страница 360: ......
Страница 362: ......
Страница 401: ...Chapter 12 RDS...
Страница 402: ......
Страница 404: ......
Страница 411: ...Chapter 13 Maintenance and Inspection...
Страница 412: ......
Страница 414: ......
Страница 416: ...Chapter 13 13 2 F 13 1 8 9 1 2 3 3 5 6 7 10 11 12 13 14 4...
Страница 421: ...Chapter 14 Standards and Adjustments...
Страница 422: ......
Страница 424: ......
Страница 431: ...Chapter 15 Correcting Faulty Images...
Страница 432: ......
Страница 434: ......
Страница 459: ...Chapter 16 Self Diagnosis...
Страница 460: ......
Страница 462: ......
Страница 481: ...Chapter 17 Service Mode...
Страница 482: ......
Страница 484: ......
Страница 571: ...Chapter 18 Upgrading...
Страница 572: ......
Страница 574: ......
Страница 603: ...Chapter 19 Service Tools...
Страница 604: ......
Страница 605: ...Contents Contents 19 1 Service Tools 19 1 19 1 1 Special Tools 19 1 19 1 2 Solvents and Oils 19 2...
Страница 606: ......
Страница 609: ...Aug 29 2006...
Страница 610: ......


