48
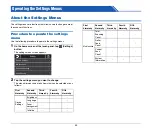
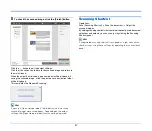
• If the entered subnet mask is not a contiguous left-justified value, a
warning screen is displayed and the entry is rejected.
• If the entered default gateway is "0.0.0.0", "255.255.255.255",
"127.xxx.xxx.xxx", "169.254.xxx.xxx", a warning screen is displayed
and the entry is rejected.
Hint
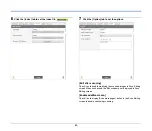
• After changing the settings in the [Manual] screen, tap the [OK]
button. Pressing the
(Back) button cancels any changes to the
settings.
• Network information can also be set in the Web menu.
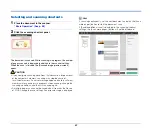
Wi-Fi Setting
Select the following menu to do Wi-Fi settings.
Hint
Doing the Wi-Fi settings allows the connection mode to switch to Wi-
Fi mode automatically.
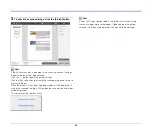
Available Network
The networks that can be used are shown in the list.
Tapping the name of the network to which you want to connect opens
a security key setting screen. After you input the security key, the
connection to the network starts. If connection is successful, the [Wi-
Fi Setting] screen appears.
WPS
Follow the guidance on the panel, tap the [OK] button to start WPS
connection. If connection is successful, the [Wi-Fi Setting] screen
appears.
Manual
Manually type in the SSID and security key for the network to which
you want to connect. Tap the [OK] button to start connecting to the
access point. If connection is successful, the [Wi-Fi Setting] screen
appears.
Wireless Connection Tool
Follow the guidance on the panel, tap the [OK] button to start
connecting using the Wireless Connection Tool. If connection is
successful, the [Wi-Fi Setting] screen appears.
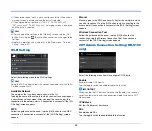
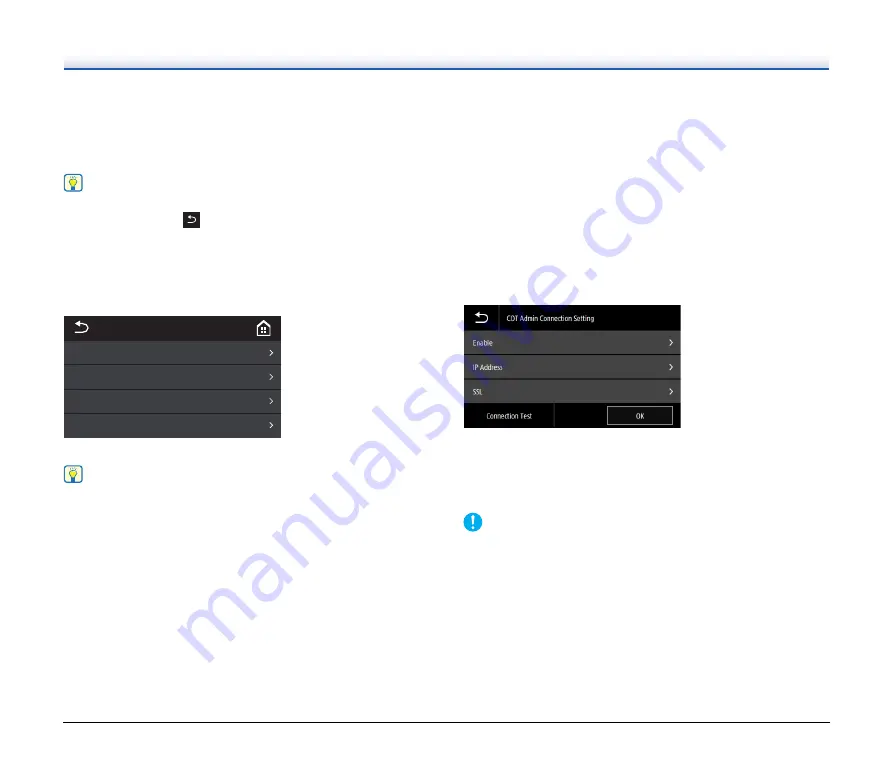
COT Admin Connection Setting (DR-S150
only)
Select the following menu items to configure COT Admin.
Enable
Enable/disable COT Admin.
Tap the toggle switch to enable/disable the function.
IMPORTANT
When you tap the OK button after enabling [Enable], the scanner
restarts automatically and the connection mode switches to COT
Admin mode.
IP Address
Set the IP address or host name.
SSL
Enable/disable SSL.
Tap the toggle switch to enable/disable the function.
䣙䣫䣴䣧䣮䣧䣵䣵䢢䣅䣱䣰䣰䣧䣥䣶䣫䣱䣰䢢䣖䣱䣱䣮
䣏䣣䣰䣷䣣䣮
䣙䣒䣕
䣃䣸䣣䣫䣮䣣䣤䣮䣧䢢䣐䣧䣶䣹䣱䣴䣭
䣙䣫䢯䣈䣫䢢䣕䣧䣶䣶䣫䣰䣩
Содержание DR-S130
Страница 59: ...59 4 Click the Batch separation tab to set the batch separation 5 Click the Output tab to set the outputs ...
Страница 133: ......
Страница 134: ......

