47
• Security Key
"Scanner Name" shows what is set in the Web menu.
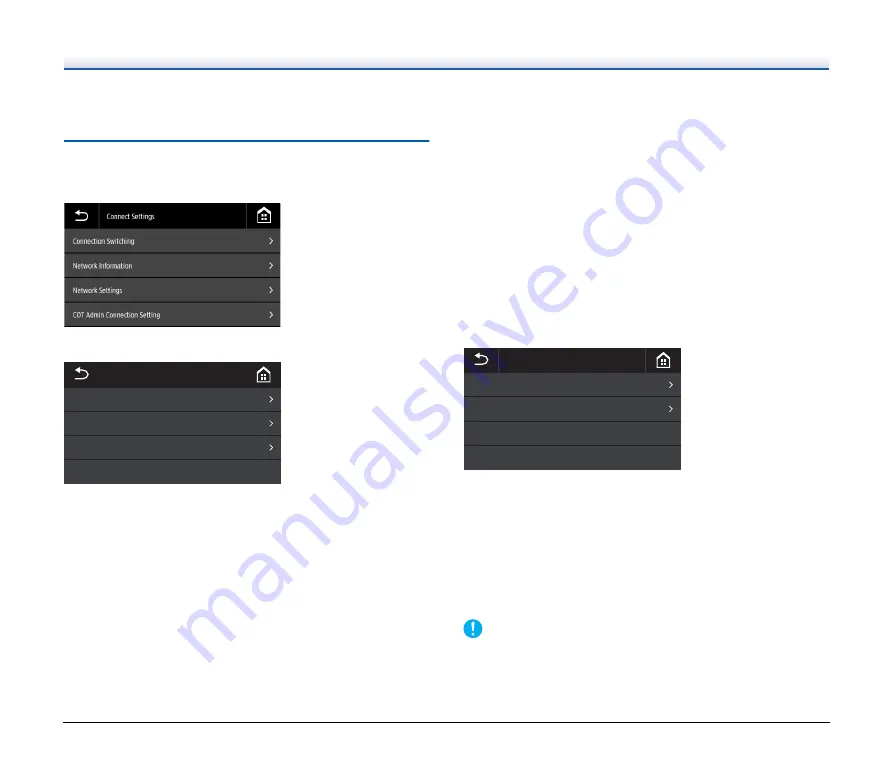
Connect Settings
DR-S150
DR-S130
Set the following menu to do settings related to how the scanner and
computer are connected.
Connection Switching
Change how the scanner and computer are connected.
Connect with USB cable:
The scanner and computer are
connected via USB cable.
Connect with Ethernet cable (DR-S150 only):
The scanner and computer are
connected via LAN cable.
Connect via Wi-Fi:
The scanner and computer are
connected via Wi-Fi.
By setting the connection mode, connection is possible only by that
specific connection method. You cannot use multiple connection
methods for the scanner and computer at the same time.
Network Information
Shows the following network information for the scanner.
• IP Address
• Subnet Mask
• Default Gateway
• SSID
[SSID] appears only when the connection mode is Wi-Fi mode. The
SSID that is displayed is the SSID for the access point that is currently
connected, or for an access point that was set in the past. The field is
empty if one has never been set.
Network Settings
Select the following menu to set the network information.
IP Address Setting
The IP address can be set manually or automatically.
Automatic: Enables DHCP and acquires an IP address automatically.
Manual: Set the following network information manually.
• IP Address
• Subnet Mask
• Default Gateway
IMPORTANT
• If the entered IP address is "0.0.0.0", "255.255.255.255",
"127.xxx.xxx.xxx", or "169.254.xxx.xxx", a warning screen is
displayed and the entry is rejected.
䣐䣧䣶䣹䣱䣴䣭䢢䣕䣧䣶䣶䣫䣰䣩䣵
䣐䣧䣶䣹䣱䣴䣭䢢䣋䣰䣨䣱䣴䣯䣣䣶䣫䣱䣰
䣅䣱䣰䣰䣧䣥䣶䣫䣱䣰䢢䣕䣹䣫䣶䣥䣪䣫䣰䣩
䣅䣱䣰䣰䣧䣥䣶䢢䣕䣧䣶䣶䣫䣰䣩䣵
䣙䣫䢯䣈䣫䢢䣕䣧䣶䣶䣫䣰䣩
䣋䣒䢢䣃䣦䣦䣴䣧䣵䣵䢢䣕䣧䣶䣶䣫䣰䣩
䣐䣧䣶䣹䣱䣴䣭䢢䣕䣧䣶䣶䣫䣰䣩䣵
Содержание DR-S130
Страница 59: ...59 4 Click the Batch separation tab to set the batch separation 5 Click the Output tab to set the outputs ...
Страница 133: ......
Страница 134: ......

