92
SECTION 8: HORIZON MPU6 PROGRAMMING AND CLOCK SETTING.
8.1 MPU6 Programming instructions
The MPU6 is provided with a USB A port to allow service engineers to upgrade game
software on site using a USB Stick without the need to carry compact flash cards or proms.
The LCD display provided on the MPU6 on power up displays the bootstrap and game
software versions currently installed.
These instructions are intended as a guide to updating the game software as required.
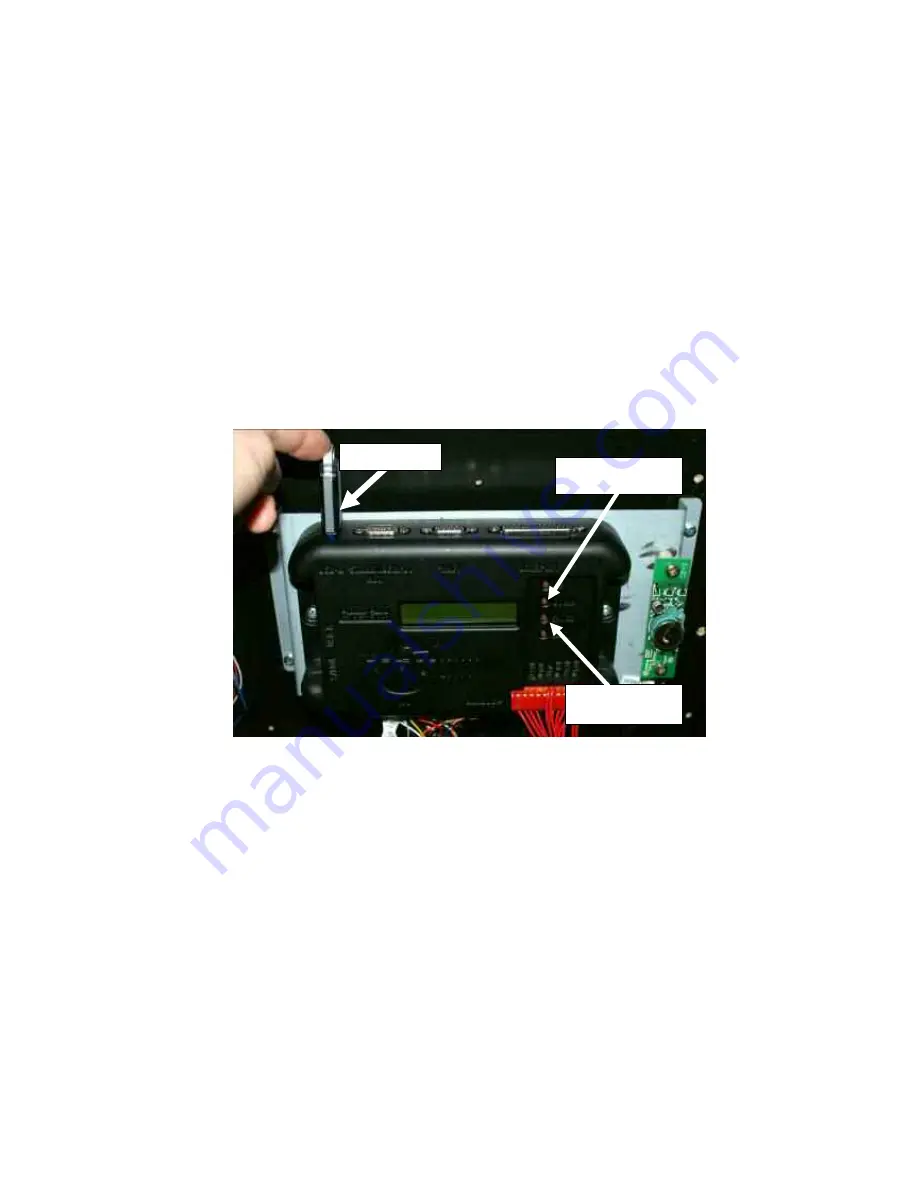
1. Ensure that the power to the machine is turned off and then insert the USB Stick into the
MPU6 USB port as shown in the image below.
2. Power up the machine and the MPU6 LCD display will now indicate the boot version
installed, then it will read and display the first game available on the USB stick.
3. If the required game is not displayed on the LCD display, then select the down button
(2nd from Top) indicated in the image above to scroll through the game software until the
correct one is displayed.
4. Now press the enter key (third from top) indicated in the image above to select the game
software, the LCD will now indicate an
“Erasing”
message including the percentage
completed.
5. Once the MPU6 has been cleared, then the
“programming”
message will be displayed
showing the percentage completed.
6. When programming is completed the display will prompt for the USB Stick to be removed.
Once this is removed the machine will reboot with the new software installed.
USB
Enter Button
Down Button
Содержание MPU6
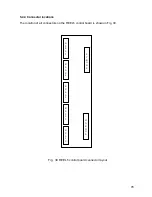
Страница 73: ...73 Fig 37 MUX5 board connector layout...

