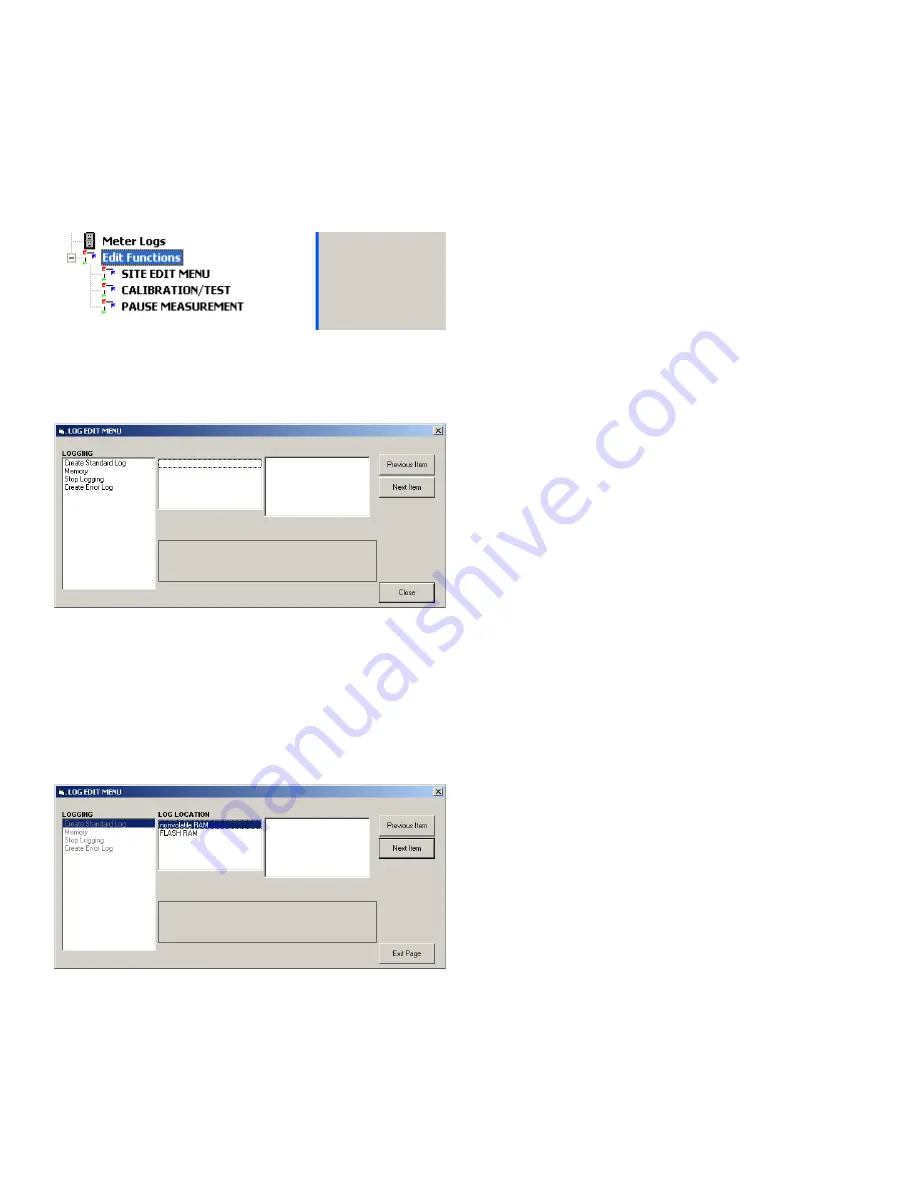
3.3 Creating meter logs
To create a new meter log, complete the following steps:
1. From the
new meter browser
in PanaView, expand
the network tree and open the
edit functions
option
(described in
Appendix C. Programming the XGF868i with
. The menu will appear similar to
Figure 10
below.
Figure 10: Edit functions menu for XGF868i with logging card
2. Double-click on the
log edit
menu, as shown in
Figure 10
above. The window appears similar to
Figure 11
below.
Figure 11: Log edit menu window
3.3.1 Creating a standard meter log
1. To create a standard meter log, complete the following
steps:
a. Double-click on the
create standard log
option. The
window now appears similar to
Figure 12
below.
Figure 12: Log location in the Create Standard log option
b. PanaView first asks for the
log location
, either
flash or non-volatile RAM. Double-click on the
desired location.
c. Now type the desired
log name
in the right window,
and click [next item].
d. Type the desired
log message
in the right window,
and click [next item].
e. PanaView now asks for the
number of variables
you
wish to log. Type in the desired number (from 1 to 6),
and click [next item].
f. Double-click on the desired
channel
for the first
variable.
g. Scroll to and double-click on the desired
measurement
to be logged.
h. Repeat steps f and g for the specified number
of variables.
NOTE:
If you select a forward or reverse total, PanaView asks
if you want to reset Totals to 0? Double-click on yes or no.
i. PanaView indicates a given
starttime
. Double-click
on OK to agree to the given time, on
now
to start
the log immediately, or on
edit
to change the
starting time.
j. If you select
edit
, PanaView asks first for the desired
hour
, then for the
minute
, and finally for the
second
.
For each parameter, type the desired number in the
right window, and click [next item] (or simply click
[next item] to step through the parameters).
k. PanaView indicates a given
StartDate
. Double-click
on
OK
to agree to the given day, on
today
to start the
log that day, or on edit to change the starting date.
• If you select
edit
, PanaView asks first for the desired
year
, then for the
month
, and finally for the
day
.
For each parameter, type the desired number
in the right window, (or scroll to and click on the
desired month) and click [next item] (or simply
click [next item] to step through the parameters).
l. PanaView indicates a given
end time
. Double-click
on OK to agree to the given time, on now to start
the log immediately, or on
timed
to indicate a
specific duration.
• If you select
edit
, PanaView asks first for the desired
hour
, then for the
minute
, and finally for the
second
.
For each parameter, type the desired number in
the right window, and click [next item] (or simply
click [next item] to step through the parameters).
• If you select
timed
, PanaView asks for the
log time
(duration). Scroll to and double-click on the desired
length of time (from 10 minutes to 24 hours.) Then
go to step m.
• PanaView indicates a given
end date
. Double-click
on
OK
to agree to the given day, on
today
to start
the log that day, or on
edit
to change the starting
date.
• If you select
edit
, PanaView asks first for the desired
year
, then for the
month
, and finally for the
day
. For
30
Содержание DigitalFlow XGF868i
Страница 1: ...DigitalFlow XGF868i Panametrics flare gas flow transmitter Programming manual...
Страница 2: ...ii...
Страница 4: ...no content intended for this page iv...
Страница 10: ...x...
Страница 38: ...28...
Страница 46: ...no content intended for this page 36...
Страница 54: ...44...
Страница 60: ...50...
Страница 88: ...78...
Страница 94: ...84...


