28
4. Record Settings
There are multiple ways to setup your DVR for recording. They include setting up a
recording schedule, triggering a recording by motion detection and/or a sensor alarm,
and manually starting the recording.
4.1 Before Record Settings
Before configuration, please make sure your DVR has been installed with an HDD
and has completed its initialisation, otherwise, access Menu > HDD Management to
install the HDD and perform initialisation first.
Note: Please refer to
Initialising HDD
for specific instructions for initialising HDD.
4.2 Initialising Record Settings
1.
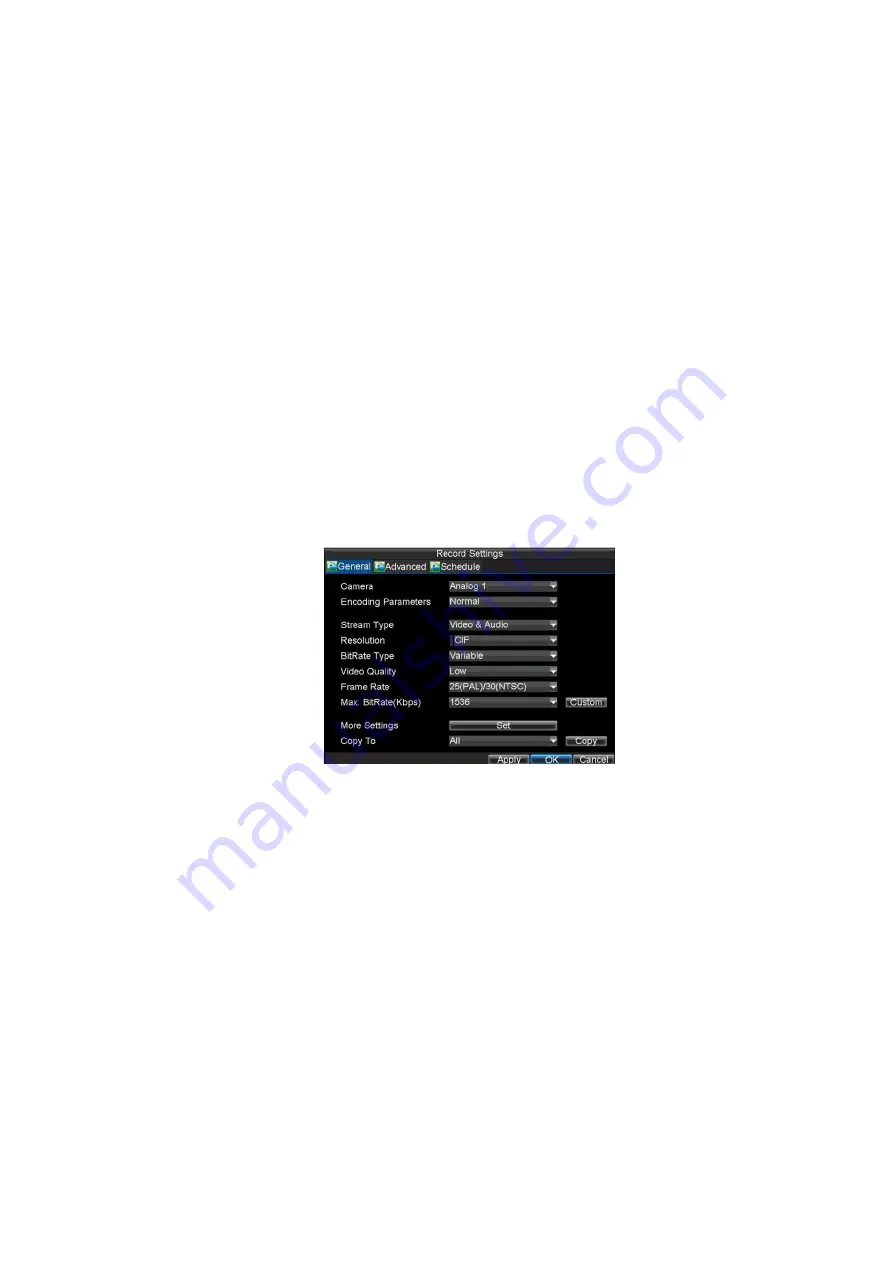
Click Menu > Settings > Record to access the Record Settings dialogue
box, shown in Figure 1.
Figure 1. General Record Settings
2.
Select the camera you want to configure.
3.
Configure the following settings:
•
Encoding Parameters:
Set the encoding parameters to be Normal or
Event. To setup Ramp Up facility refer to section 13.2
•
Stream Type:
Set the stream type to be Video or Video & Audio.
•
Resolution:
Set recording at resolution of 4CIF, 2CIF, CIF or QCIF.
For more information see section 13.6
•
Bit Rate Type:
Set the bit rate type to be Variable or Constant.
•
Video Quality:
Set the video quality of recording, with 6 levels
configurable.
•
Frame Rate:
Set the frame rate of recording.
For more information see sections in Chapter 13.
•
Max Bit Rate:
Select or customise the maximum bit rate for recording.
4.
Click the
Set
button under More Settings to configure more recording
settings, as shown in Figure 2.


