


Installation (Getting Started)
2
Installation and Verification Manual
39
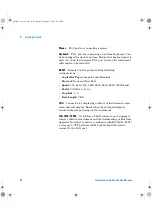
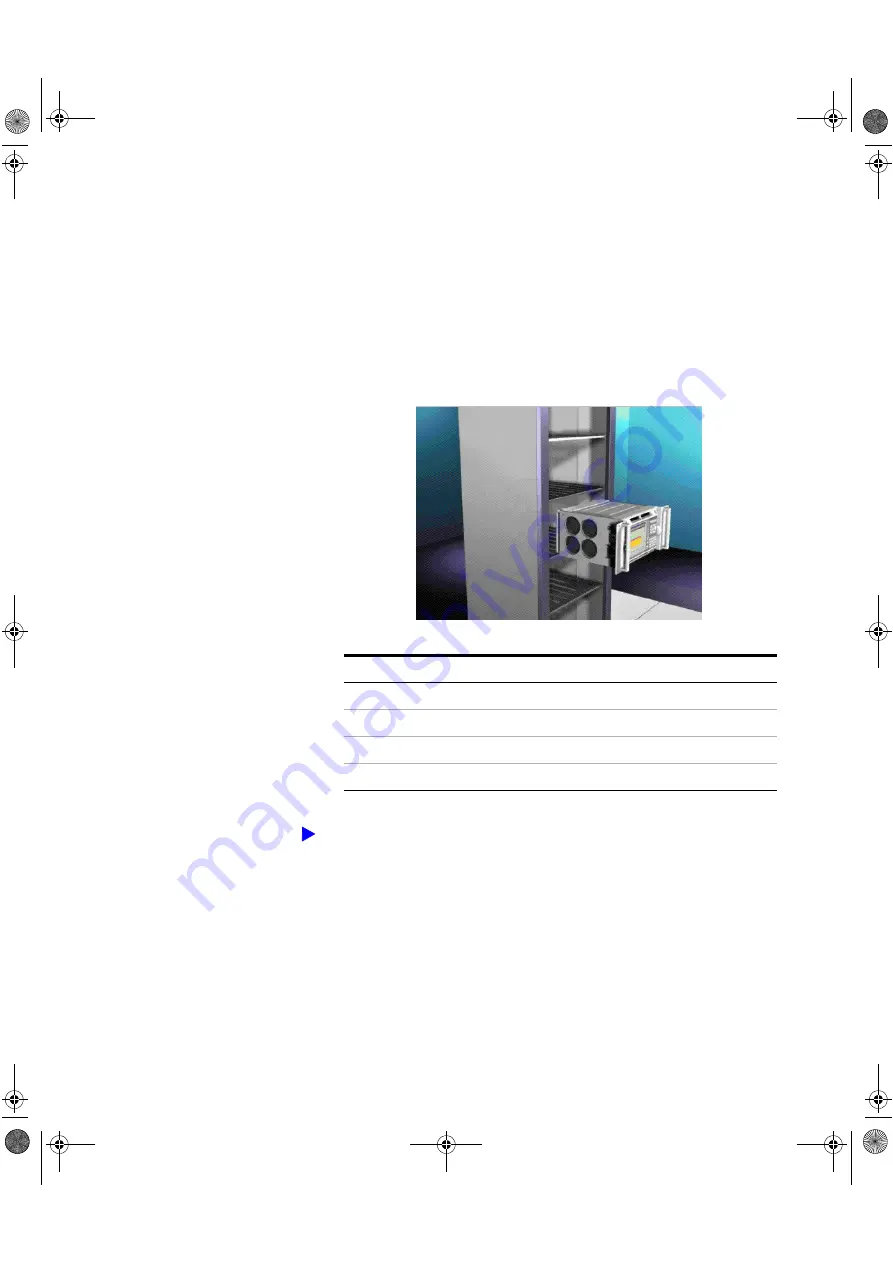
Rack Mounting the Instrument
Option 005 of the instrument is ready to mount directly into a
rack. All the hardware required is supplied with this version of
the instrument.
1
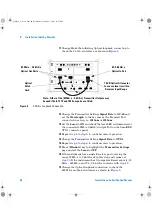
Fit the rack shelf supplied with the instrument to the rack,
following the instructions given with the shelf.
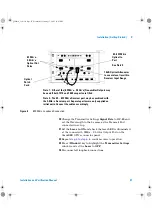
2
Fit captive nuts (4 off, supplied) to rack uprights.
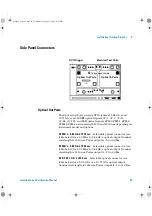
3
Place instrument on shelf.
4
Connect power cord and GP-IB cable (if required)
before
sliding the instrument into its final position on the shelf.
Item (all supplied)
Part Number
Shelf
46101-00146
Captive Nuts (8 off) - for mounting shelf and instrument
0590-0804
Screws (4 off) - for mounting shelf
2680-0103
Dressed Screws (4 off) - for mounting instrument
0570-1366
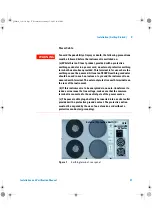
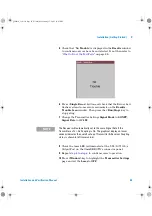
To rack mount the instrument
panther3_iv.book Page 39 Wednesday, January 15, 2003 12:03 PM
Содержание OmniBER J7230A
Страница 2: ...sdh_Lynx2 book Page 148 Wednesday April 17 2002 12 49 PM...
Страница 10: ...8 Installation and Verification Manual panther3_iv book Page 8 Wednesday January 15 2003 12 03 PM...
Страница 172: ...170 Installation and Verification Manual panther3_iv book Page 170 Wednesday January 15 2003 12 03 PM...
Страница 173: ...sdh_Lynx2 book Page 148 Wednesday April 17 2002 12 49 PM...