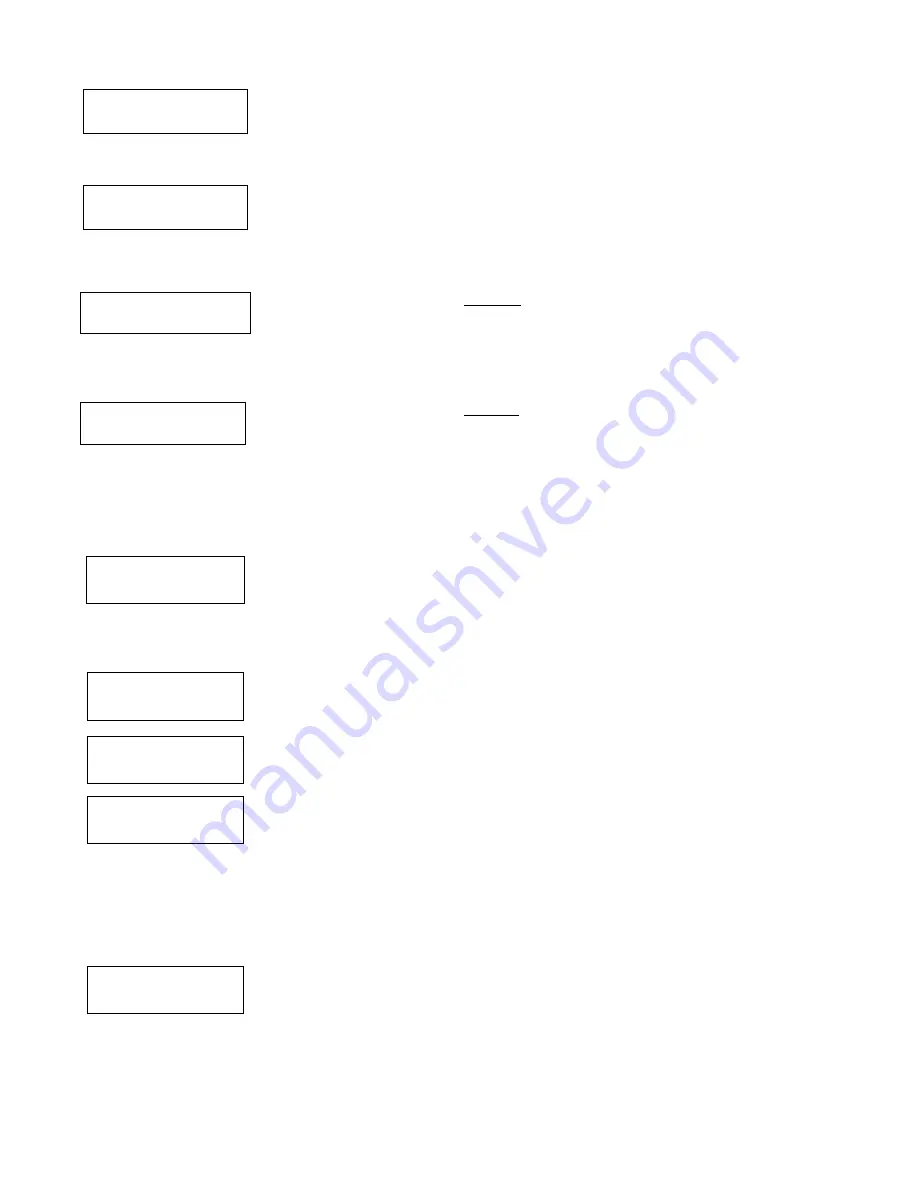
ADEMCO VISTA-32FB Скачать руководство пользователя страница 19

 19 

 –

010  INPUT  S/N:

L

A000-0000

1

To Delete a Serial Number

To delete an existing serial number, enter “0“ in the loop number field.  The serial number will
change to “0”s.
If “0” was entered in error, simply re-enter the loop number or press [#], and the serial number
will return to the display.

XMIT TO CONFIRM

PRESS 

TO SKIP

The prompt to confirm appears. This prompt will only appears if you answered “Yes” at the
“SET TO CONFIRM?” prompt.
The system will enter a confirmation mode so that the operation of the actual programmed
input can be confirmed. Activate the loop input or button that corresponds to this zone. At any
time during this step, you may press the [

] key on the keypad to save the serial and loop

number combination without confirming.

Entd

A022-4063

1

Rcvd

A022-4064

If the serial number transmitted does not match the serial number entered, a display
similar to the one at the left will appear.  If the loop number does not match, it will also be
displayed.
If so, activate the loop input or button on the transmitter once again. If a match is not obtained,
press the [#] key twice and then enter or transmit the correct serial number.
Activate the button on the wireless key again after re-entering the serial number.

Zn   ZT   P  RC   In      L

011   00   1   10   00    1

If the serial number transmitted matches the serial number entered, the system will beep
3 times and advance to the summary display for the next zone's programming.

After all the serial numbers have been entered, enter 000 for the zone number to quit.

After you have enrolled each wireless device, remove ONE of the serial number labels from that device and affix it in
the appropriate column on the worksheets provided in the 

Programming Guide; then enter the other information (zone

number, zone type, etc.) relevant to that device.

Entering Wireless Keys

If the D key was previously pressed to enter defaults for 5804 and/or 5804BD wireless keys, the following screens will appear:

FROM TEMPLATE

1–6

1

Enter Template number (1–6).
1–3 = 5804 templates; 4–6 = 5804BD templates. See the defaults provided for each template

in the chart that follows these procedures.

Select from templates.  Press [

] to display template (template 1 shown selected).

Note: If necessary, press [#] to back up and re-enter template number.
Press [#] if you want to return to zone attributes screen.

L     01   02   03   04

2T   23   22   21   23   1

When [

] is pressed, the selected template will be displayed.

Top line of display represents loop numbers, bottom line represents zone type.

Press [

] to accept template.

PARTITION

1

Enter Partition number for wireless key.
Press [

] to continue.

ENTER ZONE NO

000 = QUIT          024

Example of zone
number suggested by
the system. This
indicates that zones
24, 25, 26, and 27 are
available.

The system will search for the highest available, consecutive 4-zone group, (the four zones
required for the 5804 and 5804BD), and display the lowest zone number of the group.
If you want to start at a different zone, enter the zone desired and press [

].

If that zone number is displayed, the system has the required number of consecutive zones
available, beginning with the zone you entered.  If not, the system will again display a
suggested zone that can be used.
If the required number of consecutive zones is not available at all, the system will display
“00”
Press [

] to accept.

024 INPUT S/N

L

AXXX-XXXX

1

To enter the serial number:
Press and release a button on the wireless key.

OR

Manually enter the 7-digit serial number printed on the device’s label, using the Alpha
keypad.
Press [

] to accept serial number. The system will check for duplicate.

If a duplicate exists, a long error beep will sound and the serial number reverts back to all
“X”s allowing you to re-enter the serial number.

www.PDF-Zoo.com

Содержание VISTA-32FB

Страница 1: ...K3840V1 9 00 9 9 6 67 7 RPPHUFLDO LUH DQG XUJODU 3DUWLWLRQHG 6HFXULW 6 VWHP ZLWK 6FKHGXOLQJ 3URJUDPPLQJ XLGH FIRE FIRE PULL www PDF Zoo com...

Страница 2: ...ne alpha keypad is connected to the control and is set to device address 00 Single Partition System The system default is for a single partition system Use the VISTA 32FB SINGLE PARTITION PROGRAMMING...

Страница 3: ...eway Module 6 Use 93 Menu Mode for zone programming Refer to the Zone Programming in this guide to program zone response types assign right loop zones and wireless zones assign zones to partitions and...

Страница 4: ...Communications 90 Partition Specific 1 01 93 Menu Mode 1 02 93 Menu Mode 1 03 93 Menu Mode 1 04 93 Menu Mode 1 05 93 Menu Mode 1 06 93 Menu Mode 1 07 93 Menu Mode 1 08 93 Menu Mode 1 09 93 Menu Mode 1...

Страница 5: ...hrs 0 normal report about 2 min after AC loss Must be 2 for Central and Remote Station Fire alarm systems 20 VIP MODULE PHONE CODE Enter 01 09 for the first digit enter 00 11 11 for or 12 for for the...

Страница 6: ...go to secondary only If used with Split Reporting 2 option alarms and alarm restores go to both open close and test messages go to secondary only while all other reports go to primary If used with Spl...

Страница 7: ...ial Fire UL installations 1 19 ARMS LOBBY 0 Enter 1 if arming this partition attempts to arm lobby enter 0 if it does not Must be 0 for Commercial Fire UL installations 1 20 EXIT ERROR LOGIC 0 0 No 1...

Страница 8: ...es of 2 minutes desired for 80 Menu Mode time driven event relay command numbers 04 09 and 93 Menu Mode Output Programming command 56 1 75 RELAY TIMEOUT YY SECONDS 000 Enter the relay timeout 0 127 se...

Страница 9: ...waterflow restores 3 15 ALARM BELL SOUND 1 0 0 pulsed 1 steady Bell 1Bell 2 3 16 DELAY for ZONE TYPES 17 18 00 Waterflow FIre Supv Enter 00 15 times 2 seconds 3 17 ALTERNATE FUNCTION TAMPER 0 FOR ZONE...

Страница 10: ...r UL Commercial Burglary installations 12 EXIT DELAY 2 08 00 15 times 15 seconds Maximum 04 for UL Commercial Burglary installations 13 BELL 1 TIMEOUT 04 01 15 times 2 minutes Minimum 16 minutes for U...

Страница 11: ...enings and closings occurring outside the scheduled opening closing windows will trigger dialer reports Opening reports will also be suppressed during the closing window in order to prevent false repo...

Страница 12: ...lows ZONE PROG 1 YES 0 NO For programming the following Zone Number Zone Response Type Partition Number for Zone Dialer report code for zone Bell aux relay assignment for zone Input Device Type for zo...

Страница 13: ...screen Press to display a previous screen SET TO CONFIRM 0 NO 1 YES 0 This prompt will appear once upon entering Zone Programming If Yes Confirmation prompts will be displayed after the device s Seri...

Страница 14: ...nd 12 for C Refer to System Communication section for more information about report codes and report code formats Press to continue 010 INPUT TYPE RF Xmitter 3 Note that input types 4 5 are valid for...

Страница 15: ...ess and release the button a second time OR b Manually enter the 7 digit serial number printed on a label on the transmitter using the Alpha keypad Then press the key the cursor will move to the L pos...

Страница 16: ...HOUSE CODE YOU MUST ENROLL THIS BUTTON LOOP 1 5809 ENROLL AS RF 5801 ENROLL AS UR OR RF LOOP 3 LOOP 1 LOOP 2 LOOP 4 YOU MUST ENROLL THIS BUTTON Note For information on any transmitter not shown above...

Страница 17: ...est each using the system s Test Mode Do not use the Transmitter ID Sniffer Mode for this The system will check only for transmission of one zone on a particular transmitter NOT the zones assigned to...

Страница 18: ...reen Use the A key to move to the right Use the B key to move to left and to back up to B field Press to accept existing information 010 INPUT S N L A XXX XXXX If you entered RF BR UR or SL for the In...

Страница 19: ...e type etc relevant to that device Entering Wireless Keys If the D key was previously pressed to enter defaults for 5804 and or 5804BD wireless keys the following screens will appear FROM TEMPLATE 1 6...

Страница 20: ...Zone No prompt and will show the lowest numbered zone of the next available 4 zone group consecutive zones that is available for programming When all zones have been programmed enter 000 to quit Afte...

Страница 21: ...tem will be entered at one time In actuality it is possible to skip from one main menu option to another by pressing 0 NO at each main menu option Main menu options are highlighted in bold text To ent...

Страница 22: ...016 00 Enter the first digit of the Bypass Restore Report Code double digit entry and press The second digit for two digit reporting formats is automatically the ID second digit of the Alarm Report Co...

Страница 23: ...number is desired as the second digit enter 01 not necessary for Contact ID or High Speed formats Press to continue Enter the rest of the codes in the same manner Other codes in System Group 3 are Ear...

Страница 24: ...ck to 93 Menu Mode 4 Refer to the sections that follow for procedures for adding alpha descriptors Zone Descriptors 1 Select ZONE DESCRIPTOR mode The keypad keys perform the following functions 3 Scro...

Страница 25: ...hat there are only 16 character spaces on each of the two lines To create a custom display message proceed as follows 1 Select Default Screen Mode The keypad will ask for the partition number for this...

Страница 26: ...s 3 to advance through the list of symbols numbers and letters Press 1 to move back through the list When the desired character has been reached press 6 to select it The cursor will then move to the r...

Страница 27: ...MEDICAL 135 MEDICINE 136 MICROWAVE 137 MONEY 138 MONITOR 139 MOTHERS 140 MOTION 141 MOTOR 142 MUD 143 NORTH 144 NURSERY 145 OFFICE 146 OIL 147 OPEN 148 OPENING 149 OUTSIDE 150 OVERFLOW 151 OVERHEAD 15...

Страница 28: ...er 01 to maximum number of partitions programmed for system in field 2 00 This is the primary partition for which the device is intended to be used Enter 9 to make this keypad a master keypad for the...

Страница 29: ...Key Normal Key Function SHIFT Key Function BS ESC BS Press to delete entry ESC Press to quit Program Mode Also can reset EEPROM defaults Scroll down programming Scroll up programming N Y N Press for N...

Страница 30: ...F will not be displayed for private system users BAT PRESENT Y N N Enter Y if optional battery will be used Must be Y for UL installations a battery must be installed USE RADIO Y N N If Y is selected...

Страница 31: ...ere are no other zones of this type which are not to activate this device then ZONE TYPE may be used instead of using a ZONE LIST and EVENT to activate the device If a System Operation such as DISARMI...

Страница 32: ...List or Zone Type System Operation combination to start the Output action Enter the 3 digit zone number Press to continue 02 START ZN TYPE NO RESPONSE 00 A Zone Type System Operation can be used inst...

Страница 33: ...OUTPUT GROUP 00 Outputs may be grouped for common activation by time driven events commands 06 10 Enter 00 no group or 01 15 for a specific group number Press to continue 02 RESTRICTION 1 YES 0 NO 0 T...

Страница 34: ...more zones in that zone list Enter 0 if no changes are necessary If 1 is entered the following screen will appear otherwise the Enter Zone LIST prompt will reappear 01 Zn to DELETE 000 QUIT 000 Enter...

Страница 35: ...r 116 Alarm 255 And 067 Apartment 117 Appliances 161 Area 118 Attic 119 Baby 120 Back 121 Bar 122 Basement 021 Bathroom 051 Battery 053 Bed 092 Bedroom 015 Blower 123 Boiler 124 Bright 162 Building 12...

Страница 36: ...ress to accept entry The CUSTOM WORD NO prompt will be displayed Enter the next custom word number to be substituted or enter 00 to quit System Layout Worksheets As with any security system you should...

Страница 37: ...ion During Entry Console Annunciation During Exit Confirmation of Arming Ding for Bell 1 Confirmation of Arming Ding for Bell 2 Aux Rly Chime on Bell 1 Chime on Bell 2 Aux Relay Access Control Relay f...

Страница 38: ...d Entry Exit Beeps 02 Suppress Chime Mode Beeps Only 03 Suppress Arm Disarm Entry Exit and Chime Mode Beeps Defaults Addresses 00 01 Alpha Keypad No Suppression ACCESS CODES USER DEFINITIONS FOR PARTI...

Страница 39: ...Parti tion 1 2 Input Type 1 13 Serial Device Loop Bell Relay Activation Report Code Zone Information part numbers Alpha Descriptor 3 words max 01 02 03 04 05 06 07 08 09 010 011 012 013 014 015 016 01...

Страница 40: ...31 032 ZONE DEFINITIONS FOR KEYPAD PANIC ZONES 995 996 999 Enter yes no for each partition field 22 Zone No Zone Type 1 2 Bell Rel Act Report Code Zone Information part numbers Alpha Descriptor 3 word...

Страница 41: ...9 602 610 603 611 604 612 605 613 606 614 607 615 608 616 ZONE DEFINITIONS FOR SUPERVISORY OF ECP DEVICE ZONES 800 831 Zone No Zone Type Report Code Zone Information part numbers Alpha Descriptor 3 wo...

Страница 42: ...ght burglary 29 Momentary on exit Input Types 00 not used 08 right loop dip switch polling loop 01 hardwired 09 keypad input 03 supervised RF transmitter 10 PassPoint ACS input 04 unsupervised RF tran...

Страница 43: ...ation instructions as you enter the data during the displays and prompts that appear in sequence Notes For 4204 4204CF and FSA the Device Programming section must be programmed for the device address...

Страница 44: ...S T O P OUTPUT DEV A EV ZL Zone ZT P ZL ZT P Output Group Restrict 0 V Plex 1 4204 3 FSA V Plex Zone or Dev Add 4204 or FSA Relay for 4204 or LED for FSA 21 22 23 24 25 26 27 28 29 30 31 32 33 34 35...

Страница 45: ...S T O P OUTPUT DEV A EV ZL Zone ZT P ZL ZT P Output Group Restrict 0 V Plex 1 4204 3 FSA V Plex Zone or Dev Add 4204 or FSA Relay for 4204 or LED for FSA 46 47 48 49 50 51 52 53 54 55 56 57 58 59 61...

Страница 46: ...S T O P OUTPUT DEV A EV ZL Zone ZT P ZL ZT P Output Group Restrict 0 V Plex 1 4204 3 FSA V Plex Zone or Dev Add 4204 or FSA Relay for 4204 or LED for FSA 72 73 74 75 76 77 78 79 80 81 82 83 84 85 86...

Страница 47: ...ght 29 Momentary on Exit 54 Fire Zone Reset 06 24 Hr Silent 30 On Second Code Off 55 Disarm 1 Minute 07 24 Hr Audible 31 End of Exit Time 08 24 Hr Auxiliary 32 Start of Entry Time 56 XX Minutes enter...

Страница 48: ...Zone List 1 Started or stopped by zone numbers enter 000 to end entries Zone List 2 Started or stopped by zone numbers enter 000 to end entries Zone List 3 Started or stopped by zone numbers enter 00...

Страница 49: ...r 000 to end entries Zone List 12 Started or stopped by zone numbers enter 000 to end entries Zone List 13 Started or stopped by zone numbers enter 000 to end entries Zone List 14 Started or stopped b...

Страница 50: ...window for each day of the week and holidays Holidays 1 Yes 0 No 0 For defining up to 16 holidays for which partitions they apply Timed Events 1 Yes 0 No 0 For defining up to 20 time driven events wi...

Страница 51: ...17 18 19 20 Keep this worksheet handy as you will be asked for a given time window number later in this section Since the time windows are shared among all partitions it is important to make sure that...

Страница 52: ...r in sequence HOL Partition Month Day 1 2 1 2 3 4 5 6 7 8 9 10 11 12 13 14 15 16 Time Driven Event Worksheet The system provides up to 20 time driven events that can be programmed for the system Fill...

Страница 53: ...lose Windows Action Specifier for commands 40 41 is Partition s for 42 is Access Group and for 50 no specifier is programmed Activation time 3 During is the only valid choice for these commands 40 Ena...

Страница 54: ...4 5 6 7 8 Temporary Schedule 81 Menu Mode The system provides a Temporary Schedule for each partition Enter the temporary scheduling mode by pressing Installer Code 81 Fill in the required data on the...

Страница 55: ...ERVISORY 5 OUT 2 FIRE 6 OUT 5 REMOTE KEYPAD SOUNDER 7 OUT 1 OPEN CLOSE 8 GROUND 9 IN 1 N O LOOP RATINGS OUT 1 5 7 LOW 2K TO GROUND HIGH 10 14VDC 20mA MAX OTHER OUTS LOW 1K TO GROUND HIGH 10 14VDC THRU...

Страница 56: ...9 l K3840V1 9 00 165 Eileen Way Syosset NY 11791 Copyright 2000 PITTWAY Corporation www PDF Zoo com...

Отзывы: