204
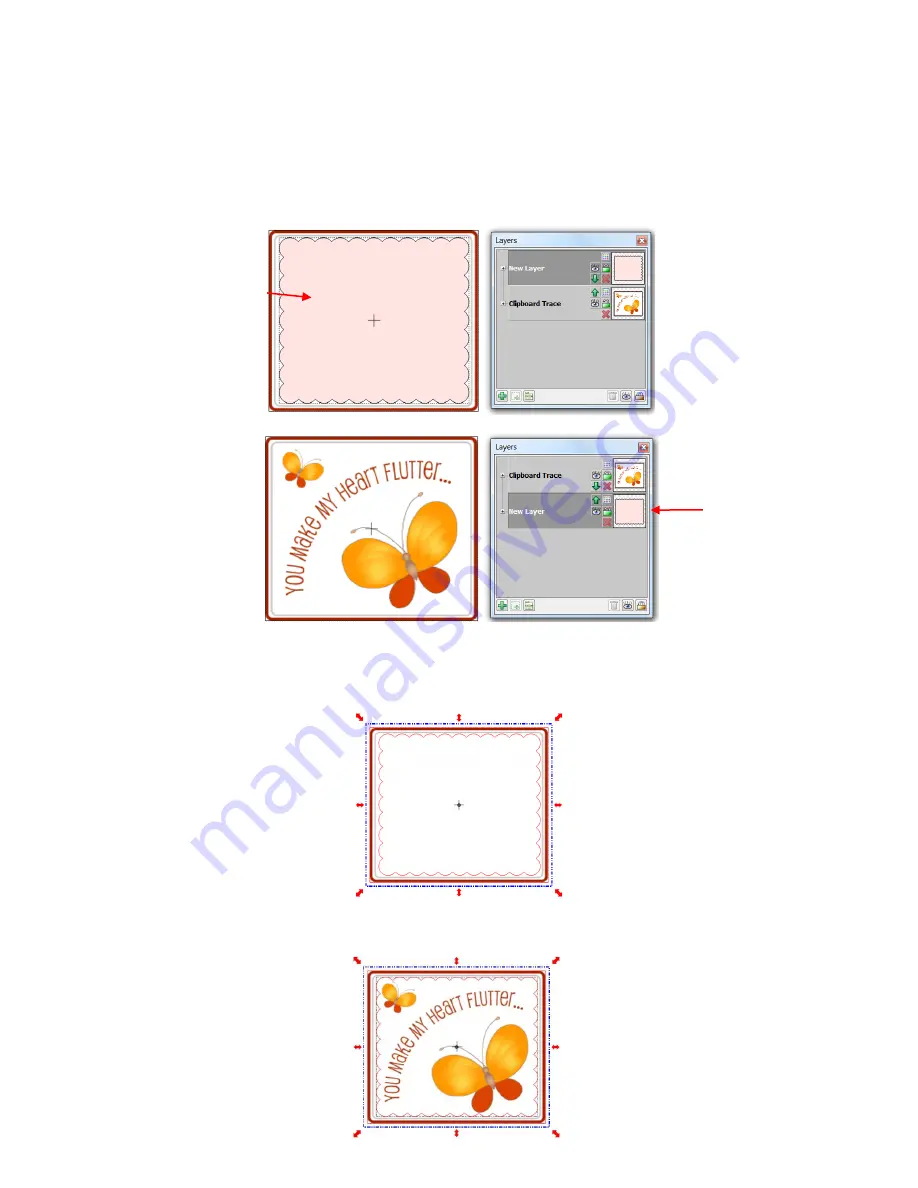
Since anything outside of the scallop will not be needed, that part will be eliminated. This is done by first
arranging the scallop over the image and then moving the scallop layer to its own layer and to the bottom on
the
Layers Bar
:
Next, marquee-select both the original image and the scallop (or use
Ctrl+A
to
Select All
) and then apply
the
Join
function from the
Magic Toolbar
. The scallop will now appear on top:
Immediately apply the
Break
function from the
Magic Toolbar
. The original image now appears but with the
scallop shape around it:
An interior scallop is to be added and cut.
Original imported image
Scallop is moved to
the bottom layer so
that it is behind
original image.
A scallop shape is
added and aligned,
as desired.
Содержание ACS-24UHF/Eagle
Страница 20: ...20...
Страница 67: ...67 Press Ctrl F Go to Edit Shape Magic Flip...
Страница 226: ...226 Settings Form for Accessory Tools Application Material Tool Force Speed Passes Surface Other Comments...


