Configuring Basic Features
193
-
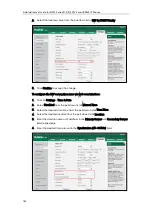
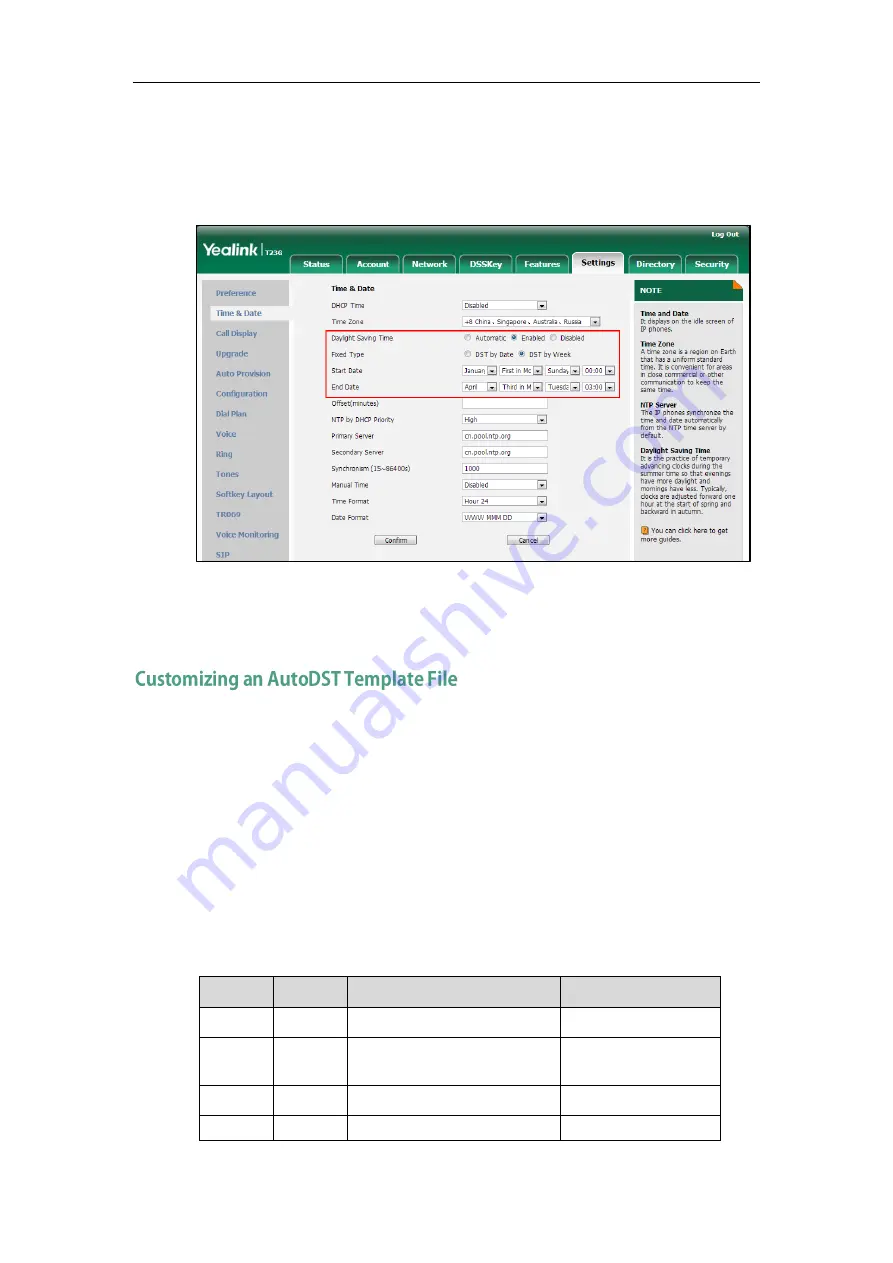
Mark the DST by Week radio box in the Fixed Type field.
Select the desired values of DST Start Month, DST Start Week of Month, DST
Start Day of Week, Start Hour of Day; DST Stop Month, DST Stop Week of
Month, DST Stop Day of Week and End Hour of Day from the pull-down lists.
7.
Enter the desired offset time in the Offset(minutes) field.
8.
Click Confirm to accept the change.
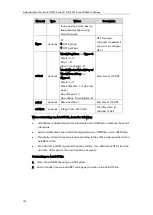
The time zone and corresponding DST pre-configurations exist in the AutoDST file. If the
DST is set to Automatic, the IP phone obtains the DST configuration from the AutoDST file.
You can customize the AutoDST file if required. The AutoDST file allows you to add or
modify time zone and DST settings for your area each year.
Before customizing, you need to obtain the AutoDST file. You can ask the distributor or
Yealink FAE for DST template. You can also obtain the DST template online:
http://support.yealink.com/documentFront/forwardToDocumentFrontDisplayPage
. For more
information on obtaining the template file, refer to
Obtaining Configuration Files and
on page
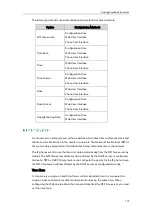
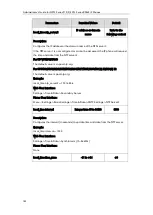
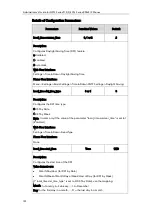
The following table lists description of each element in the template file:
Element
Type
Values
Description
DSTData required no
File root element
DST
required no
Time Zone item’s root
element
szTime
required [+/-][X]:[Y], X=0~14, Y=0~59
Time Zone
szZone
required String (if the content is more
Time Zone name
Summary of Contents for CD860
Page 1: ......
Page 45: ...Getting Started 23 For SIP T42G T41P T40P Desk Mount Method Wall Mount Method Optional ...
Page 47: ...Getting Started 25 For SIP T23P T23G Desk Mount Method Wall Mount Method Optional ...
Page 122: ...Administrator s Guide for SIP T2 Series T19 P E2 T4 Series CP860 IP Phones 100 ...
Page 840: ...Administrator s Guide for SIP T2 Series T19 P E2 T4 Series CP860 IP Phones 818 ...
Page 995: ...Appendix 973 ...

