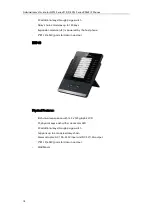
Administrator’s Guide for SIP-T2 Series/T19(P) E2/T4 Series/CP860 IP Phones
30
AC Power (Optional)
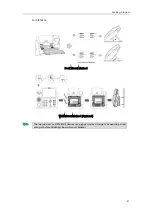
To connect the AC power and network:
1)
Connect the DC plug of the power adapter to the DC5V (for
SIP-T48G/T46G/T42G/T41P/T40P/T29G/T27P/T23P/T23G/T21(P) E2/T19(P) E2/CP860) or
DC12V (for SIP VP-T49G) port on the IP phone and connect the other end of the
power adapter into an electrical power outlet.
2)
Connect the included or a standard Ethernet cable between the Internet port on
the IP phone and the one on the wall or switch/hub device port.
For SIP VP-T49G:
For SIP-T48G/T46G/T42G/T41P/T40P/T29G/T27P/T23P/T23G/T21(P) E2/T19(P) E2:
Note
You can also connect the SIP VP-T49G or SIP-T48G IP phone to a wireless network
according to your office environment. For more information,
refer to
Summary of Contents for CD860
Page 1: ......
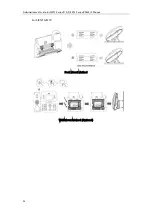
Page 45: ...Getting Started 23 For SIP T42G T41P T40P Desk Mount Method Wall Mount Method Optional ...
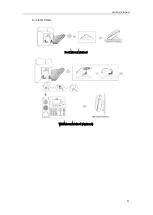
Page 47: ...Getting Started 25 For SIP T23P T23G Desk Mount Method Wall Mount Method Optional ...
Page 122: ...Administrator s Guide for SIP T2 Series T19 P E2 T4 Series CP860 IP Phones 100 ...
Page 840: ...Administrator s Guide for SIP T2 Series T19 P E2 T4 Series CP860 IP Phones 818 ...
Page 995: ...Appendix 973 ...


