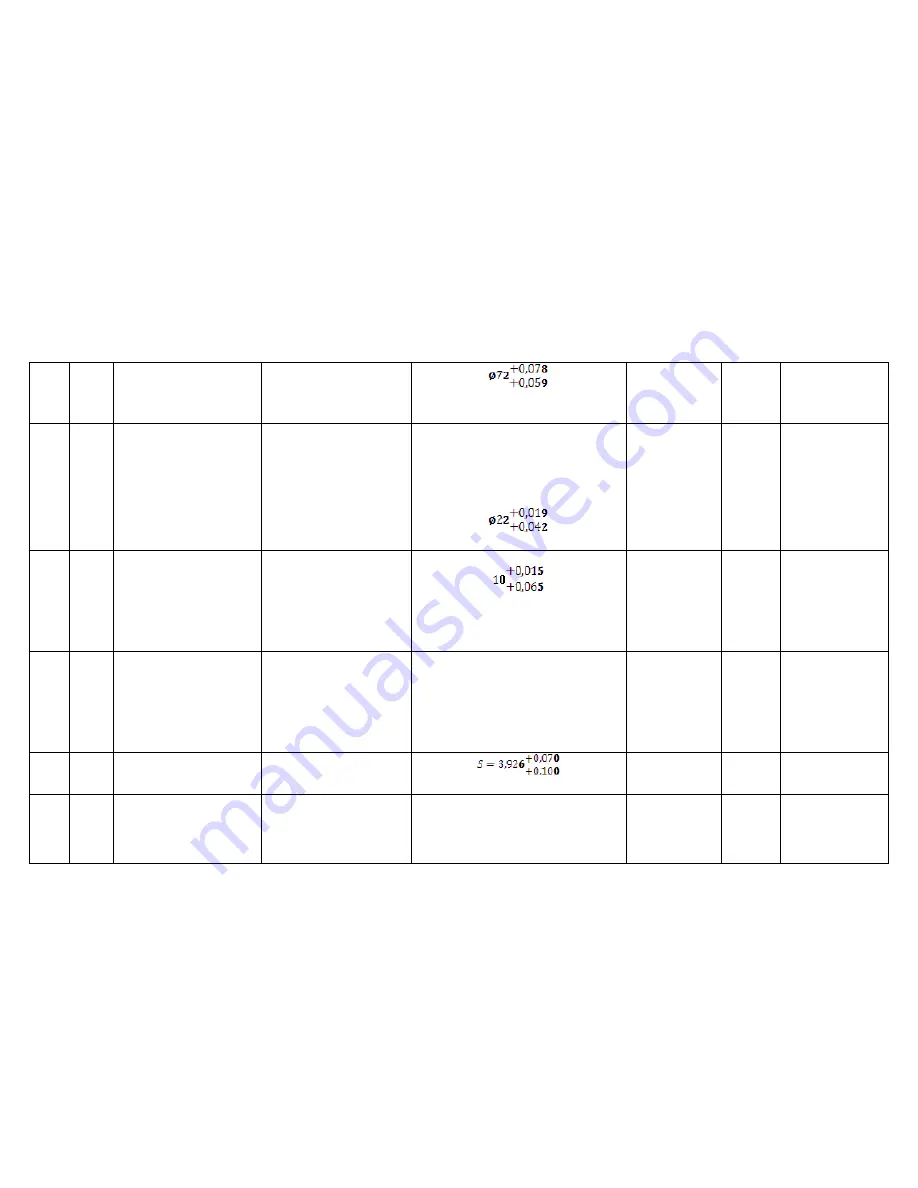
7
Е
Wear of the bearing for the
gear wheel
Clamp СРП 75
-
-
«
8
9
Н
П
Wear of the hole for the
bearing
Loosening of the seating of
the starter adjusting pin
Inside gauge
НИ 50-100-1
Inspection of the seating with
the light tapering
of the hammer
Ø52
-0,03
Ø62
-0,03
Dimension E
52.05
62.05
-
-
-
To reject
To replace the pins
10
Ш
Wear of the key slot
Calibre
Dimension Ц –
10,00
-
To weld and process
according to the
drawing dimension
11
Д
Loosening of the seating of
the counter balance
Inspection of the seating with
the light tapering
of the hammer balance
-
-
-
To replace the
counter
12
Т
Wear of the gear teeth
according to thickness
Calibre
h=3.23
-
-
To replace the gear
13
Е
Loosening of the seating of
the gear
Inspection of the seating with
the light tapering
of the hammer
-
-
-
«
Summary of Contents for ???-236
Page 25: ...26...
Page 26: ...27 2...
Page 40: ......
Page 41: ......
Page 53: ......
Page 56: ......
Page 59: ......
Page 64: ...236 238 1003014 3 236 238 1003014 4 236 238 1003014...
Page 65: ......
Page 70: ......
Page 73: ......
Page 81: ......
Page 85: ......
Page 92: ......
Page 95: ......
Page 101: ......
Page 113: ......
Page 119: ......
Page 122: ......
Page 125: ......
Page 128: ......
Page 142: ......
Page 144: ......
Page 150: ......
Page 155: ......
Page 158: ......
Page 160: ......
Page 165: ......
Page 193: ...N u M a r Method defect detection and Dimension and parameter mm...
Page 201: ...4 Thread stripping M16 1 5 6H no more than two threads Inspection To calibrate the thread...


