N
um
be
r o
f t
he
d
ef
ect
L
oc
at
ion o
f
th
e p
ic
tu
re
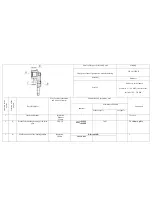
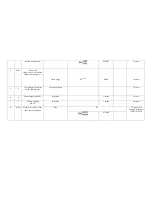
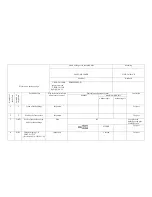
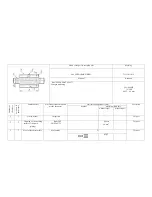
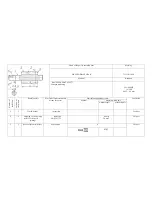
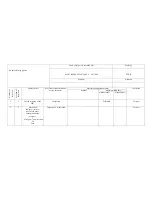
Possible defect
Way for defect detection and
means of control
Dimension and parameter, mm
Conclusion
nominal
maximum allowable
without repair
for repair
4
А
Wear of the face surface:
Clamp СРП 25
Dimension Г:
-
To reject
20
-0,084
5
В
Wear of the bushing hole
for the axis
Inside gauge
18-50
Ø35
+0,039
35,09
-
To replace the bushing
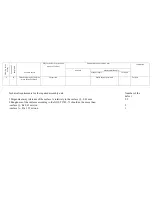
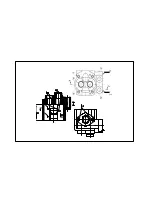
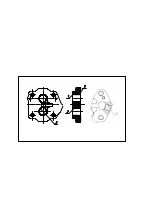
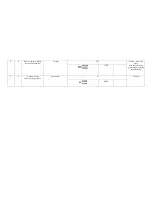
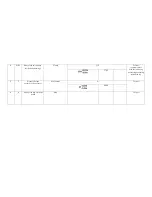
Technical requirements for the repaired assembly unit
Number of the
defect
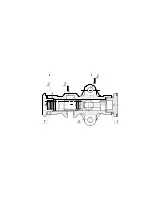
1 Coaxiality tolerance of the hole V relatively to the axis of the pitch circle of the gear – with 0.03 mm
Radius
5
2 Non-perpendicularity tolerance of the surface B relatively to the surface A – with radius 0.02 mm
5
3 Bushing should not exceed the joini
ng face surface А of the gear
5
4 Roughness of the surface
В
should not exceed Ra 1.25 micron according to the GOST 2789-73
5
Summary of Contents for ???-236
Page 25: ...26...
Page 26: ...27 2...
Page 40: ......
Page 41: ......
Page 53: ......
Page 56: ......
Page 59: ......
Page 64: ...236 238 1003014 3 236 238 1003014 4 236 238 1003014...
Page 65: ......
Page 70: ......
Page 73: ......
Page 81: ......
Page 85: ......
Page 92: ......
Page 95: ......
Page 101: ......
Page 113: ......
Page 119: ......
Page 122: ......
Page 125: ......
Page 128: ......
Page 142: ......
Page 144: ......
Page 150: ......
Page 155: ......
Page 158: ......
Page 160: ......
Page 165: ......
Page 193: ...N u M a r Method defect detection and Dimension and parameter mm...
Page 201: ...4 Thread stripping M16 1 5 6H no more than two threads Inspection To calibrate the thread...


