Recording Audio with the Hard Disk Recorder
Reference
143
Tyros2 Owner’s Manual
■
PUNCH IN OUT / PUNCH IN OUT (MERGE) ......................................
This method of recording can only be used on an existing recording. It allows you to re-
record over a specific part of the already-recorded material. You can replace the original
part with the new recording by PUNCH IN/OUT, or keeping the original and mixing it
with the new by PUNCH IN/OUT (MERGE). This lets you either correct a mistake in the
recording or overdub new parts onto the original recording.
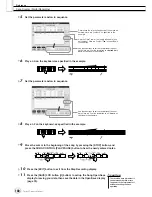
Keep in mind that the parts before and after the Punch In/Out section are not recorded over
and remain as the original data—they play back normally to guide you in and out of the
recording.
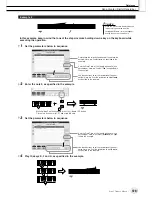
1
Press the HARD DISK RECORDER [SELECT] button and select the
recorded file to be re-recorded from the AUDIO Open/Save display.
2
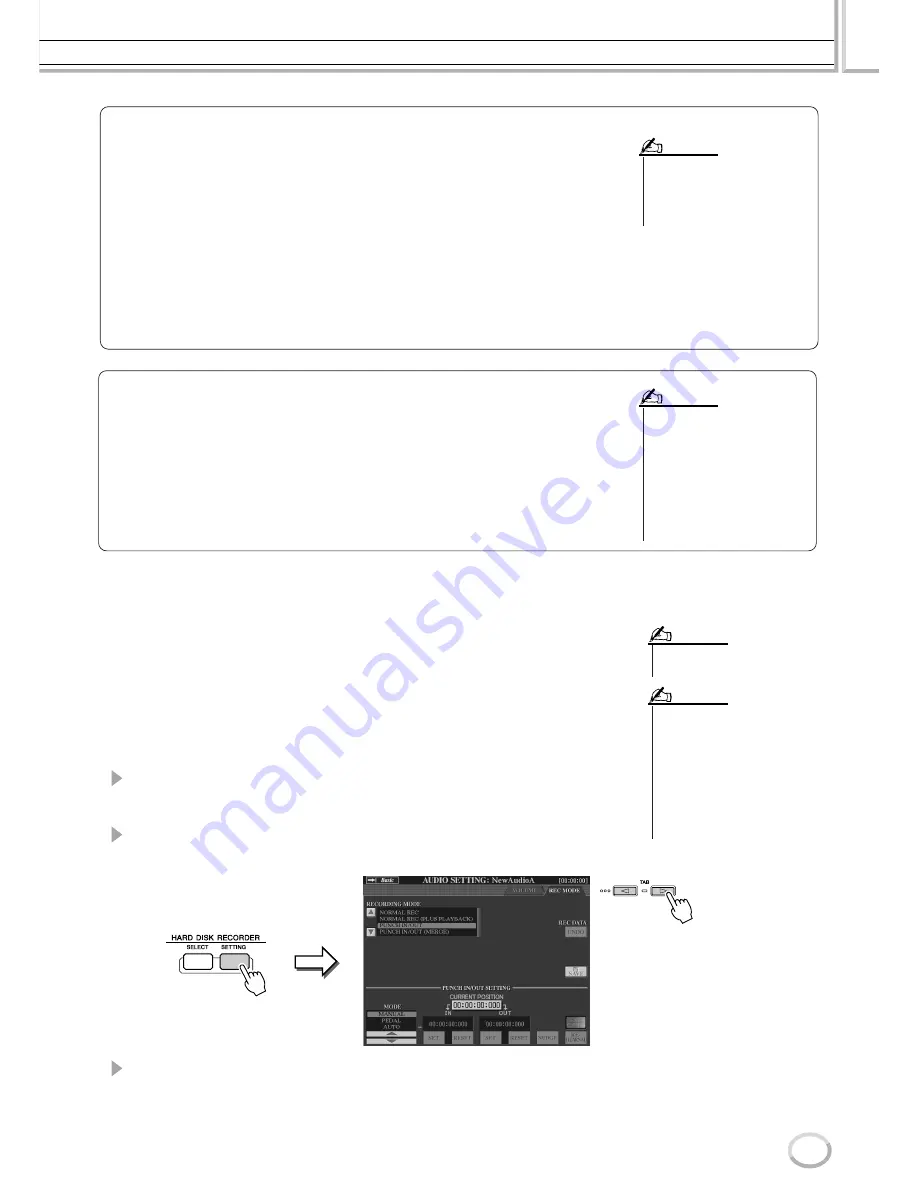
Press the HARD DISK RECORDER [SETTING] button, then use the
[TAB] buttons to select the REC MODE tab.
3
Use the [A]/[B] buttons to select a recording method.
Re-record over a specific part of the already-recorded material:
PUNCH IN/OUT
Mix a specific part of the already-recorded material:
PUNCH IN/OUT (MERGE)
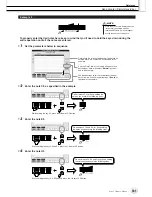
Normalize
Normalize raises the volume of the recorded audio to the optimum level. Use this to
make the recorded audio as loud as possible, without distortion.
Technically, this operation scans the recorded file for the highest level, then raises the
volume of the entire file so that the highest peak is set to the maximum, non-distorting
level. Normalization is calculated for the loudest signal found in either channel of the
stereo recording and the same gain is applied to both channels.
1 Make sure that the Volume page is selected.
2 Press the [NORMALIZE] LCD button ([G] button).
3 At the prompt, press the [OK] LCD button ([G] button) to start Normalizing the
file.
To cancel the operation, press the [CANCEL] LCD button ([H] button).
• Normalize can only be applied to
a file that has been saved. If you
haven’t saved the recorded file
yet, the display prompts you to
save it before using Normalize.
NOTE
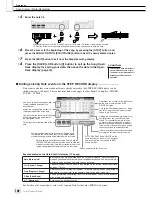
Undo/Redo
When you make repeated changes to an audio file by overdubbing, the Undo function
lets you quickly “undo” your most recent recording and restore the previous version of
the data.
1 Make sure that the Rec Mode page is selected.
2 Press the [UNDO] LCD button ([G] button).
The latest recording that you made is cancelled and the previous version is restored.
Also, the [UNDO] LCD button changes to [REDO], letting you reverse the process
and restore the latest recording.
• Undo/Redo can only be used on a
recorded file that has not yet been
saved. Once you save a file, the
[UNDO] LCD button is “ghosted”
and cannot be used.
• If you start recording by pressing
the [REC] button and stop record-
ing without recording any sounds,
the [UNDO] LCD button is
“ghosted” and cannot be used.
NOTE
• You can re-record over only one
range at one time.
NOTE
• The beginning and ending of the
recorded data using the Punch In/
Out function is faded in/out auto-
matically. This is done to minimize
possible noise at the beginning
and ending of the recorded data.
We recommend that you specify
the beginning and ending points at
sections in the data where the vol-
ume is low.
NOTE
Summary of Contents for 2
Page 1: ...Owner s Manual EN ...
Page 236: ...Tyros2 Owner s Manual ...

