Scan to Email (Network Only)
Phaser® 6115MFP Multifunction Product
8-7
Scan to Email Using the Document Glass
To scan documents to email using the document glass:
■
For information on changing the image size, see
Changing the Scanned Image Size
on
page 8-9.
1.
Press the
Scan
button to enter scan mode.
2.
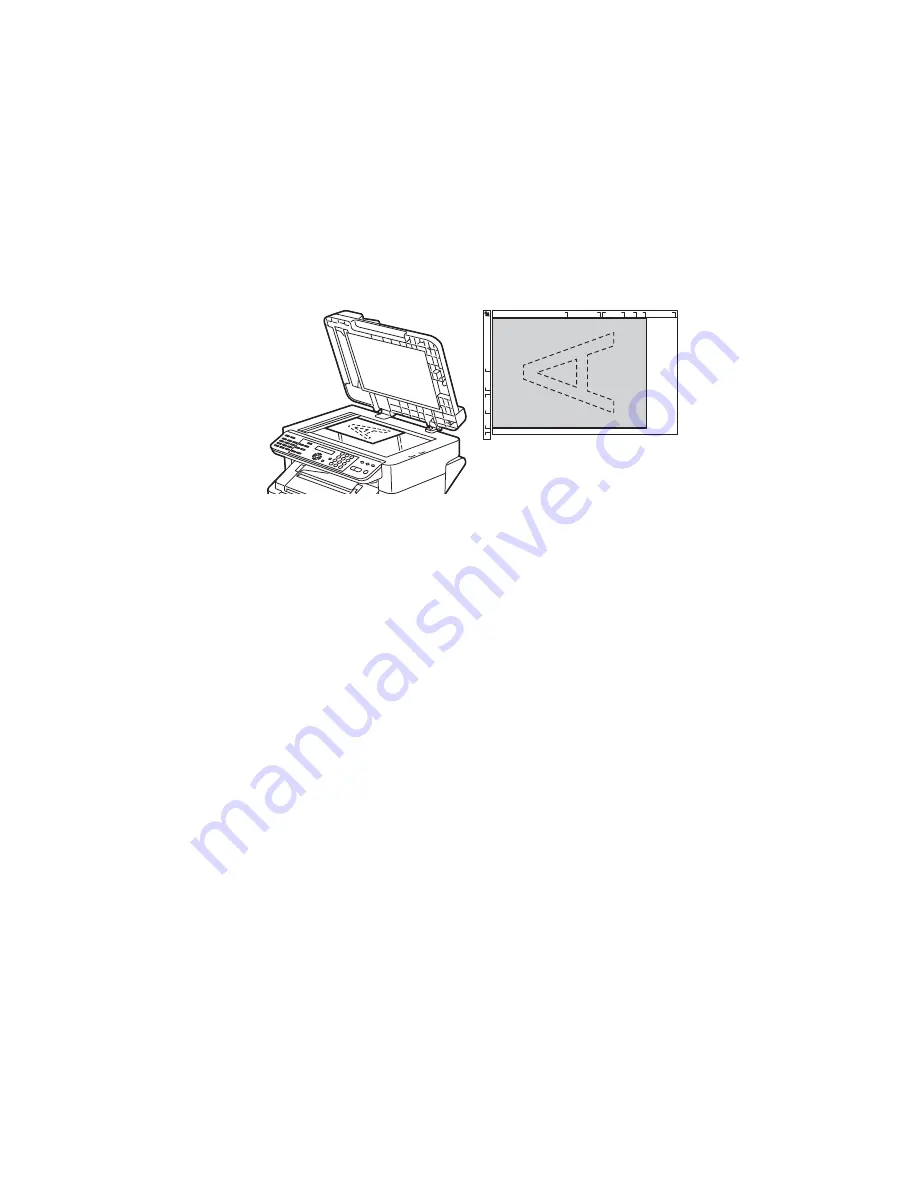
Lift the ADF cover and place the document facedown on the document glass as shown
below.
3.
Gently close the ADF cover.
4.
Specify the email address of the recipient, see
Specifying a Recipient
on page 8-8.
5.
Enter a subject line using the alphanumeric keypad, and then press the
Menu/Select
button.
6.
Enter any additional
CC
email addresses, and then press the
Menu/Select
button.
7.
Use the
Left Arrow
or
Right Arrow
buttons select
Color
,
Gray
, or
B&W
as the color
mode, and then press the
Menu/Select
button.
8.
Continue setting the desired scan mode settings.
■
For information on specifying detailed settings, such as data format or compression
encoding, and scan resolution, see
Changing the Scan Mode Settings
on page 8-9.
■
For information on changing the image size, see
Changing the Scanned Image Size
on
page 8-9.
■
To change the size of the scanned image, see
Changing the Scanned Image Size
on
page 8-9.
9.
Using the
Left Arrow
or
Right Arrow
button, select
BOOK
and then press the
Menu/Select
button to start scanning.
10.
When scanning a document containing several pages, place the next page on the document
glass when the message
NEXT PAGE?
appears on the control panel, and then press the
Menu/Select
button.
11.
Repeat Step 10 until all pages of the document have been scanned.
12.
Press the
Start
button to send the transmission.
6115-074
6115-075


