Adjusting Copying Options
6-111
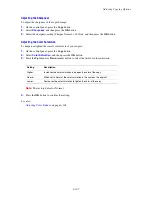
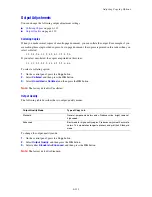
Setting the Copy Margins
You can set the copy margins and enable the margin settings for all copies, or you can enable them for
individual copy jobs only.
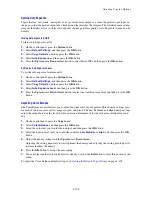
Setting the Margins
1.
On the control panel, press the
System
button.
2.
Select
Default Settings
, and then press the
OK
button.
3.
Select
Copy Defaults
, and then press the
OK
button.
4.
Select
Margin Width
, and then press the
OK
button.
5.
Select the margin that you would like to change, and then press the
OK
button.
6.
Use the
Up Arrow
or
Down Arrow
button to adjust the margin, and then press the
OK
button.
7.
Repeat the steps for other margins, and then press the
Exit
button.
8.
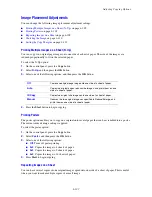
You can now use the margin settings for a single copy job, or you can enable the margin settings for all
jobs. To use the margin settings for a single job, see
Copying with the Margin Settings Enabled for a
Single Job
on page 6-111. To enable the margin settings for all copy jobs:
a.
Select
Margin
, and press the
OK
button.
b.
Select
On
, and then press the
OK
button.
The Margin setting is now enabled for all copy jobs.
Note:
The margin width is only enabled when copying from the document glass.
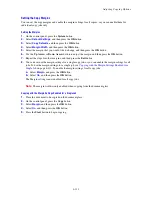
Copying with the Margin Settings Enabled for a Single Job
1.
Place the document to be copied on the document glass.
2.
On the control panel, press the
Copy
button.
3.
Select
Margin
, and then press the
OK
button.
4.
Select
On
, and then press the
OK
button.
5.
Press the
Start
button to begin copying.

