4-16 PC Setup
bb
__________________________________________
2.
Select Yes or No in the Install Setup Program window; then
click Next.
If you select Yes, go to step 3. If you select No, skip to step 4
after the driver files load.
3.
Click Next to copy the AdobePS printer driver files and setup
program to the default directory on your PC. Then, click Next.
The Printer Type screen appears.
Note:
If an Existing Files On Local Disk window appears,
click Next to install the files again or Skip to not
reinstall the files.
4.
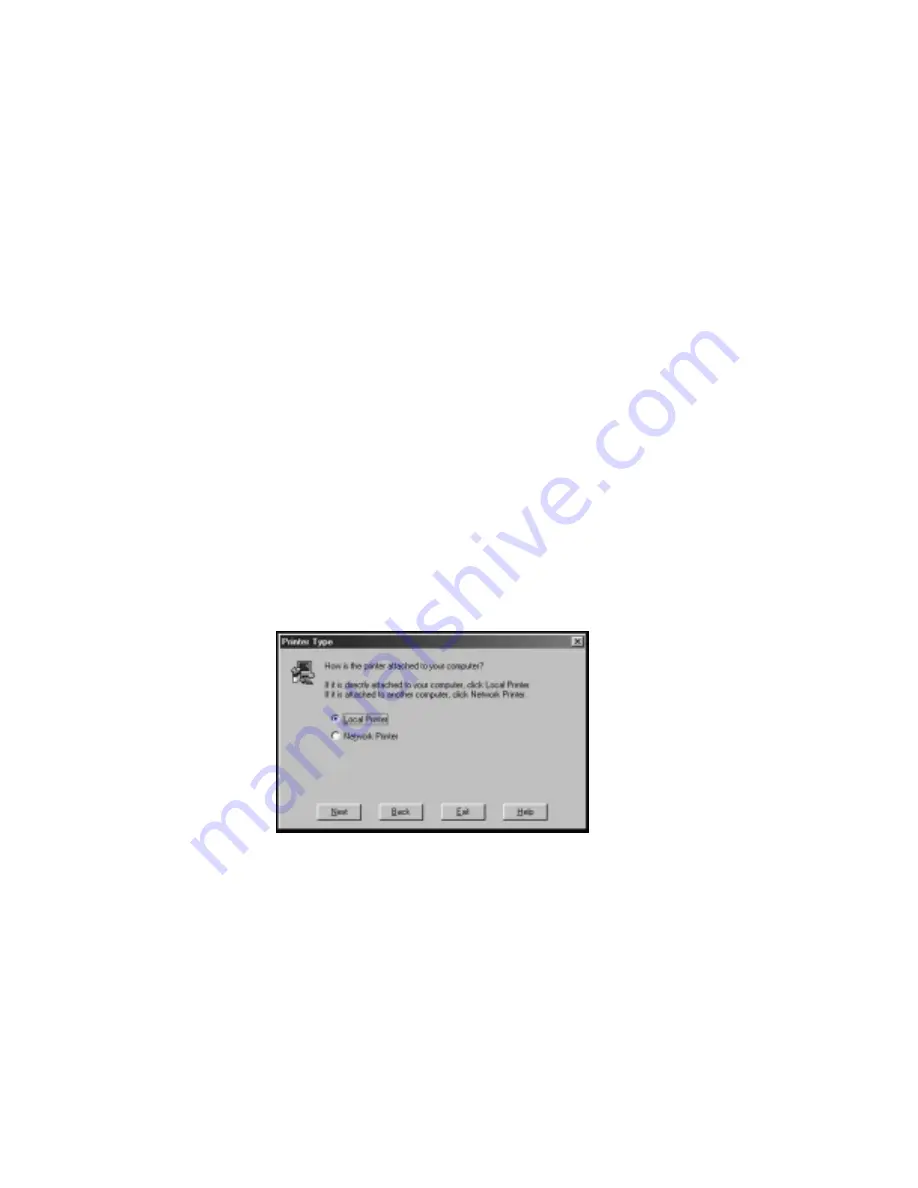
Select how your printer is attached to your host in the Printer
Type window (fig. 4.9).
If your printer is connected to your PC through the serial or
parallel port or if you are using Windows NT 4.0, select Local
Printer, click Next, and skip to step 7.
If your printer is connected to a network other than Windows
NT 4.0, select Network Printer, click Next, and go to step 5.
Fig. 4.9 Printer Type Window
5.
Use Browse or type the network path or queue name in the
Network Path window.
Summary of Contents for Accel-a-Writer 3 Series
Page 2: ...1 2 Introductionbb ________________________________________ Notes...
Page 12: ...2 2 Installationbb_________________________________________ Notes...
Page 40: ...3 2 Macintosh Setupbb ____________________________________ Notes...
Page 90: ...4 2 PC Setupbb __________________________________________ Notes...
Page 142: ...5 2 Ethernet Setupbb ______________________________________ Notes...
Page 218: ...7 2 Media Optionsbb ______________________________________ Notes...
Page 230: ...8 2 Printing with Various Media Types________________________ Notes...
Page 236: ...9 2 Maintenance and Specificationsbb ________________________ Notes...
Page 250: ...10 2 Optionsbb __________________________________________ Notes...
Page 282: ...10 34 Optionsbb __________________________________________...
Page 284: ...11 2 Troubleshootingbb____________________________________ Notes...


