MXP
RO
DV U
SER
G
UIDE
C
HAPTER
2
20
•
Press the button again until the desired speed appears. 0 is the slowest speed, 9
is the fastest.
•
Try this with various speeds: Change the speed and press
PLAY
.
Manual Transitions
Use the
TAKE
BAR
to run transitions and control their speed and direction.
•
Set up the transition as you would normally. However, instead of pressing
PLAY
,
sim-
ply move the
T-BAR
.
The transition begins running as soon as you move the
T
-
BAR
. You can even move
back and forth by moving the
T
-
BAR
in different directions. Give it a try!
Using CUT Transitions
Most video productions use simple cuts a majority of the time. To cut between any
two sources (for example, you could cut from A to C to COLOR to D), use the
CUT
buttons.
There’s a quick way to cut back and forth between two sources (such as A to B to A to
B) using just the
PLAY
button, instead of having to alternate between two
CUT
but-
tons:
•
Press 0 to select transition 0, a simple cut.
•
Press
PLAY
again and again.
•
A solid color screen can be used as if it were a separate source. Press the
NEXT
/
COLOR
button and run any transition, or press
CUT
/
COLOR
.
Choosing Transitions
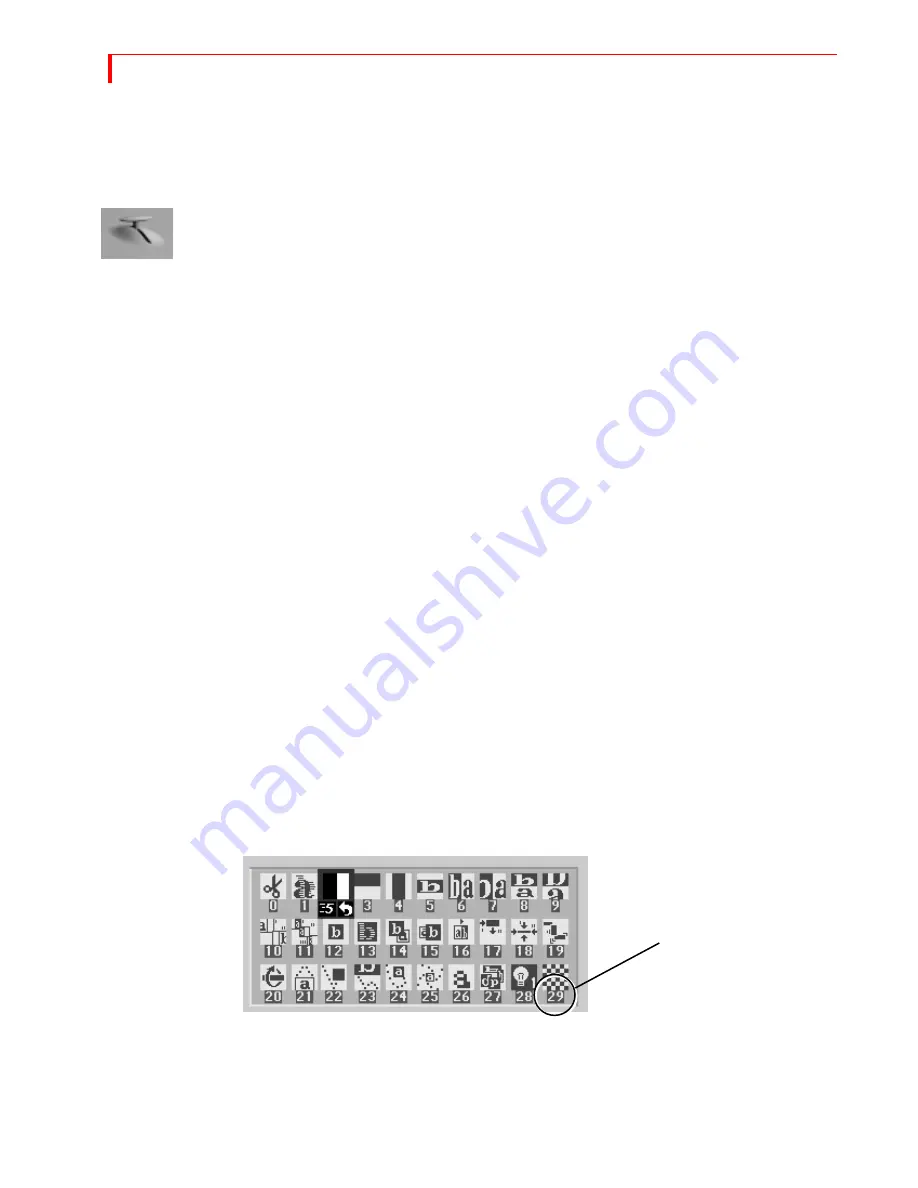
The Preview screen contains the Transitions Menu. This menu contains icons and
other information for all MXProDV transitions. A blue highlight indicates the transi-
tion selected for the next transition.
•
Select Transitions in the following ways:
ARROW
keys
– Simply use the arrow keys to highlight the desired transition.
NUMBER
keys
– MXProDV assigns a unique number to every transition. The num-
ber appears below the transition icon on the PREVIEW screen (in the following
example, the checkerboard transition is number 29). You can use the number to
select a transition. (When you select/highlight a transition in the menu,
MXProDV shows the transition’s speed and direction. At this point, the transi-
tion number is no longer visible.)
•
Enter 106 using the number keys (press 1, then 0, then 6), then press
X
to highlight
the transition icon.
MXProDV replaces the current Transitions Menu and shows the one that con-
tains the transition you selected.
•
Press
PLAY
or use the
T
-
BAR
to perform transition.
Transition Number 29
Summary of Contents for MXPro DV
Page 1: ...MXPro User Guide ...
Page 4: ...NOTES ...
Page 8: ...NOTES ...
Page 9: ......
Page 10: ......
Page 20: ...NOTES ...
Page 21: ......
Page 22: ......
Page 30: ...NOTES ...
Page 31: ......
Page 32: ......
Page 49: ......
Page 50: ......
Page 66: ...NOTES ...
Page 67: ......
Page 68: ......
Page 81: ......
Page 82: ......
Page 90: ...NOTES ...
Page 91: ......
Page 92: ......
Page 108: ...NOTES ...
Page 109: ......
Page 110: ......
Page 117: ......
Page 118: ......
Page 126: ...NOTES ...
Page 127: ......
Page 128: ......
Page 134: ...NOTES ...
Page 135: ......
Page 136: ......
Page 142: ...NOTES ...
Page 143: ......
Page 144: ......
Page 153: ......
Page 154: ......
Page 164: ...NOTES ...
Page 165: ......
Page 166: ......
Page 186: ...NOTES ...
Page 198: ...NOTES ...


