6
Communications Setup
Auto-Dial Setup
6-12
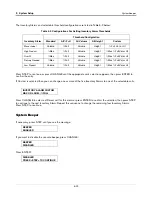
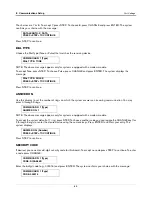
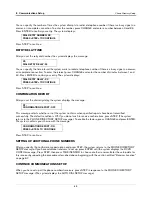
To set the Auto-Dial Frequency to On Date, press STEP. (To set the frequency to Annually, Monthly, Weekly, Daily,
or BIR End follow the procedures described in the corresponding section below.) The system displays the
message:
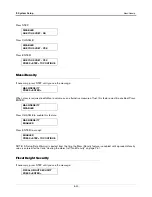
Press CHANGE, and enter the date on which you want the reports to be transmitted. Enter the date in the format
MM/DD/YYYY. Press ENTER to confirm the date:
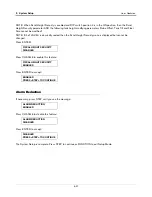
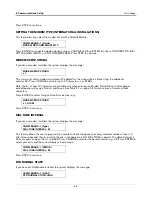
Press STEP to enter the time you want the reports to transmit. The system displays the message:
Press CHANGE, and enter the time. Press the Right Arrow key to choose AM or PM. Press ENTER to confirm
your entry:
Press STEP to continue. If you are using the All Phones method or have set up all the receivers for Single Phone,
refer to the section entitled “Continue Communications Setup” on page 6-15. If you are using the Single Phone
method and have additional receivers to set up, refer to the section entitled “Setting Up the Frequency for
Additional Receivers (Single Phone Only)” on page 6-15.
AUTO-DIAL FREQUENCY: ANNUALLY
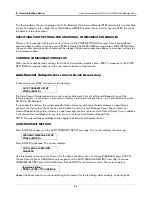
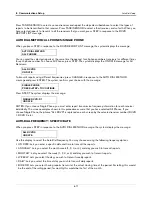
If necessary, press STEP until you see the message:
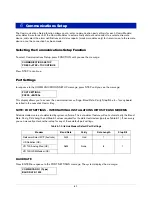
To transmit the reports annually, press CHANGE and press ENTER. The system displays the message:
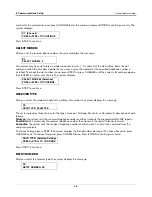
Press STEP to continue setting the annual transmission. The system displays the message:
To set the date of the annual transmission, press CHANGE until the month during which you want to transmit the
reports appears. Press the Right Arrow key. Press CHANGE until the week during which you want to transmit the
reports appears, and press the Right Arrow key. Press CHANGE until the day on which you want to transmit the
reports appears. Press ENTER to confirm the date:
DIAL ON DATE: ALL RCVRS
DATE: XX/XX/XXXX
DATE: XX/XX/XXXX
PRESS <STEP> TO CONTINUE
DIAL TIME: ALL RCVRS
TIME: XX:XX AM PM
TIME: XX:XX AM PM
PRESS <STEP> TO CONTINUE
ALL RCVRS
ON DATE
ANNUALLY
PRESS <STEP> TO CONTINUE
ANNUALLY: ALL RCVRS
JAN WEEK1 MON
MONTH WEEK DAY
PRESS <STEP> TO CONTINUE

