Section 4
Using the TROY Printer Utility
Security Printing Solutions User’s Guide -- 50-70410-002 Rev. A
4-22
Using the
Pattern
Processor
The pattern processor enables the TROY printer firmware to search the incoming print data stream for a specified
string(s) of characters and then substitute the matching data string(s) with an alternate user-defined data string(s),
allowing a PCL (Printer Command Language)-based printer to accept an otherwise non-compatible print job
(e.g., line feed-based print jobs generated by a mainframe computer) for printing check jobs.
When enabled via the TROY Printer Utility, the pattern processor accumulates data from the incoming print job,
temporarily storing the data in a memory buffer in the TROY DIMM/flash memory card for processing. When
enabled, the pattern processor incurs processing overhead; therefore, the pattern processor should remain disabled
when not in use to avoid unnecessary slowing of the printing process.
Each character string(s) is matched in turn against the input data accumulated in each successive memory buffer.
If there is a match, then the user-defined substitution pattern is used to create a new buffer that is integrated into
the print data stream. Refer to the
TROY Programmer’s Reference Guide
(included as a PDF file on the
TROY
Security Printing Solutions
CD) for detailed information and programming examples.
T
O SETUP THE
P
ATTERN
P
ROCESSOR
:
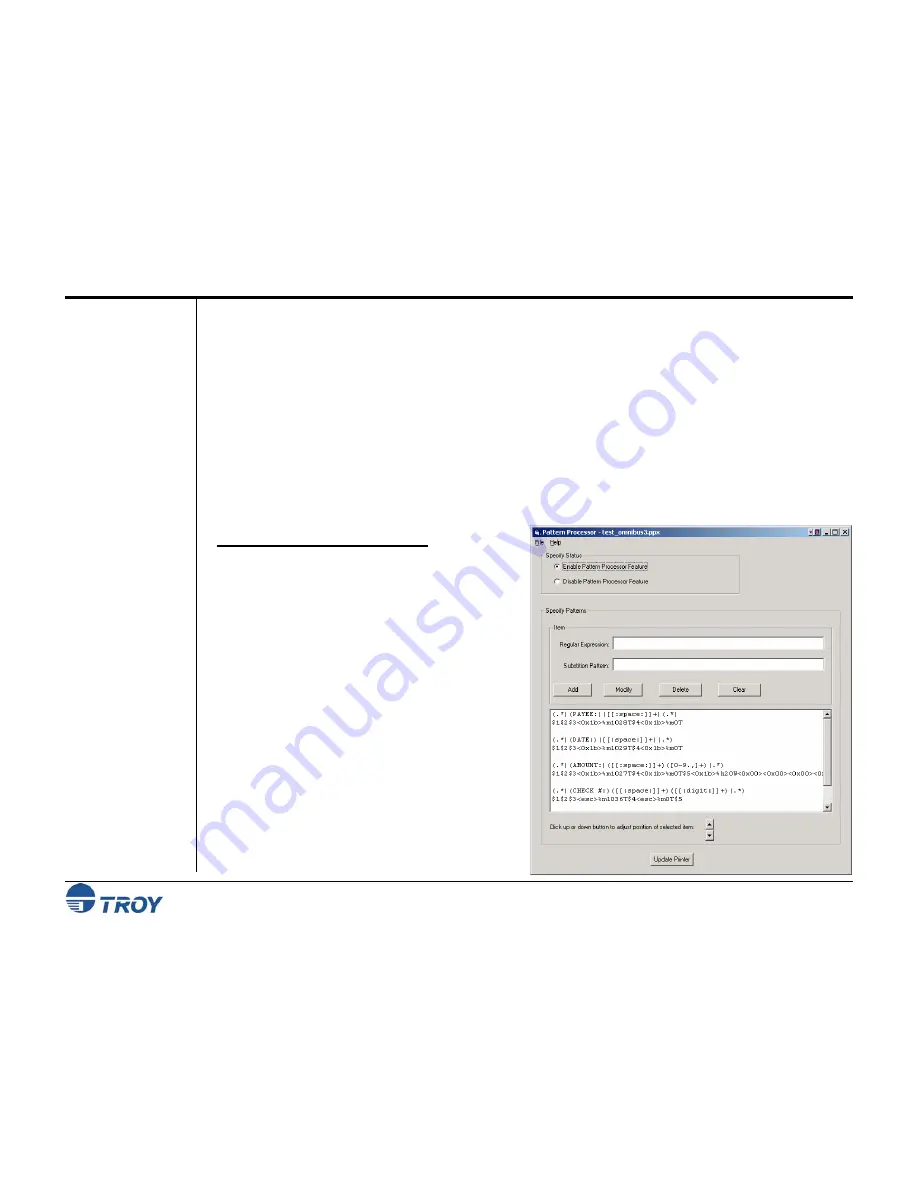
1.
From the
Main Window
, click on
Settings
, and
then click on
Pattern Processor
.
2.
To use pattern processing for upcoming print jobs,
click on
Enable Pattern Processor Feature
in the
Specify Status box.
3.
Click on
File
,
Open
, and then select the desired
pattern file (*.ppx) from the UserData folder.
4.
To Modify a string, click on the desired string set
displayed in the window, enter edits in the string
fields, and click on
Modify
to accept the changes.
To Delete a string, click on the desired string set
displayed in the window, and then click on Delete.
To Add a sting, enter the desired data in the string
fields, and then click on Add.
5.
Click on
Update Printer
to send these settings to
the printer’s flash-file memory, and then click on
OK
to continue.


