Section 6
Using the Printer Control Panel
Security Printing Solutions User’s Guide -- 50-70410-002 Rev. A
6-8
Using the
Exact
Positioning
Technology
(cont.)
T
O ADJUST THE POSITION OF THE
MICR
LINE
1.
If not already logged into the printer control panel, enter a valid administrator password (
see page 6-2
).
2.
Press the
W
button to select
TROY MENUS
, and then press the
button.
3.
Press the
W
button to select
SETTINGS MENU
, and then press the
button.
4.
Press the
W
button to select the desired adjustment parameter (
MICR ADJUST X DECIPOINTS or MICR ADJUST Y
DECIPOINTS
), and then press the
button.
5.
Enter the desired decipoint offset value (-720 to +720) to reposition the MICR line (
X
=horizontal and
Y
=vertical), and then press the
button to save each decipoint value. Each decipoint is equal to 1/720th of
an inch. Repeat this step for each parameter you wish to change.
6.
Press the
W
button to select
AUTO ROTATION
, and then press the
button.
7.
Press the
W
button to select
ENABLE or DISABLE
, and then press the
button to save this setting. If enabled, the
page will print upside down (180-degree rotation) from the currently defined orientation.
8.
Print a test page to evaluate the MICR line position adjustment. Repeat the adjustment as necessary. Use the
TROY MICR Document Template to verify all MICR line adjustments.
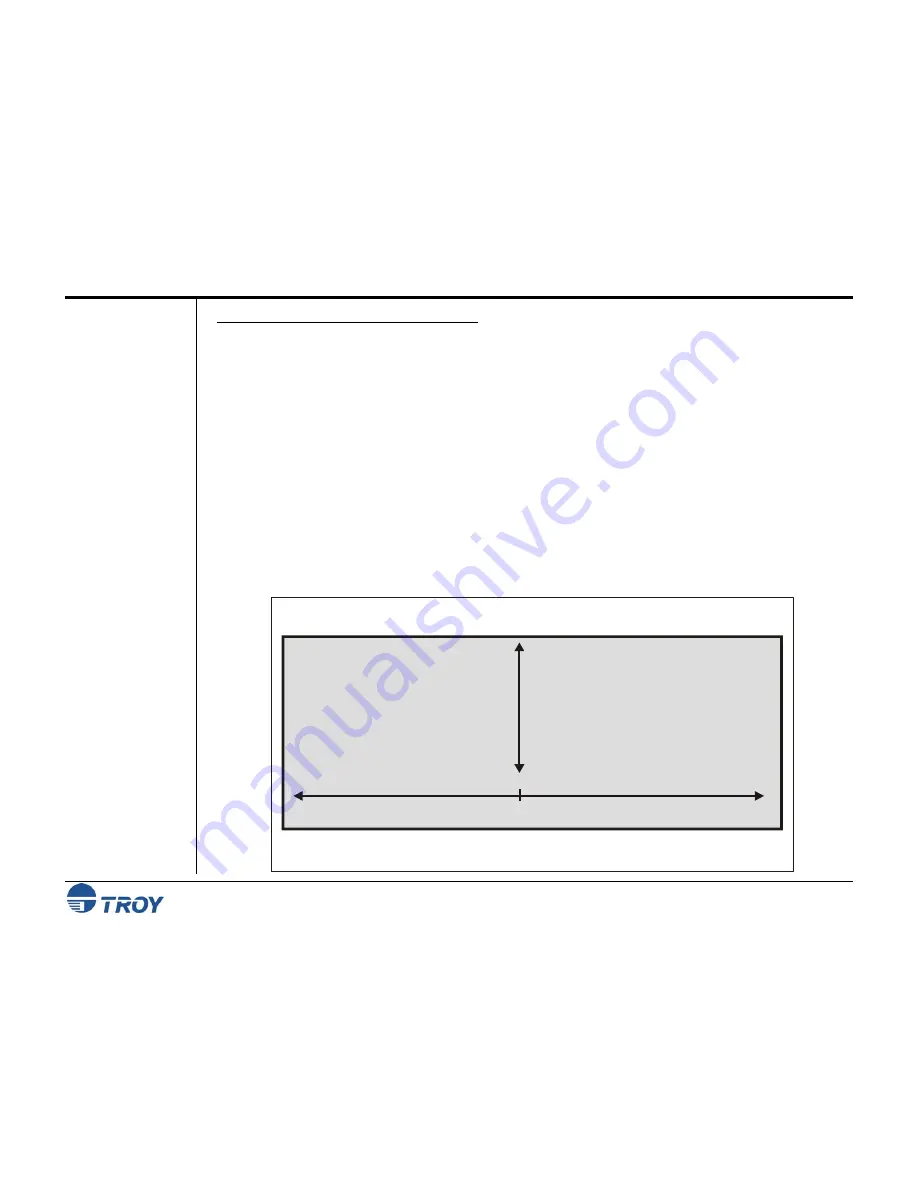
The “MICR Adjust X” selection on the printer control panel will move
the MICR line left (negative decipoints) and right (positive decipoints).
The “MICR Adjust Y” selection on the printer control panel will move
the MICR line up (negative decipoints) and down (positive decipoints).
Negative decipoints (move left)
0
Positive decipoints (move right)
Negative decipoints (move up)
Positive decipoints (move down)


