Section 4
Using the TROY Printer Utility
Security Printing Solutions User’s Guide -- 50-70410-002 Rev. A
4-20
Implementing the
Secure Seal
Feature (cont.)
T
O SETUP THE
S
ECURE
S
EAL OPTIONS
:
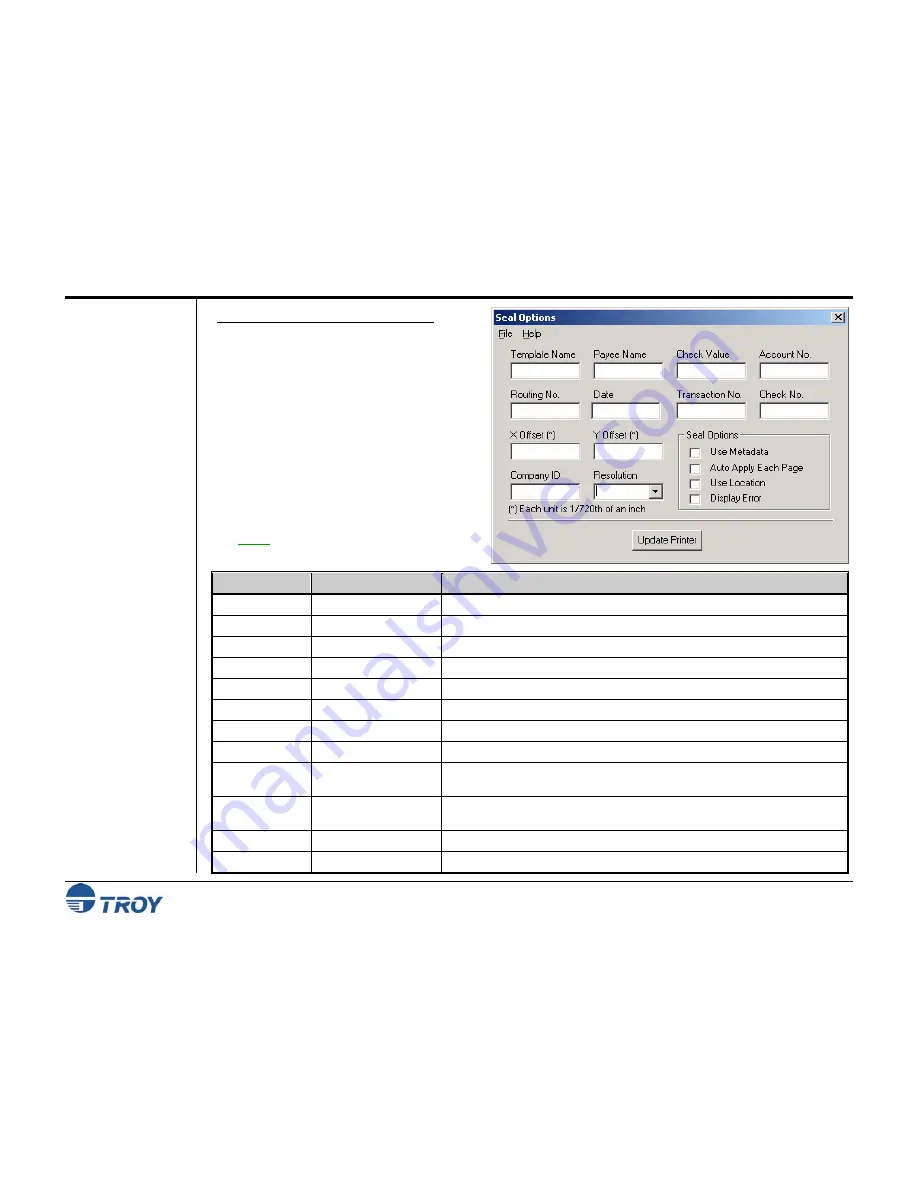
1.
From the
Main Window
, click on
Settings
,
and then click on
Secure Seal
.
2.
Click in the desired field and enter the
corresponding seal information (see the
table below for field limits/descriptions).
3.
Check the appropriate checkbox to enable
the desired seal option (see the table on the
next page for seal option descriptions).
4.
Click on
Update Printer
to send these
settings to the printer’s flash-file memory,
and then click on
OK
to continue.
NOTE: Be sure the Regional Options are set
appropriately (refer to page 4-14 for details).
Field
Character Limit/Type
Description
Template Name
80 (alphanumeric)
Enter a specific template name (must match template file name being used)
Payee Name
32 (alphanumeric)
Enter the payee name of the check
Check Value
16 (numeric)
Enter the dollar value of the check (includes optional decimal point)
Account No.
20 (numeric)
Enter the account number of the checking account
Routing No.
20 (numeric)
Enter the routing number of the checking account
Date
20 (numeric)
Enter the date of the check (YYYYMMDD, YYYY/MM/DD, or DD/MM/YYYY)
Transaction No.
20 (numeric)
Enter the transaction number of the check
Check No.
20 (numeric)
Enter the sequential check number
X-Offset
16 (numeric)
The X-Offset value positions the seal in relation to the left margin of the
check document (negative value = move left, positive value = move right)
Y-Offset
16 (numeric)
The Y-Offset value positions the seal in relation to the top margin of the
check document (negative value = move up, positive value = move down)
Company ID
XX (numeric)
Enter the company ID (if applicable)
Resolution
3 (numeric)
Designates seal print resolution (75, 100, 150, 200, 300 (default), 600 DPI)


