Installing and Removing Hardware
CPU module
86
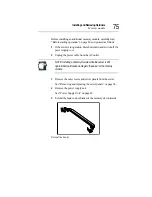
Fixing the PCI bracket
15 Install the server panels.
16 Connect the power cable of the server to the power supply and
switch on the server.
17 Confirm that the CPU module is recognized properly with the
display on the screen.
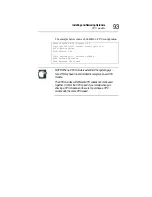
The example below shows a 866 MHz, 2-CPU configuration.
NOTE: When a CPU module is extended, the operating sys-
tem (OS) may have to be reinstalled to recognize a new CPU
module.
CPU modules with different CPU speeds cannot be used
together. Confirm the CPU speed of your model when pur-
chasing a CPU module, and be sure to purchase a CPU
module with the same CPU speed.
Phoenix Server BIOS 4 Release 6.0
Copyright 1985-2000 Phoenix Technologies Ltd.
All Rights Reserved
BIOS-Version X.XX
CPU=2 Pentium(R)III Processor 866MHz
XXXK System RAM Passed
XXXM Extended RAM Passed
Summary of Contents for Magnia Z300
Page 1: ...MAGNIA Z300 User sGuide ...
Page 4: ...1 2 ...
Page 8: ......
Page 14: ......
Page 22: ...xxii ...
Page 102: ...InstallingandRemovingHardware CPU module 80 Removing the PCI bracket ...
Page 130: ...InstallingandRemovingHardware Expansion cards 108 ...
Page 236: ...Troubleshooting Remedy When Windows NT 2000 is Unusable 214 ...
Page 237: ...Appendix A System Unit 216 External Hard Drive Unit Z1 218 External Device Bay Unit Z1 219 ...
Page 242: ...220 ...
Page 253: ...Appendix C Hardware setup information 232 Recovery Boot 233 ...
Page 257: ...235 Default Jumper Switch Settings PJ47 CMOS Clear PJ723 Recovery Boot ...
Page 258: ...236 ...
Page 259: ...Appendix D ...
Page 270: ...248 ...


