
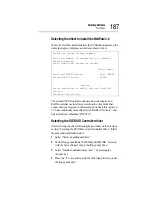
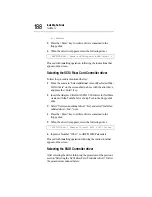

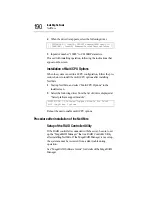


Installing Software
AFT, ALB and IPSec functions
200
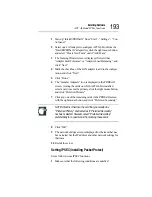
(18)When the “IP Filter List” screen is displayed, make sure that
the “All ICMP Traffic” checkbox is marked, and select
“Next”.
(19)When the “Filter Action” screen is displayed, mark the “Per-
mit” checkbox, and select “Next”.
The screen changes to the “Completing the New Rule Wiz-
ard” screen. Make sure that the “Edit properties” checkbox is
marked, and select “Done”.
(20)When the “New Rule Properties” screen is displayed, make
sure that the “All ICMP Traffic” checkbox is marked, and
select “OK”.
(21)In the “Security rules for communicating with other comput-
ers” screen, make sure that the “All IP Traffic”, “Dynamic”
and “All ICMP Traffic” checkboxes are marked, and select
“Close”. Also, click the X mark at the top tight of the “Local
Security Settings” window.
2 Setup for using the preset IP security
(1) Select the Network and Dial-up Connections on the Control
Panel.
(2) Local Area Connection for which IPSEC is to be enabled, and
right click to open Properties.
(In actual fact, IPSEC is enabled in common on other LAN
settings if IPSEC is set to even one LAN setting.)
Select “Internet Protocol (TCP/IP)” and select “Properties”.
When TCP/IP Properties opens, select “Advanced”.
(3) Select the Option tab.
(4) Select “IP Security” and select “Properties”.
(5) At “Use this IP Policy”, select the policy name created at
“Setup IP security policy (3)”.
(6) Exit the setting by “OK”.
This enables use of IPSEC on Windows 2000.
Summary of Contents for Magnia Z300
Page 1: ...MAGNIA Z300 User sGuide ...
Page 4: ...1 2 ...
Page 8: ......
Page 14: ......
Page 22: ...xxii ...
Page 102: ...InstallingandRemovingHardware CPU module 80 Removing the PCI bracket ...
Page 130: ...InstallingandRemovingHardware Expansion cards 108 ...
Page 236: ...Troubleshooting Remedy When Windows NT 2000 is Unusable 214 ...
Page 237: ...Appendix A System Unit 216 External Hard Drive Unit Z1 218 External Device Bay Unit Z1 219 ...
Page 242: ...220 ...
Page 253: ...Appendix C Hardware setup information 232 Recovery Boot 233 ...
Page 257: ...235 Default Jumper Switch Settings PJ47 CMOS Clear PJ723 Recovery Boot ...
Page 258: ...236 ...
Page 259: ...Appendix D ...
Page 270: ...248 ...


