


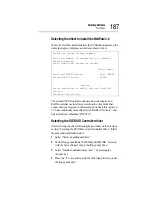


Installing Software
Windows® 2000 Server
177
3 Click “Next” in the “Update Device Driver Wizard”.
4 Select “Search for a suitable driver for my device” , click Next
5 Set Server Setup Tool CD into CD-ROM drive, check at
“Specify a location”, click “Next”.
6 Type following driver pass to “Copy manufacture's files
from:”, then click “Next”
<CD-ROM>:\Public\Lan\Intel\Pro100\W2k
7 Click “Next”.
8 Click “Finish” in the “Finish screen”.
9 Update other Ethernet Controller in same method.
10 Restart computer.
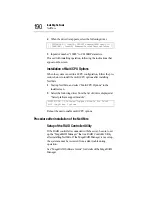
Procedure after installation of the Windows 2000 Server
After the installation of the Windows 2000 Server is complete, fol-
low the procedure mentioned below:
1 Activate the Windows 2000 Server and log in the user ID of
the Administrator or a person having the competence equiva-
lent to that of the Administrator.
2 If no network has been built up, set up the network.
3 If no TCP/IP has been set for the network, set it.
See “Windows 2000 Server User's Guide or Help” for details
of TCP/IP setting.
4 Install the SNMP Service in the network.
For installing the SNMP Service, use “Services,” which can be
opened by selecting “Control Panel,” “Network” and “Ser-
vices” of the Windows 2000 Server in this order.
See “Windows 2000 Server User's Guide or Help” for details
of installation.
5 Install VIA 4in1 Driver.
Summary of Contents for Magnia Z300
Page 1: ...MAGNIA Z300 User sGuide ...
Page 4: ...1 2 ...
Page 8: ......
Page 14: ......
Page 22: ...xxii ...
Page 102: ...InstallingandRemovingHardware CPU module 80 Removing the PCI bracket ...
Page 130: ...InstallingandRemovingHardware Expansion cards 108 ...
Page 236: ...Troubleshooting Remedy When Windows NT 2000 is Unusable 214 ...
Page 237: ...Appendix A System Unit 216 External Hard Drive Unit Z1 218 External Device Bay Unit Z1 219 ...
Page 242: ...220 ...
Page 253: ...Appendix C Hardware setup information 232 Recovery Boot 233 ...
Page 257: ...235 Default Jumper Switch Settings PJ47 CMOS Clear PJ723 Recovery Boot ...
Page 258: ...236 ...
Page 259: ...Appendix D ...
Page 270: ...248 ...


