Machine Behavior in Fax Reception
- 90 -
Printing Received Faxes
The machine automatically prints out the received
fax. You can specify the paper tray to use.
Note
z
Do not pull out the paper trays when the machine is
printing.
Memo
z
Use only standard or recycled paper.
z
Available paper sizes are A4, letter, or legal.
Reference
z
Images larger than the specified paper are reduced,
discarded, or printed onto multiple sheets of paper
depending on the reception print settings. For details, refer
to the User's Manual Advanced.
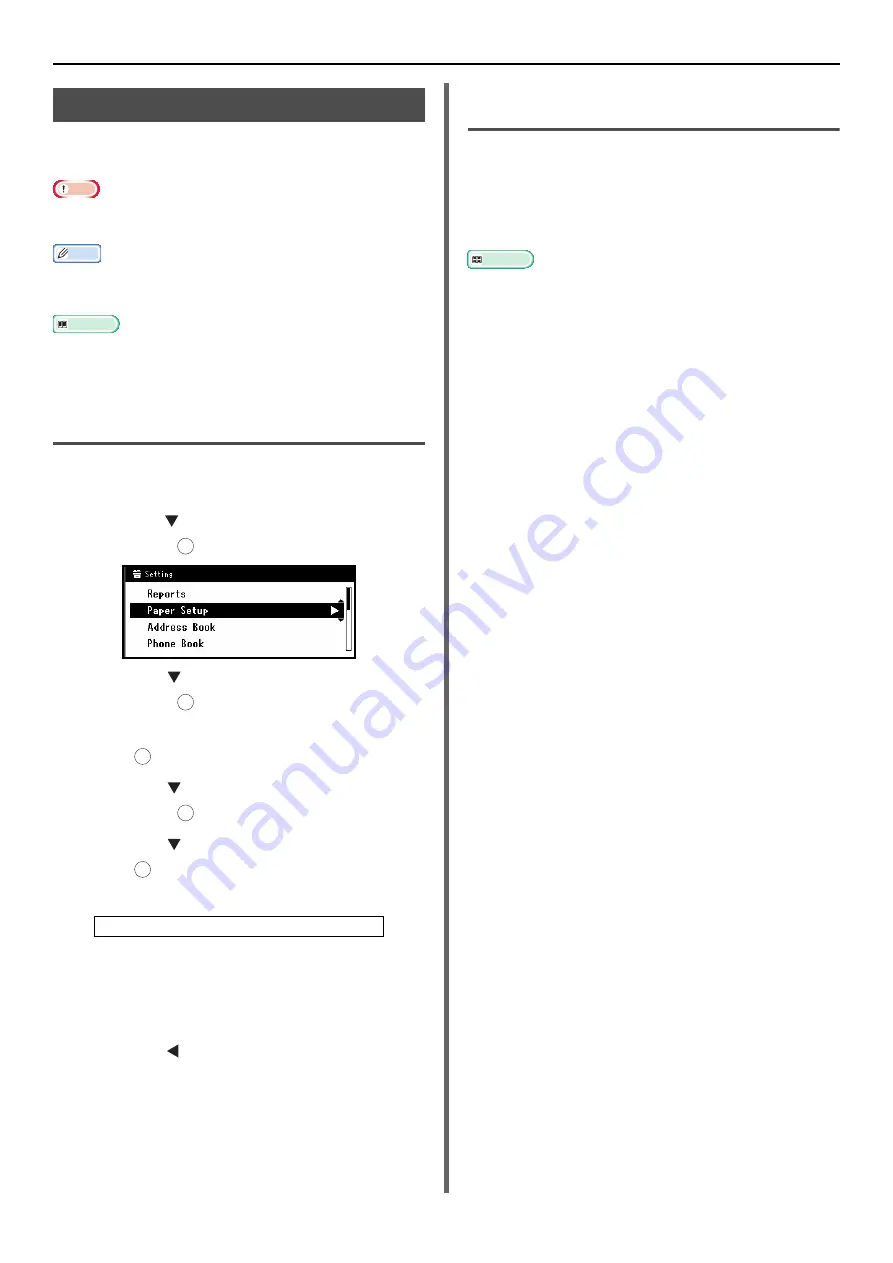
Selecting the Tray to Use
1
Press the <
SETTING
> key on the
operator panel.
2
Press the to select [
Paper Setup
] and
then press .
3
Press the to select [
Select Tray
] and
then press .
4
Check that [
Fax
] is selected and then
press .
5
Press the to select a paper tray and
then press .
6
Press the to select a value and then
press .
- When you select [
ON (Prior)
] for a paper tray,
the tray is used in priority to other trays
containing the same size paper.
- The MP tray is set to [
OFF
] by factory default.
7
Press the until the top screen is
displayed.
When Unable to Print Received
Faxes
When the machine cannot print received faxes
due to a lack of paper or paper jams, it stores
the received fax data temporarily in memory.
When the problem is resolved, it starts printing
automatically.
Reference
z
For details on how to load paper, refer to
z
For details on how to clear paper jams, refer to
z
To check the reception history, refer to
Transmission and Reception History" P. 87
.
Settable Values:
ON* OFF ON (Prior)
*indicates the factory default.
OK
OK
OK
OK
OK


