Configuring the Network Settings
- 64 -
Checking the Common Setup
Information
Check the common setup information for Scan To
E-mail, Scan To Network PC, Scan To Fax Server
and Internet Fax, and fill in the corresponding
columns of the Setup Information Form.
Administrator Password for Your
Machine
Enter the administrator password of your
machine in A-1 of the Setup Information Form.
If you are not the administrator of the machine,
ask the administrator the password.
Memo
z
Passwords are case-sensitive.
z
The administrator password is set to "aaaaaa" as the
factory default setting.
Gateway address/DNS server
1
Press the <
SETTING
> key on the
operator panel.
2
Check that [
Reports
] is selected and
press .
3
Check that [
Configuration
] is selected
and press .
4
On the confirmation screen press or ,
select [
Yes
], and press .
5
Enter the address written on the gateway
address line at the bottom right of page
3 of the printed configuration into A-2 on
the setting information sheet.
6
Enter the address written on the DNS
server (primary) line on the bottom right
of the same page into A-3.
Note
z
It is necessary that the gateway address be configured
beforehand. Also, if using an Internet service provider, it is
necessary that the DNS server be configured. If it has not
been configured (0.0.0.0), follow the procedure on
to configure it.
Setting Up Scan To E-mail and
Internet Fax
The Scan To E-mail, Scan To Fax Server and
Internet Fax functions enable you to send
scanned images as an attached file of an e-mail
to the specified e-mail address on the network.To
use these functions, set up the e-mail setting for
your machine.
When using Auto Deliver or Transmission Data
Save function (e-STUDIO403S only), the
following setup is required.
Checking the E-mail Settings of the
Computer
Note
z
If a network administrator specifies the values such as a
mail server account, password and e-mail address for your
machine, enter them in the Setup Information Form.
Memo
z
The procedure below uses Windows Live Mail on Windows
7. If you are using different mail software, refer to the
manual for the e-mail software.
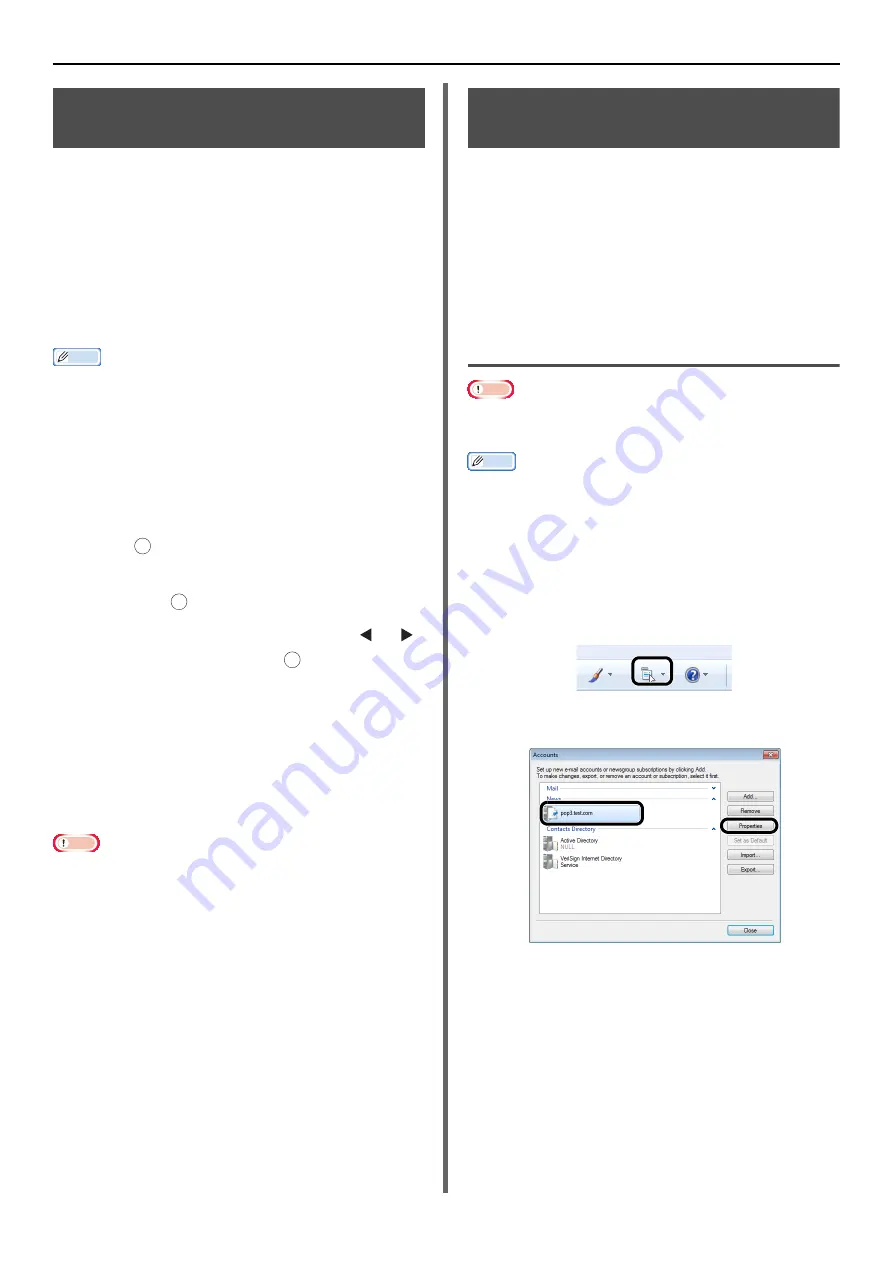
1
Click [
Start
] and select [
Windows Live
].
2
Select the [
Tools
] menu > [
Accounts
].
If the menu bar is not displayed, click the
[
Menus
] icon and then select [
Show menu bar
].
3
Select the mail account and then click
[
Properties
].
OK
OK
OK


