Scanning > 48
S
CAN
TO
E
-
Using the options available, you can enter e-mail information and alter the scan output to
suit your needs:
1.
Place your document(s) with text face UP in the ADF or face DOWN on the glass.
2.
Press the
Scan
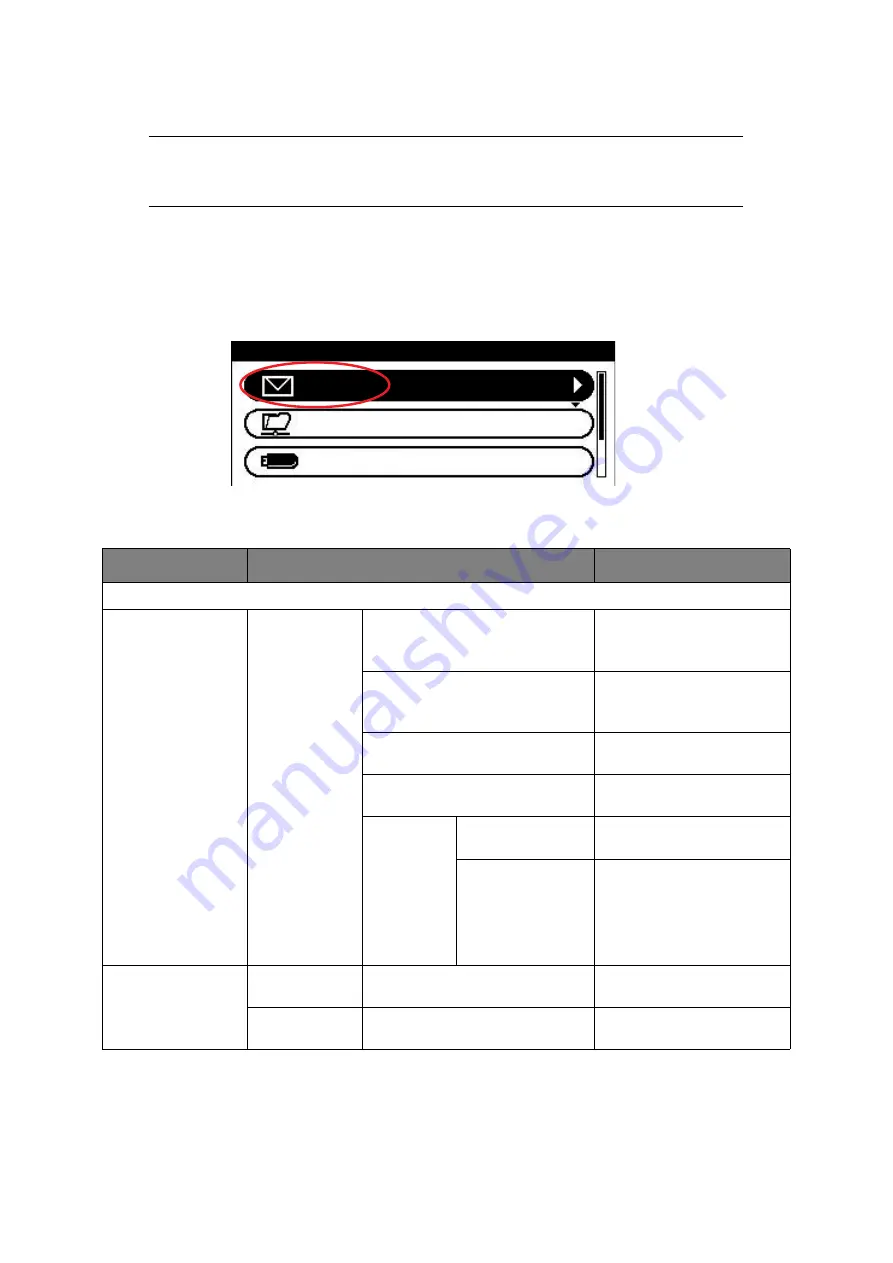
button on the control panel to prompt the
Scan Menu
screen.
3.
If required, use the arrow keys and scroll to
, then press
OK
.
4.
Using the options available, you can enter e-mail destination(s) and alter the scan
output to suit your needs.
NOTE
For illustration purposes only, the features shown are as accessed from the
control panel.
FEATURE
OPTION
DESCRIPTION
Destination
Add Destination
To:
Cc:
Bcc:
Address Book
Select e-mail address from
the address book.
Input range: 001-100
E-mail Group List
Select destination group
from the list.
Input range: 01-20
E-mail Send History
Displays the list of sent
e-mails.
Direct Input
Enter e-mail address using
the on-screen keyboard.
LDAP
Simple Search
Use the on-screen keyboard
to enter a search value.
Advanced Search
Search Method:
User Name:
E-mail Address:
Use Advanced Search to
search the LDAP address
book by user name and/or
e-mail address.
Can display up to 100
addresses.
Scan Settings
Scan Size
A4
, A5, A6, B5, Letter, Legal 13,
Legal 13.5, Legal 14, Executive
Allows you to select the scan
size.
Duplex Scan
OFF
, Long Edge Bind, Short Edge
Bind
Select the bound originals
binding position.
Scan Menu
USB Memory
Network PC
Summary of Contents for e-studio222cs
Page 1: ......
Page 166: ...R101120J7100 TTEC 07113601 iss1 ...


