Operating Instructions for Premium HMI Control Panel
66
To select a different Main Menu item press the
NEXT key. To return to the Standard Display
press the EXIT key.
Important Alarm Notes
•
If an alarm will not clear, it may still exist. If
the alarm is not corrected, it will not clear or
may be immediately set again.
•
If an alarm cannot be cleared from the Main
menu, the Clear key will not appear. These
alarms must be cleared from the Maintenance
or Guarded Access Menus.
•
All alarms must be viewed before any of the
alarms can be cleared.
Refer to the SR-3 Truck Single Temp Diagnostic
Manual TK 55208 for more information about
alarm codes and their diagnosis.
Datalogger
The unit can be equipped with an optional DAS
Data Logger if desired.
A Start of Trip marker can be sent to the unit
ServiceWatch Data Logger and the optional DAS
Data Logger (if equipped).
If equipped with the optional DAS Data Logger,
the most recent DAS trip record can be printed.
The most recent trip is defined as the trip
following the last Start of Trip marker sent to the
data logger.
The ServiceWatch Data Logger and DAS Data
Logger (if equipped) are accessed using the Data
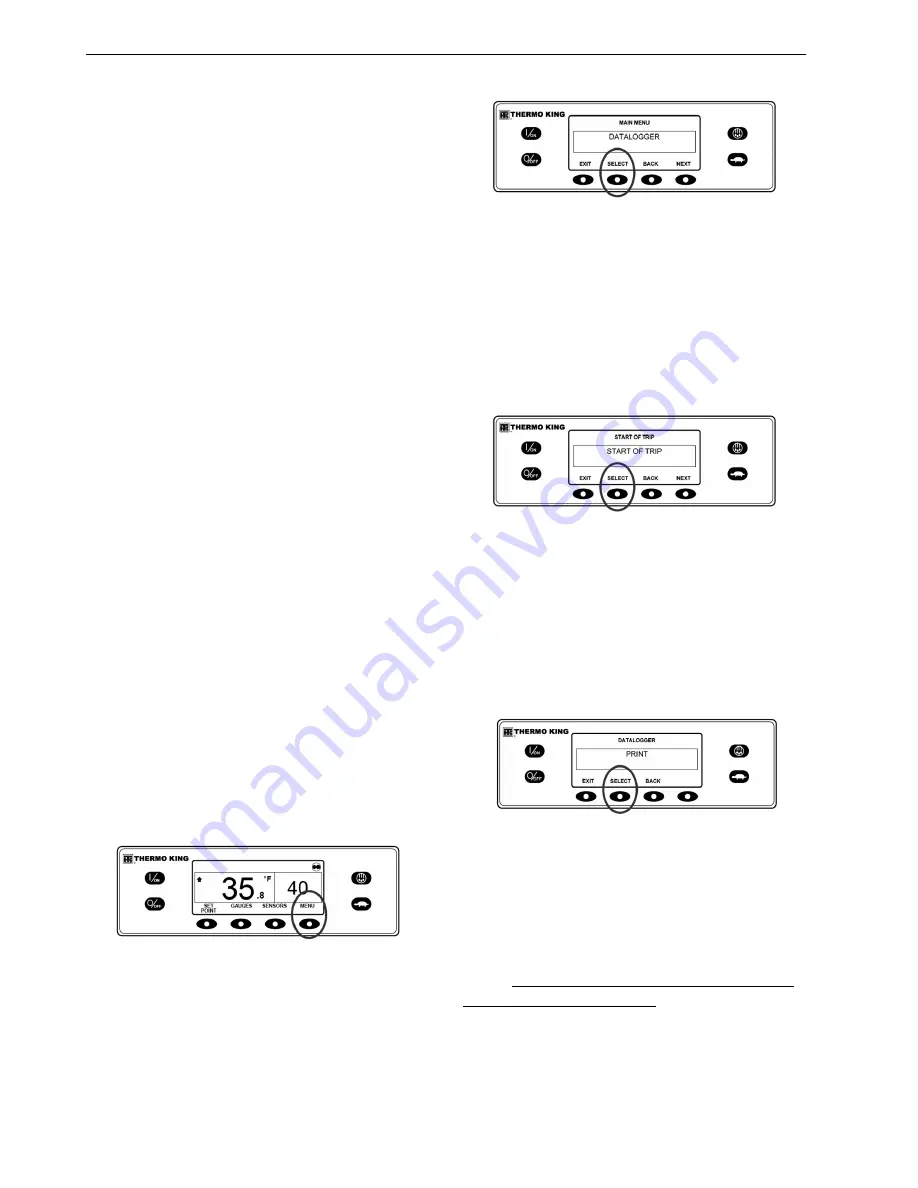
Logger Menu. From the Standard Display, press
the MENU key.
Figure 99: Menu Key
The Language Menu or Alarm Menu will appear.
Press the NEXT key as required to display the
Data Logger Menu. When the Data Logger Menu
is shown press the SELECT key.
Figure 100: Select Key
The first feature that appears is the Start of Trip.
To send a Start of Trip to the ServiceWatch Data
Logger and DAS Data Logger (if equipped), press
the SELECT key to select the feature, and then
press it again to send the Start of Trip. The display
will briefly show START OF TRIP COMPLETE
to confirm that a Start of Trip marker was set in
the data logger(s).
Figure 101: Start of Trip
NOTE: The start of trip marker is sent to both
the ServiceWatch Data Logger and DAS Data
Logger (if equipped).
Press the NEXT key to select the PRINT feature.
The PRINT screen will appear. Press the SELECT
key to print the most recent trip record to the
optional remote printer.
Figure 102: Select Key
Pressing the EXIT key returns the display to the
Main Menu.
Hourmeters
Hourmeters are displayed using the Hourmeter
Menu. Only hourmeters enabled in the Guarded
Access Menu will be shown. From the Standard
Display, press the MENU key.
Summary of Contents for UT-1200
Page 10: ...Table of Contents 10...
Page 20: ...Safety Precautions 20...
Page 76: ...Operating Instructions for Premium HMI Control Panel 76...
Page 88: ...Electrical Maintenance 88...
Page 98: ...Engine Maintenance 98 Figure 167 Fuel Components...
Page 142: ...Refrigeration Service Procedures 142...
Page 148: ...Clutch Maintenance 148...
Page 150: ...Structural Maintenance 150...
Page 162: ...Wiring and Schematic Diagrams Index 162...
Page 163: ...163 Schematic Diagram Page 1 of 2...
Page 164: ...164 Schematic Diagram Page 2 of 2...
Page 165: ...165 Wiring Diagram Page 1 of 5...
Page 166: ...166 Wiring Diagram Page 2 of 5...
Page 167: ...167 Wiring Diagram Page 3 of 5...
Page 168: ...168 Wiring Diagram Page 4 of 5...
Page 169: ...169 Wiring Diagram Page 5 of 5...


