68
④
Repeat Step
②
and
③
to continuously move
other points.
⑤
Click the mouse
’
s right button to finish.
To move configuration data with sewing data is the
same method as foresaid.
However, upon moving configuration data, sewing
data is again created based on the moved configura-
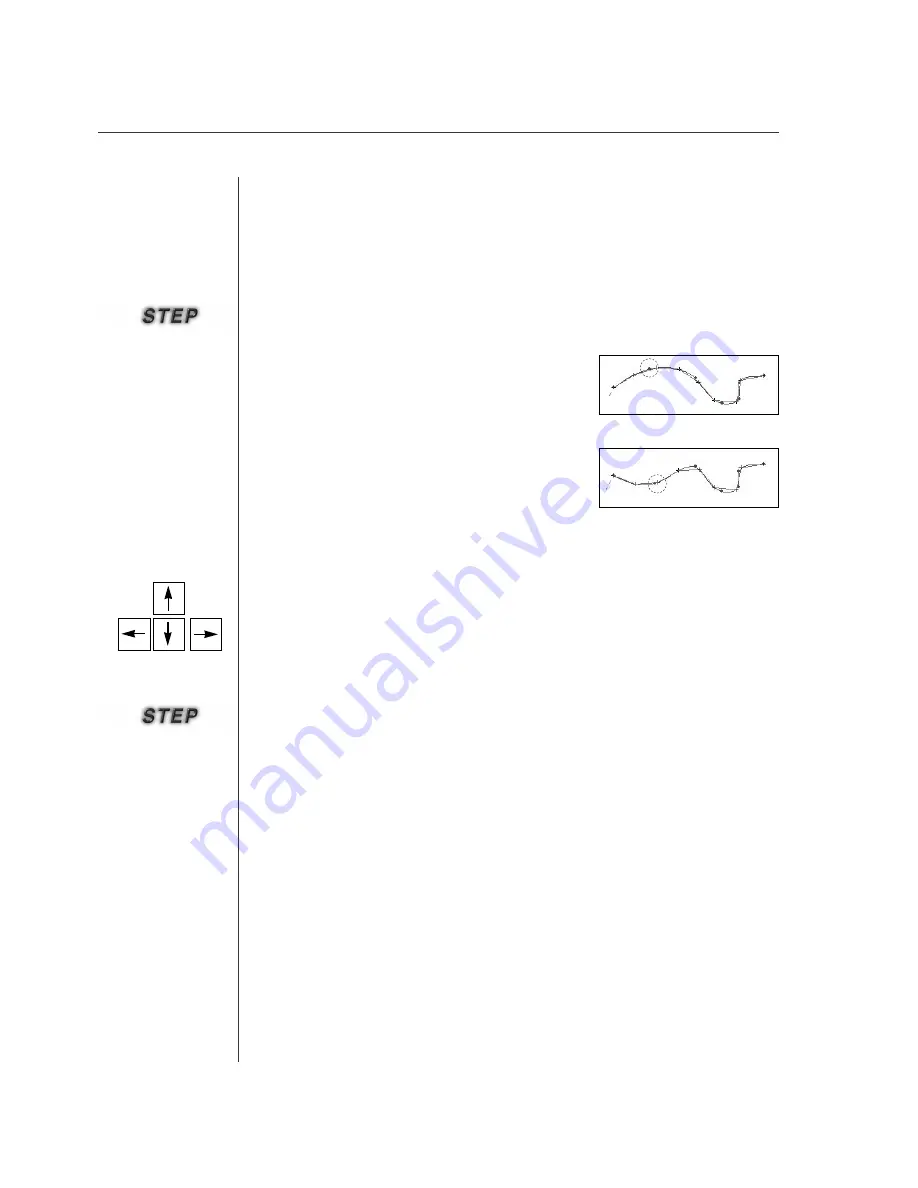
tion data. The following figures show that the configu-
ration data has moved. Compare with two cases.
For configuration data with sewing data
Befor Moving
After Moving
This is equal to how to edit with the mouse, except for using
“
“
Keyboard Space
Bar
”
”
instead of the mouse
’
’
s left button, and moving the mouse point with
“
“
Keyboard Direction Key
”
”
. Use
“
“
End Key
”
”
to terminate instead of the mouse
’
’
s
right button.
①
Select the function button (Insert, Delete, Move) to edit in the tool bar.
②
Move Mouse Point on the edit range, and click
“
Keyboard Direction Key
”
.
Upon clicking Up, Down, Left and Right keys, you can find that the mouse point
moves.
③
Make Mouse Point conformed to a configuration data joint to be applied, and click
“
Space Bar
”
to select the configuration data joint.
④
Take an action according to the function button (Insert, Delete, Move), and click
“
Space Bar
”
again to apply the function.
⑤
Click
“
End Key
’
to terminate stitching.
■
■
Editing with the keyboard direction key(Add, Delete, Move)
Summary of Contents for SSP-WE/3.5
Page 1: ...SSP WE 3 5 IInstruction M Manual SSP WE 3 5 MEE 070418 ...
Page 2: ......
Page 6: ...6 Before Using Check the followings prior to setting up the program and components ...
Page 18: ...18 Configuration of Program Function ...
Page 31: ...31 Data Configuration ...
Page 37: ...37 Create Data ...
Page 103: ...103 Circle point setting Cross point setting ...
Page 142: ...142 ...
Page 147: ...147 ...


