106
③
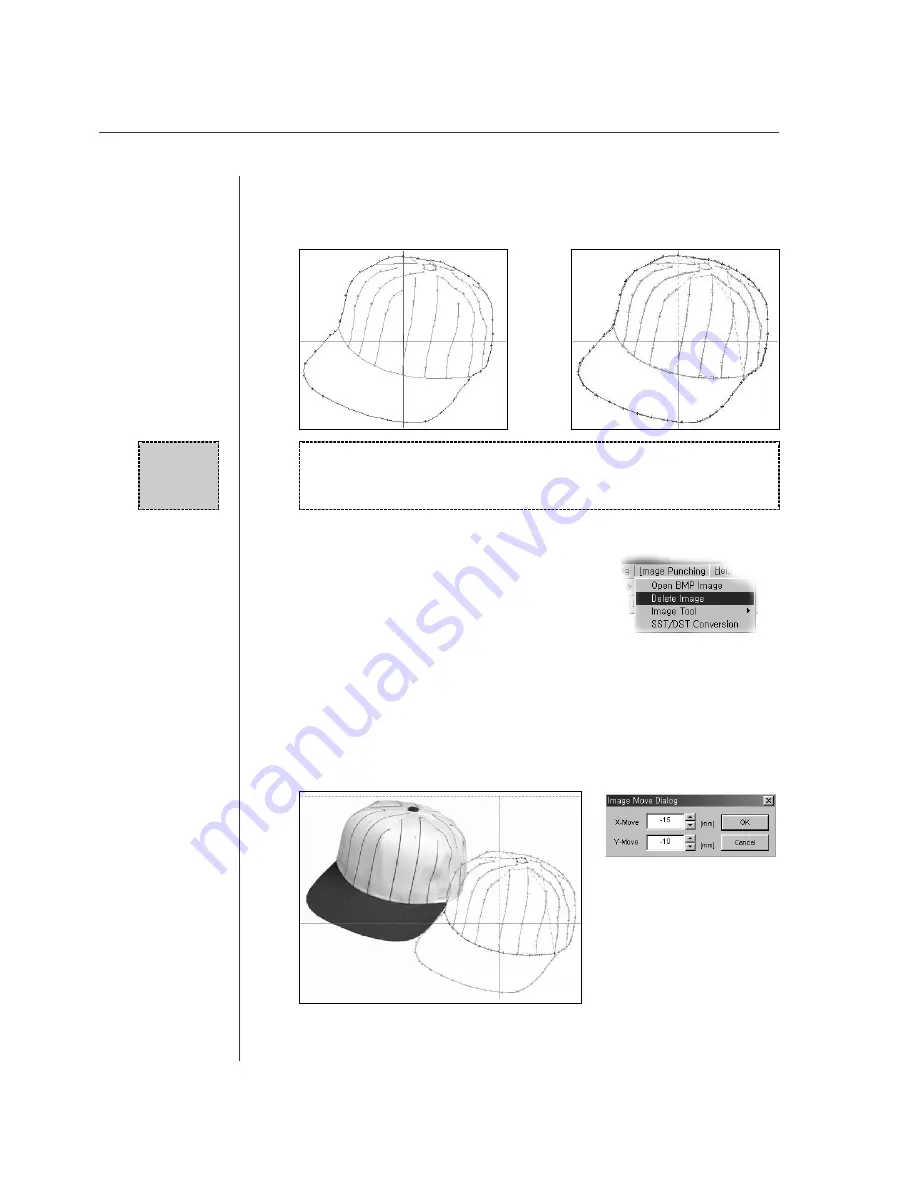
Now, you can do punching using each function key on the image in 1:1 size on
editing screen. The followings are the figure (left) created only configuration data
only according to outer line of hat on image and the figure(right) created sewing
data.
④
Next is the function to delete called in image.
.
⑤
You can move the image existing on editing screen.
The figures above show only the punched data on condition that removed the
hat appeared on editing screen. You can delete the image appeared on editing
screen, call in again and move the called in image.
You can perform the above function as follows:
If you select
“
Delete Image
”
in the right figure,
you can delete the image appeared on editing
screen.
If you want to call in the image again, you may
just select
“
Open BMP Image
”
.
Select
“
Image Move
”
in Image Tool item above. Input dialogue box shall appear
as follows.
If you input the value as much as the location to move to X, Y input box and press
“
Yes
”
button, you can see the image moved as much as the input value.
The following figure shows the figure of moved hat.
Reference
Summary of Contents for SSP-WE/3.5
Page 1: ...SSP WE 3 5 IInstruction M Manual SSP WE 3 5 MEE 070418 ...
Page 2: ......
Page 6: ...6 Before Using Check the followings prior to setting up the program and components ...
Page 18: ...18 Configuration of Program Function ...
Page 31: ...31 Data Configuration ...
Page 37: ...37 Create Data ...
Page 103: ...103 Circle point setting Cross point setting ...
Page 142: ...142 ...
Page 147: ...147 ...


