44
This is equal to how to input configuration data mentioned above. But, upon inputting Point
Stitch data initially, Jumps are automatically created based on the origin. That is to say,
upon creating sewing data with any attribute, Jumps is automatically connected based on
the origin.
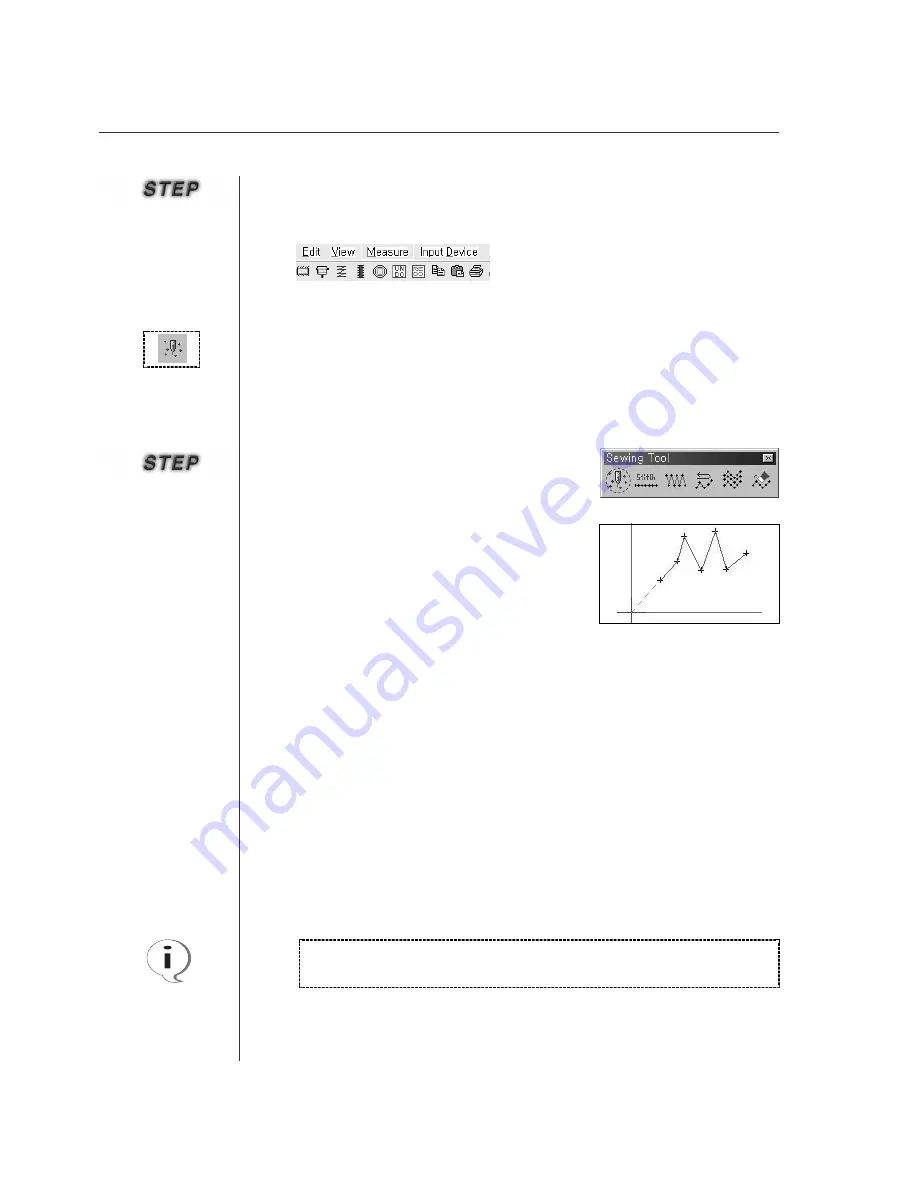
The above process is identically applied to Input with the keyboard’s
direction key and numeral key
①
Select Point Stitching button as showing in the figu-
re. (At this time, the button becomes concave.)
②
Put Mouse Point on the edit range to click the
mouse
’
s left button and input data. (You can
continuously input data until finishing Point
Stitching.)
③
Click the mouse
’
s right button to finish inputting.
④
The inputted Point Stitch data is displayed on the screen.
·
·
Point Stitching
④
To return to the previous status that is status before executing UNDO function,
press REDO button at the top menu or press “Ctrl+Y” keys at the same time to
redo the change
Summary of Contents for SSP-WE/3.5
Page 1: ...SSP WE 3 5 IInstruction M Manual SSP WE 3 5 MEE 070418 ...
Page 2: ......
Page 6: ...6 Before Using Check the followings prior to setting up the program and components ...
Page 18: ...18 Configuration of Program Function ...
Page 31: ...31 Data Configuration ...
Page 37: ...37 Create Data ...
Page 103: ...103 Circle point setting Cross point setting ...
Page 142: ...142 ...
Page 147: ...147 ...


